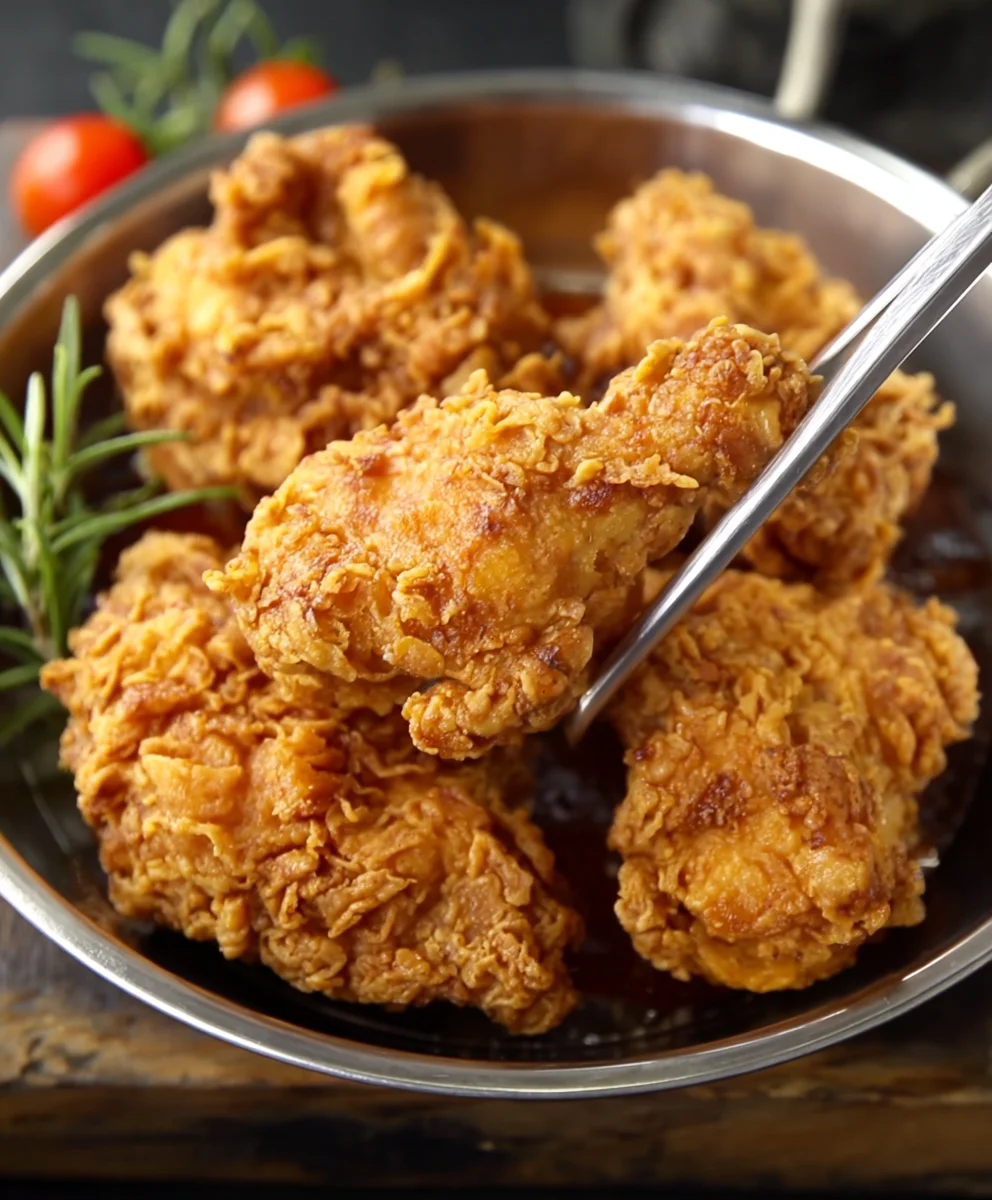
Copycat KFC Fried Chicken Recipe- Crispy & Delicious
Copy Cat KFC Fried Chicken – ah, the legendary taste that transports us back to childhood, to satisfying cravings, and to that irresistible crunch. Who among us hasn’t dreamt of recreating that iconic flavor, that perfectly seasoned, juicy piece of chicken that defines fast-food perfection? It’s a culinary quest many have embarked upon, and for good reason. The allure of “Copy Cat KFC Fried Chicken” isn’t just about satisfying hunger; it’s about capturing a memory, a feeling, a flavor profile so universally loved it’s practically a cultural touchstone. What makes this particular rendition so special? It’s the masterful blend of eleven secret herbs and spices, the precise cooking technique that ensures a golden, crispy exterior while keeping the inside incredibly moist and tender. Prepare yourself, because we’re about to unlock the secrets to achieving that authentic, craveable taste in your own kitchen, no drive-thru required.
Ingredients:
- 340 grams of chicken pieces (thighs and drum extractsticks work wonderfully for this recipe, as they stay moist and flavorful)
- 1/2 teaspoon of salt
- 1/2 teaspoon of black pepper
- 1 teaspoon of onion powder
- 1 teaspoon of garlic powder
- 1/2 teaspoon of chili powder
- 1 tablespoon of cornstarch (for the initial chicken seasoning)
- 1 large egg
- 100 grams of all-purpose flour
- 50 grams of cornstarch (for the flour coating)
- 5 grams of baking powder
- 1/2 teaspoon of salt (for the flour coating)
- 1/2 teaspoon of onion powder (for the flour coating)
- 1 teaspoon of garlic powder (for the flour coating)
Preparing the Chicken for its Coating
Seasoning the Chicken
The first crucial step in achieving that iconic Copy Cat KFC Fried Chicken flavor is properly seasoning the chicken. In a medium bowl, combine the 340 grams of chicken pieces with 1/2 teaspoon of salt, 1/2 teaspoon of black pepper, 1 teaspoon of onion powder, 1 teaspoon of garlic powder, and 1/2 teaspoon of chili powder. Toss these ingredients together thoroughly, ensuring each piece of chicken is evenly coated. You can use your hands for this, which allows you to really work the seasonings into the crevices of the chicken. Now, sprinkle in 1 tablespoon of cornstarch and toss again. This initial coating of cornstarch helps to create a barrier that keeps the chicken juicy on the inside while allowing the flour coating to adhere beautifully. Let the seasoned chicken sit for at least 15-30 minutes at room temperature to allow the flavors to meld. For an even deeper flavor, you can season the chicken and refrigerate it for a few hours or even overnight.
The Wet Batter Dip
In a separate, shallow bowl or a large Ziploc bag, crack the 1 large egg. Whisk it vigorously with a fork until the yolk and white are fully combined and slightly frothy. This egg mixture will act as the binder for our crispy flour coating. Make sure the egg is well beaten; this will help it adhere evenly to the chicken. It’s important to have your chicken ready to go into the egg wash once it’s prepared.
Creating the Crispy Flour Coating
The Dry Mix
In another medium bowl, combine 100 grams of all-purpose flour with 50 grams of cornstarch. The extra cornstarch is key to achieving that signature extra-crispy texture that we all love from KFC. Add 5 grams of baking powder to this mixture. The baking powder acts as a leavening agent, contributing to a lighter and crispier crust. Finally, stir in 1/2 teaspoon of salt, 1/2 teaspoon of onion powder, and 1 teaspoon of garlic powder. Whisk these dry ingredients together until they are thoroughly combined and there are no visible clumps of flour or spices. Take your time to mix this well, as an evenly seasoned flour coating is essential for consistent flavor in every bite.
Assembling and Frying the Chicken
Dredgin extractg for Maximum Crispiness
Now comes the fun part: coating the chicken. Take one piece of seasoned chicken and dip it into the beaten egg, ensuring it is fully coated on all sides. Let any excess egg drip back into the bowl. Immediately transfer the egg-washed chicken piece into the prepared flour mixture. Don’t be shy with the flour! Press the chicken into the flour mixture, ensuring it is completely covered. For an extra-thick and craggy coating, you can dip the chicken back into the egg wash and then into the flour mixture again. This double-dipping technique is a secret weapon for achieving that authentic, layered crunch. Once coated, place the chicken piece on a wire rack set over a baking sheet. Repeat tgin extract dredging process for all the chicken pieces, leaving a little space between them on the rack to prevent them from sticking together.
Frying to Golden Perfection
Heat about 2-3 inches of your preferred frying oil (like vegetable oil, canola oil, or peanut oil) in a deep, heavy-bottomed pot or Dutch oven over medium-high heat to around 325-350°F (160-175°C). It’s crucial to maintain this temperature range for perfectly cooked chicken. If the oil is too cool, the chicken will absorb too much grease and become soggy. If it’s too hot, the outside will burn before the inside is cooked through. Carefully, one by one, place the coated chicken pieces into the hot oil, being careful not to overcrowd the pot. Overcrowding will cause the oil temperature to drop significantly, leading to uneven cooking. Fry the chicken in batches for about 6-8 minutes per side, or until it is deep golden brown and cooked through. The internal temperature of the chicken should reach 165°F (74°C). As each batch is done, remove the chicken with a slotted spoon or tongs and place it back on the wire rack to drain any excess oil. This wire rack method is important because it allows air to circulate around the chicken, keeping the bottom crispy and preventing it from becoming soggy from sitting in its own rendered fat. You can also place the drained chicken in a warm oven (around 200°F/95°C) while you fry the remaining batches to keep it hot.
Conclusion:
Congratulations! You’ve now unlocked the secret to making truly incredible Copy Cat KFC Fried Chicken right in your own kitchen. We’ve walked through each step together, from achieving that signature crispy coating to ensuring perfectly juicy chicken every time. This recipe truly delivers on that nostalgic flavor we all love.
To elevate your experience, I highly recommend serving this Copy Cat KFC Fried Chicken with classic sides like creamy mashed potatoes and gravy, coleslaw, or buttery biscuits. For a delightful twist, consider a spicy honey drizzle or a sprinkle of fresh parsley before serving. Don’t be afraid to experiment with different cuts of chicken – thighs and drum extractsticks are fantastic, but breasts work beautifully too. The most important ingredient is your enthusiasm, so embrace the process and enjoy the delicious results!
Frequently Asked Questions:
Can I make the coating ahead of time?
Yes, you can definitely prepare the dry spice blend for the coating ahead of time and store it in an airtight container. However, it’s best to coat the chicken just before frying for the crispiest results.
What’s the best way to ensure the chicken is cooked through without burning the coating?
The key is to maintain a consistent oil temperature between 325-350°F (160-175°C). You can also finish thicker pieces in a preheated oven at 375°F (190°C) for 10-15 minutes after frying to ensure they are cooked through without overcooking the exterior.
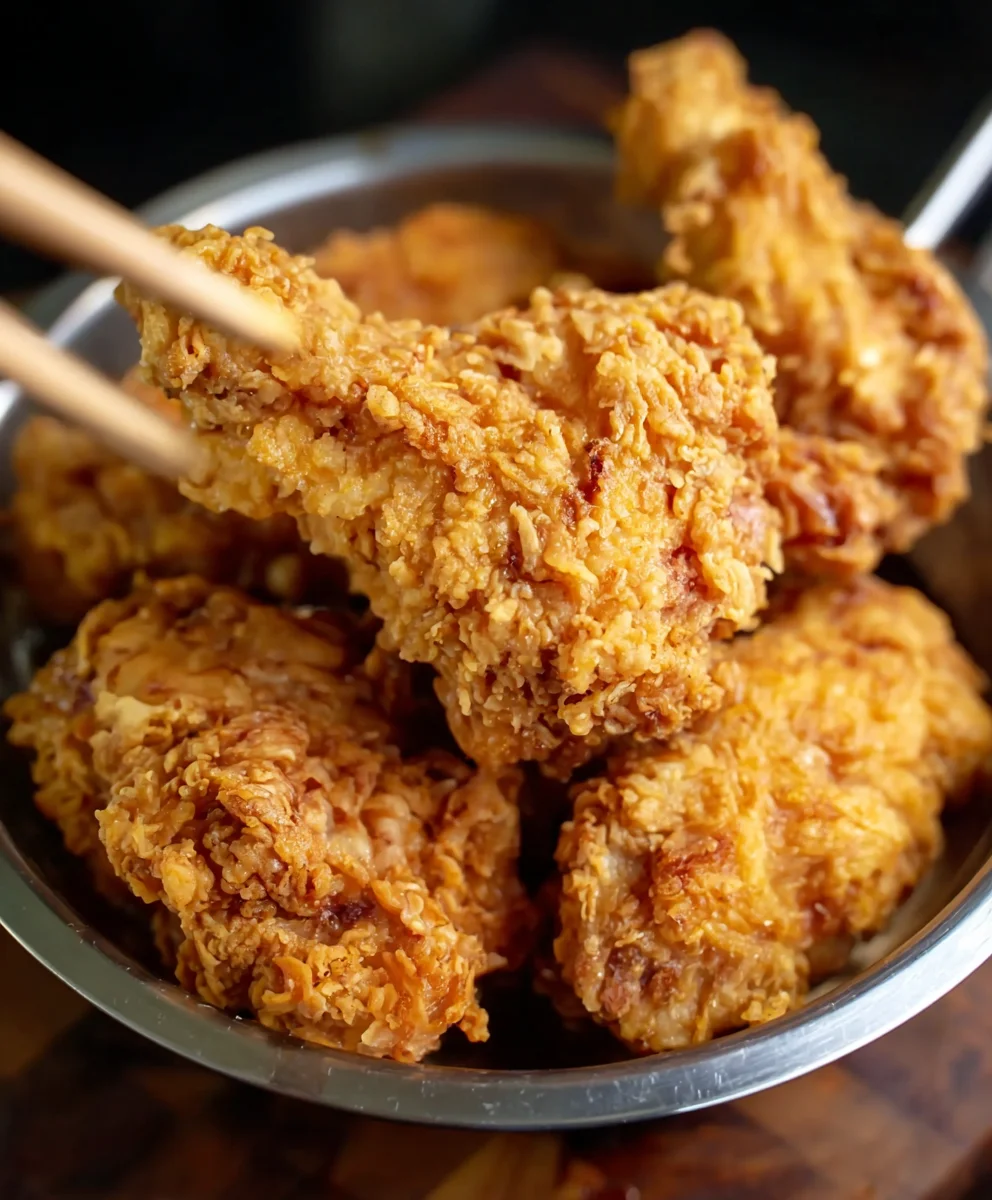
Copycat KFC Fried Chicken Recipe
Crispy and delicious fried chicken that tastes just like KFC, made with a secret blend of spices and a double-dredge coating for maximum crunch.
Ingredients
-
340 g chicken pieces (thighs and drumsticks)
-
1/2 tsp salt
-
1/2 tsp black pepper
-
1 tsp onion powder
-
1 tsp garlic powder
-
1/2 tsp chili powder
-
1 tbsp cornstarch (for initial chicken seasoning)
-
1 large egg
-
100 g all-purpose flour
-
50 g cornstarch (for flour coating)
-
5 g baking powder
-
1/2 tsp salt (for flour coating)
-
1/2 tsp onion powder (for flour coating)
-
1 tsp garlic powder (for flour coating)
Instructions
-
Step 1
In a medium bowl, combine chicken pieces with 1/2 tsp salt, 1/2 tsp black pepper, 1 tsp onion powder, 1 tsp garlic powder, and 1/2 tsp chili powder. Toss to coat evenly. Sprinkle in 1 tbsp cornstarch and toss again. Let sit for 15-30 minutes at room temperature. -
Step 2
In a separate shallow bowl, whisk the egg until frothy. This will be the wet batter dip. -
Step 3
In another medium bowl, combine 100 g all-purpose flour, 50 g cornstarch, 5 g baking powder, 1/2 tsp salt, 1/2 tsp onion powder, and 1 tsp garlic powder. Whisk dry ingredients until thoroughly combined. -
Step 4
Dip each seasoned chicken piece into the beaten egg, then dredge thoroughly in the flour mixture, pressing to coat completely. For extra crispiness, double-dip by returning the chicken to the egg and then back to the flour mixture. Place coated chicken on a wire rack set over a baking sheet. -
Step 5
Heat 2-3 inches of frying oil in a deep pot to 325-350°F (160-175°C). Carefully add coated chicken pieces in batches, ensuring not to overcrowd the pot. Fry for 6-8 minutes per side, or until deep golden brown and cooked through (internal temperature of 165°F/74°C). -
Step 6
Remove fried chicken with a slotted spoon and place back on the wire rack to drain excess oil. Keep warm in a 200°F/95°C oven while frying remaining batches.
Important Information
Nutrition Facts (Per Serving)
It is important to consider this information as approximate and not to use it as definitive health advice.
Allergy Information
Please check ingredients for potential allergens and consult a health professional if in doubt.