Buster Bar Ice Cream Dessert- Copycat Recipe
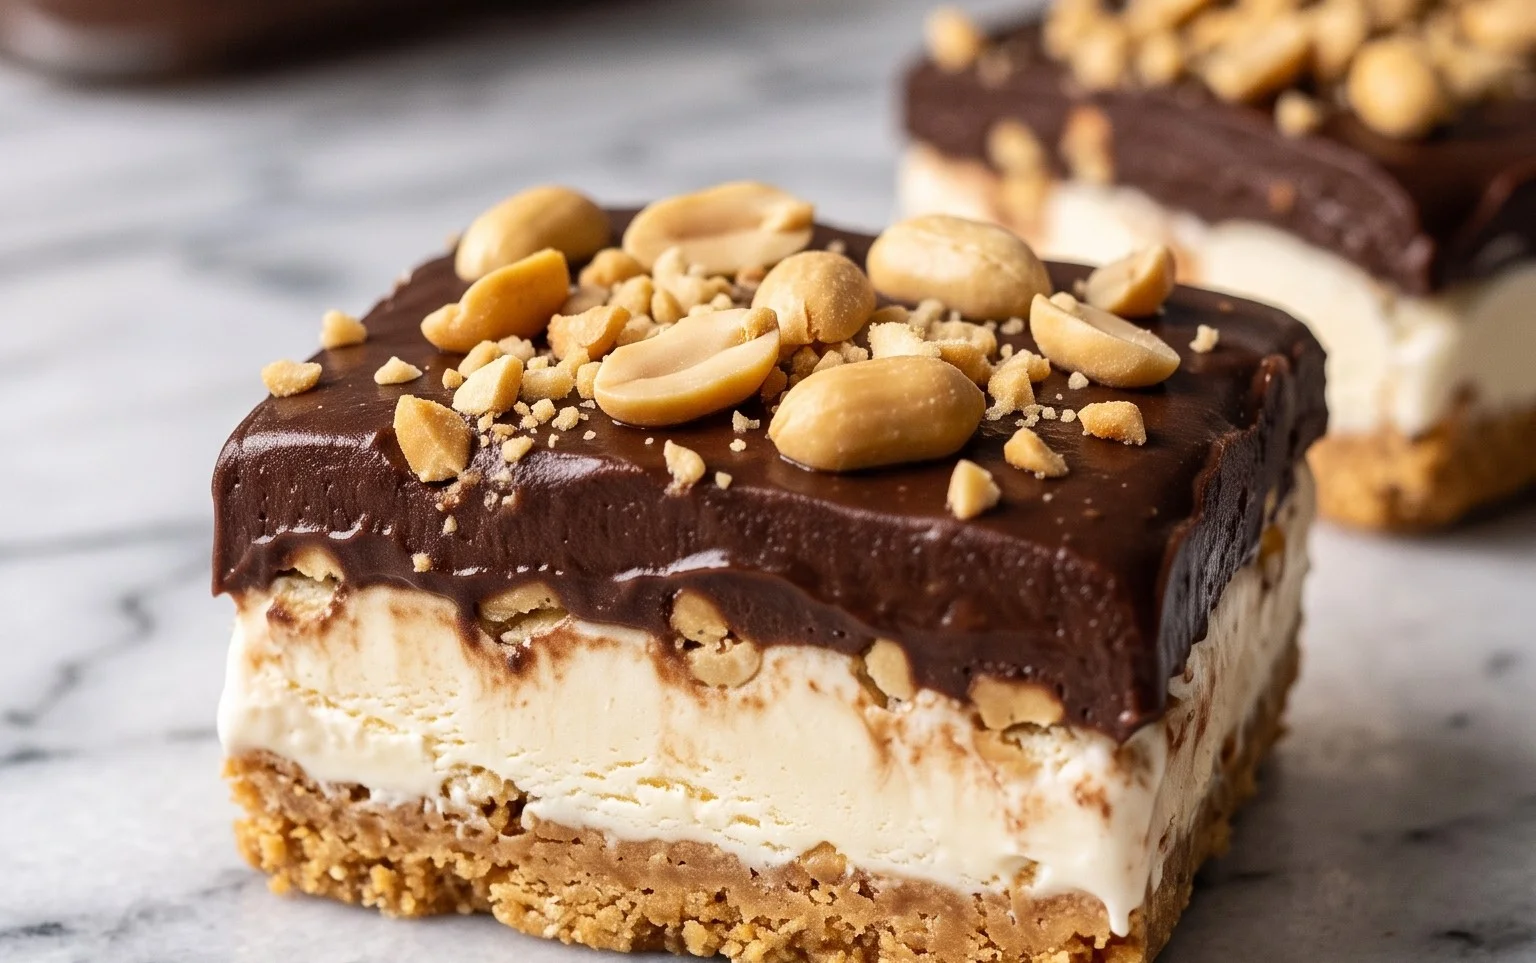
Buster Bar Ice Cream Dessert is a nostalgic dream come true, a frozen confection that instantly transports us back to carefree summer days and childhood joy. Remember those iconic, foil-wrapped delights from the ice cream truck? Well, get ready to recreate that magic in your own kitchen! This Buster Bar Ice Cream Dessert isn’t just a sweet treat; it’s an experience. It’s the perfect symphony of textures and flavors: a creamy, vanilla ice cream core, a rich chocolatey coating, and a delightful crunch from the peanuts. What truly makes this Buster Bar Ice Cream Dessert so special is its incredible adaptability and the sheer delight it brings to every single bite. It’s a guaranteed crowd-pleaser, perfect for parties, celebrations, or simply a spontaneous craving for something utterly delicious and satisfying.
Buster Bar Ice Cream Dessert
This Buster Bar Ice Cream Dessert is a nostalgic trip back to childhood summers, but with a homemade twist that elevates it from a simple treat to a truly decadent experience. Imagin extracte the satisfying crunch of a cookie crust, the creamy coolness of vanilla ice cream, a generous layer of salty, roasted peanuts, and a rich, chocolatey shell that snaps with every bite. This dessert is inspired by those classic ice cream bars you might have enjoyed from the freezer aisle, but trust me, making it from scratch is a game-changer. It’s surprisingly simple to assemble, making it perfect for a casual get-together, a family movie night, or just when you’re craving something utterly delicious. The combination of textures and flavors is simply divine, and the best part is that you can customize it to your liking. Let’s dive in and create this crowd-pleaser!
Ingredients:
Preparing the Crust and Peanut Layer
The foundation of our Buster Bar dessert is a delightful, slightly sweet cookie crust that provides a wonderful contrast to the creamy ice cream. We’ll also be incorporating a substantial layer of peanuts, which is a signature element of this iconic dessert.
1. Create the Oreo Crust: Start by crushing your 14.3 oz package of Oreo cookies. You can do this by placing them in a zip-top bag and giving them a good bash with a rolling pin, or by using a food processor until you have fine crum extractbs. In a medium bowl, combine the crushed Oreo cookies with the 1/2 cup of melted butter. Stir until all the crum extractbs are evenly moistened and resemble wet sand. This ensures your crust will hold together beautifully.
2. Press and Chill the Crust: Take a 9×13 inch baking pan. You can line it with parchment paper, leaving some overhang on the sides to make lifting the dessert out easier later. Press the Oreo and butter mixture evenly into the bottom of the prepared pan. You want a nice, compact layer that will serve as the sturdy base for your ice cream. Once pressed, pop the pan into the freezer for about 10-15 minutes while you prepare the next layer. This chilling step helps to set the crust, preventing it from mixing too much with the ice cream.
3. Assemble the Peanut Layer: While the crust is chilling, it’s time to get those delicious Spanish peanuts ready. If your Spanish peanuts are not already roasted and salted, it’s a good idea to give them a quick toast in a dry skillet over medium heat for a few minutes until fragrant. Let them cool completely. Then, generously spread the 1 lb of Spanish peanuts over the chilled Oreo crust. Don’t be shy with the peanuts – they add such a satisfying crunch and salty element that perfectly balances the sweetness of the other components.
Building the Ice Cream and Chocolate Shell
Now comes the fun part – layering the ice cream and creating that irresistible chocolate coating!
4. Add the Ice Cream Layer: Remove the pan with the crust and peanuts from the freezer. Take your 1/2 gallon of softened vanilla ice cream and spread it evenly over the peanut layer. Make sure to get it as smooth and even as possible. Softened ice cream spreads much more easily than hard ice cream, so let it sit out at room temperature for about 15-20 minutes before you plan to use it. Once the ice cream is spread, return the entire pan to the freezer for at least 2-3 hours, or until the ice cream is completely firm. This is a crucial step for achieving clean slices later.
Making the Magic Chocolate Shell
This homemade chocolate shell is what truly makes this dessert a Buster Bar. It’s rich, glossy, and hardens beautifully when it hits the cold ice cream.
5. Prepare the Chocolate Ganache: In a heatproof bowl set over a saucepan of simmering water (a double boiler method), combine the 12 oz of semi-sweet chocolate chips, the 1/2 cup of butter, and the 12 oz of evaporated milk. Stir gently and continuously until the chocolate chips have completely melted and the butter has incorporated, creating a smooth, glossy mixture. This will take a few minutes. Be patient and don’t let the water boil too vigorously, as you don’t want to scorch the chocolate. Remove the bowl from the heat.
6. Add the Powdered Sugar: Now, gradually whisk in the 2 cups of powdered confectioner’s sugar into the melted chocolate mixture. Continue whisking until it’s fully incorporated and the ganache is thick and smooth. This sugar not only adds sweetness but also contributes to the ganache’s ability to harden. Let the chocolate mixture cool slightly for about 5-10 minutes. You want it warm enough to pour and spread easily but not so hot that it melts the ice cream instantly.
7. Pour and Chill to Set: Once the ice cream is firm and the chocolate mixture has cooled slightly, carefully pour the chocolate ganache over the top of the frozen ice cream layer. Use an offset spatula or the back of a spoon to spread it evenly, ensuring it covers the entire surface. Work relatively quickly, as the cold ice cream will start to harden the chocolate immediately. Return the pan to the freezer for at least another 2-3 hours, or ideally until the chocolate shell is completely firm and set.
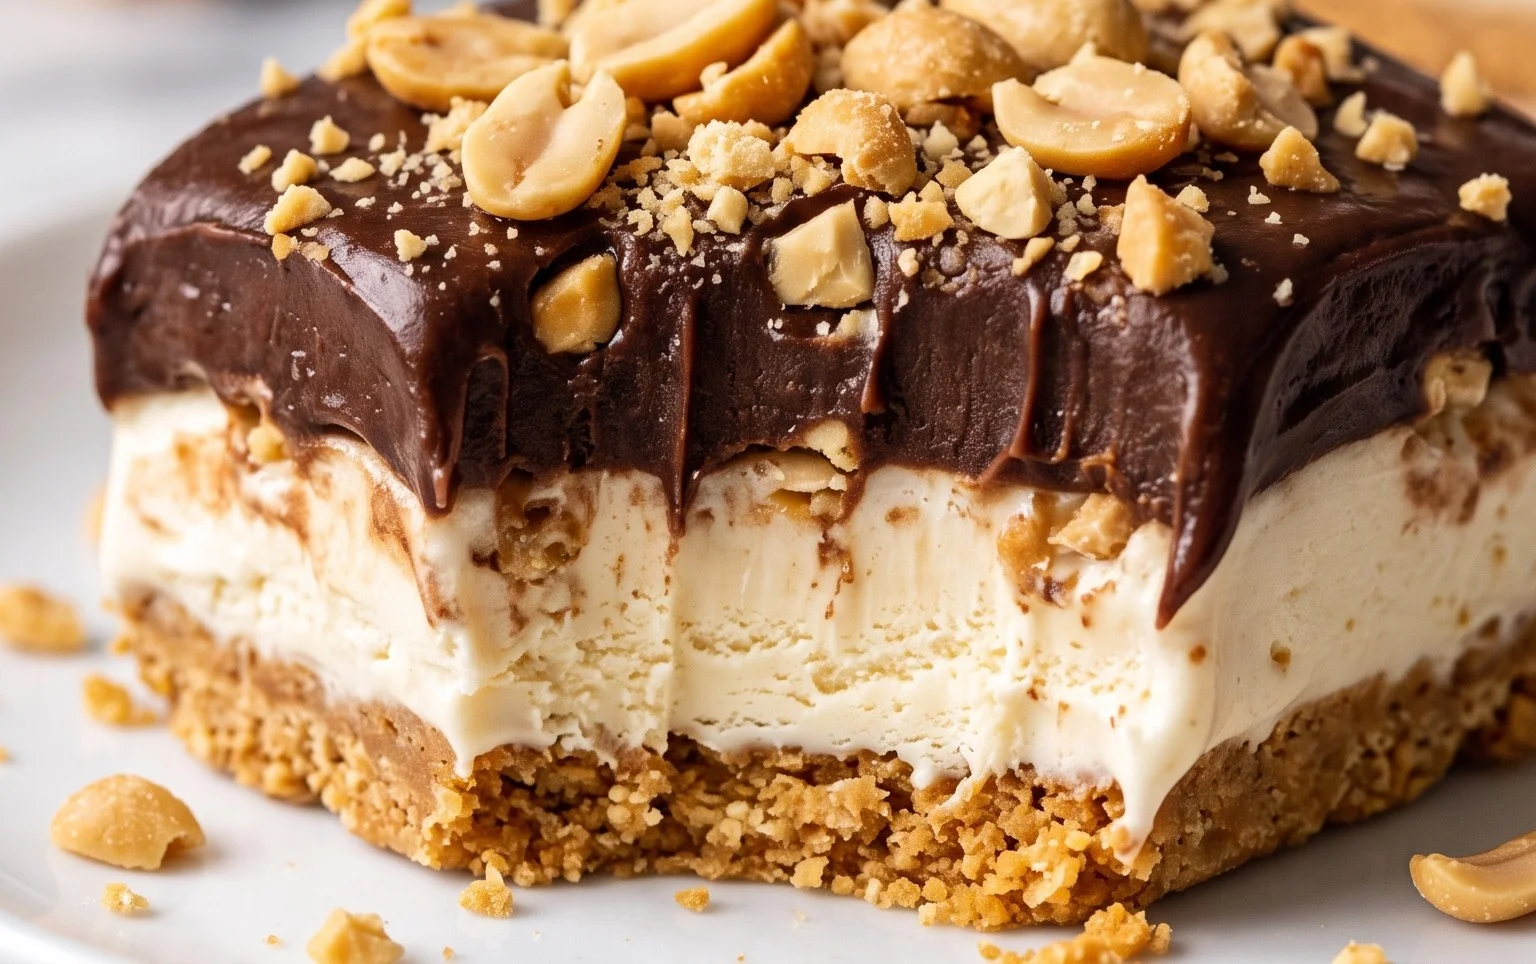
Once it’s fully frozen, you can lift the entire dessert out of the pan using the parchment paper overhang. Place it on a cutting board and use a sharp knife to cut it into bars. For the cleanest cuts, dip your knife in hot water and wipe it dry between each cut. Enjoy your homemade Buster Bar Ice Cream Dessert!
Conclusion:
And there you have it – your guide to creating an absolutely irresistible Buster Bar Ice Cream Dessert at home! This recipe truly shines because it captures all the beloved flavors and textures of the classic ice cream treat, but with the satisfying reward of homemade goodness. The perfect balance of creamy ice cream, crunchy chocolate coating, and that signature caramel swirl makes this a guaranteed crowd-pleaser for any occasion. Whether you’re hosting a summer barbecue, celebrating a special event, or simply craving a delicious frozen treat, this Buster Bar Ice Cream Dessert is sure to impress.
I highly encourage you to give this recipe a try! Don’t be intimidated; it’s more straightforward than you might think. Feel free to experiment with different ice cream flavors or add your favorite mix-ins. For serving suggestions, I love cutting this into generous squares and serving it with a drizzle of extra caramel sauce or a sprinkle of chopped peanuts. It’s also fantastic served alongside fresh berries for a pop of color and freshness.
Frequently Asked Questions about Buster Bar Ice Cream Dessert:
Can I make this Buster Bar Ice Cream Dessert ahead of time?
Absolutely! This dessert is perfect for making ahead. Once it’s fully frozen and cut, you can store it in an airtight container in the freezer for up to 2-3 weeks. Just be sure to wrap it well to prevent freezer burn. Let it sit at room temperature for a few minutes before serving for the best texture.
What are some easy variations I can try?
The possibilities are endless! For a fun twist, try using coffee ice cream for a mocha-inspired Buster Bar. You could also swap the peanuts for chopped almonds or even crushed pretzels for a salty-sweet crunch. Another idea is to add a layer of cookie dough or brownie pieces between the ice cream and the chocolate coating.
Buster Bar Ice Cream Dessert
A no-bake frozen dessert inspired by the classic Buster Bar, featuring a cookie crust, creamy ice cream, a peanut and chocolate topping, and a rich chocolate drizzle.
Ingredients
-
1 14.3 oz pkg. of Oreo cookies, crushed
-
1/2 C butter, melted
-
1/2 gal. vanilla ice cream, softened
-
1 lb. Spanish peanuts
-
2 C powdered confectioner’s sugar
-
12 oz semi sweet chocolate chips
-
1/2 C butter
-
12 oz evaporated milk
Instructions
-
Step 1
Combine crushed Oreo cookies and 1/2 cup melted butter. Press mixture firmly into the bottom of a 9×13 inch pan. -
Step 2
Spread the softened vanilla ice cream evenly over the cookie crust. -
Step 3
In a separate bowl, mix together the Spanish peanuts, powdered confectioner’s sugar, and 1/2 cup butter until crumbly. Sprinkle this mixture evenly over the ice cream layer. -
Step 4
In a microwave-safe bowl, melt the 12 oz semi sweet chocolate chips with the 12 oz evaporated milk in 30-second intervals, stirring between each, until smooth and pourable. -
Step 5
Pour the melted chocolate mixture evenly over the peanut layer. Drizzle or spread to cover. -
Step 6
Freeze for at least 4 hours, or until firm. -
Step 7
Cut into squares and serve immediately.
Important Information
Nutrition Facts (Per Serving)
It is important to consider this information as approximate and not to use it as definitive health advice.
Allergy Information
Please check ingredients for potential allergens and consult a health professional if in doubt.