Easy Homemade Fruit Leather Recipe – Delicious & Fun
Homemade fruit leather is one of those simple pleasures that brings back childhood memories with every chewy, flavorful bite. There’s something undeniably magical about transforming fresh, vibrant fruits into a sweet, slightly tart treat that’s perfect for snacking, lunchboxes, or a healthy dessert alternative. We all love it because it’s bursting with the pure essence of fruit, without any of the artificial colors or preservatives you find in store-bought versions. What truly makes this homemade fruit leather so special is its incredible versatility. You can customize it with your favorite fruits, experiment with unique flavor combinations, and control the sweetness level perfectly. It’s a wonderfully rewarding project that results in a delicious and satisfying snack that everyone will adore. Get ready to discover how easy it is to make this delightful treat in your own kitchen!
Homemade Fruit Leather Recipe
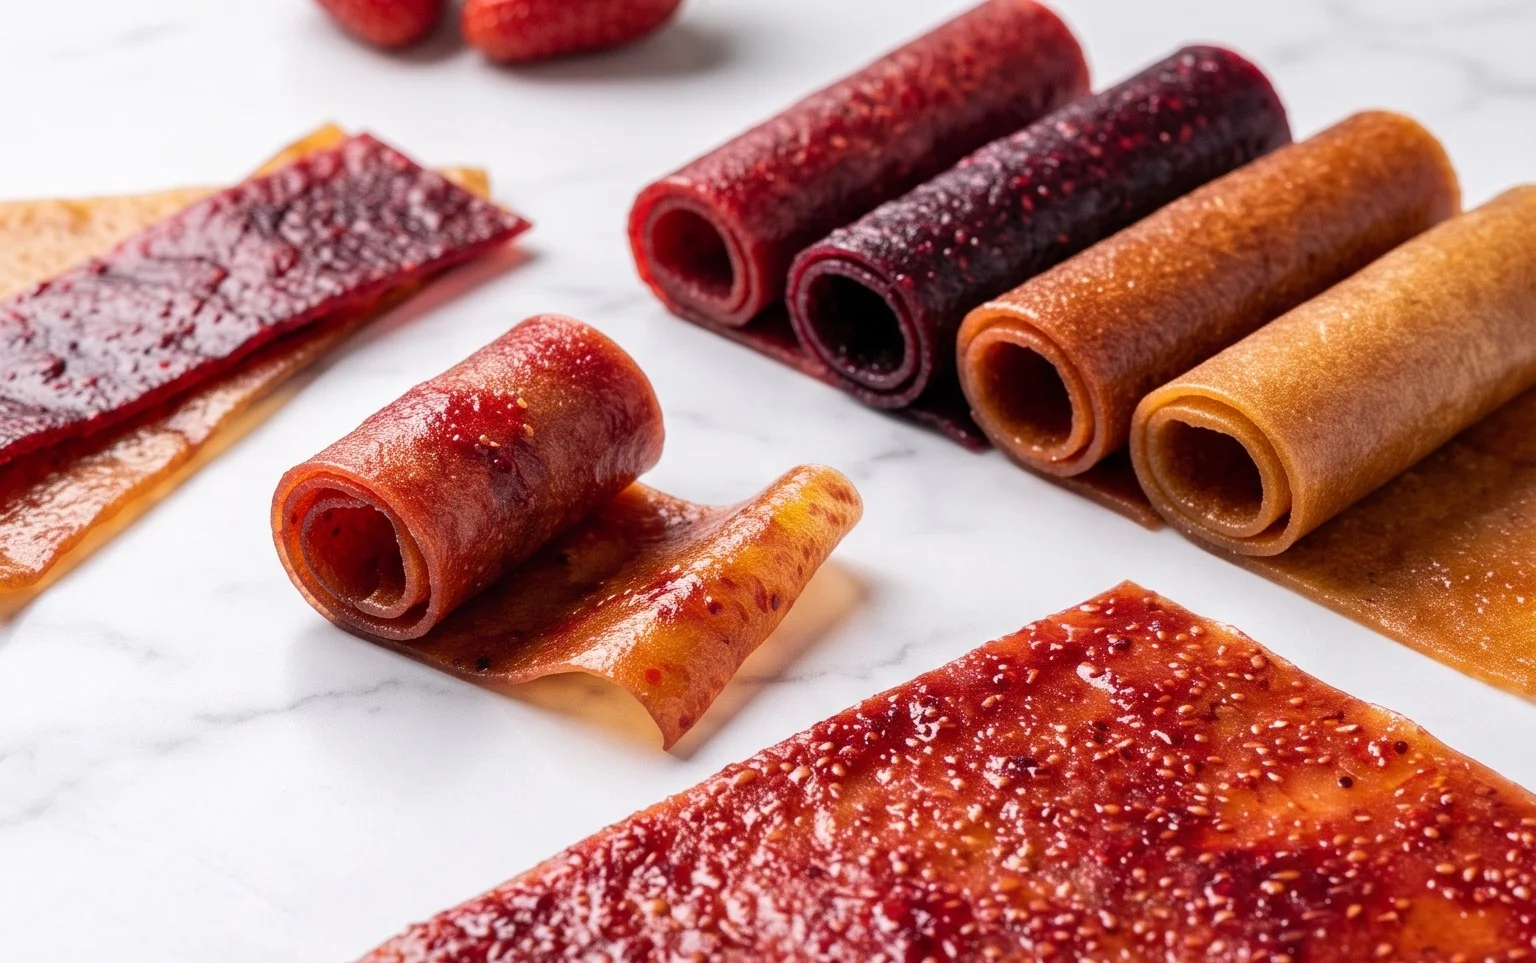
There’s something incredibly satisfying about making your own fruit leather. It’s a wonderfully healthy and delicious snack, perfect for lunchboxes, after-school treats, or just when you’re craving something sweet and fruity. Plus, it’s so simple to make that even the kids can get involved! Forget those store-bought versions with their long lists of unpronounceable ingredients. This homemade fruit leather is pure, unadulterated fruit goodness, with just a touch of sweetness and a bright zing from fresh lemon. It’s a fantastic way to use up seasonal fruit, and the process itself is quite therapeutic. Imagin extracte the vibrant colors and the sweet, tangy aroma filling your kitchen – it’s truly delightful.
Ingredients:
Cooking Instructions:
This recipe is incredibly forgiving and adaptable. The “2 cups fruit, chopped” is your starting point. You can use almost any fruit you like! My personal favorites for fruit leather include:
The 3 tablespoons of white sugar are a guide. The amount you need will depend entirely on the sweetness of your fruit. If you’re using very ripe, naturally sweet fruits like mangoes or very sweet berries, you might even be able to reduce this or omit it altogether. Conversely, if your fruit is a little tart, you might want to add a touch more. Taste your fruit puree before you decide!
The ½ lemon, just the juice, is crucial. It not only adds a lovely bright, tangy flavor that balances the sweetness, but it also acts as a natural preservative, helping your fruit leather last longer. Don’t skip this step!
Step 1: Prepare Your Fruit
The first step is to get your fruit ready for pureeing. Wash your chosen fruit thoroughly. If you’re using berries, gently rinse them. For larger fruits like peaches or apples, wash them, then remove any cores, pits, or stems. Chop the fruit into roughly uniform, small pieces. This will help them cook down more evenly and blend more smoothly. Don’t worry about perfection here; the blender or food processor will do most of the work. If you’re using frozen fruit, you can usually use it directly in the next step without thawing, which can actually help create a thicker puree.
Step 2: Cook and Blend the Fruit
Place your chopped fruit into a saucepan. Add the white sugar and the fresh lemon juice. You’ll want to cook this mixture over medium heat, stirring occasionally, until the fruit has softened considerably and released its juices. This usually takes about 10-15 minutes. The goal is to break down the fruit so it can be easily pureed. Once the fruit is soft, carefully transfer the mixture to a blender or food processor. Blend until you have a completely smooth puree. There should be no chunks left. If your mixture seems too thick to blend, you can add a tablespoon or two of water, but be careful not to add too much, as you want a thick puree for the leather.
Step 3: Prepare Your Baking Sheet
While your fruit is cooking or after it’s been blended, it’s time to get your baking sheet ready. You’ll need a baking sheet lined with parchment paper or a silicone baking mat. This is essential to prevent your fruit leather from sticking. Make sure the parchment paper covers the entire surface of the baking sheet, extending up the sides slightly if possible. This creates a barrier and makes it easy to peel the finished leather off. If you want to ensure a perfectly rectangular shape, you can even lightly grease the parchment paper, although a good quality parchment paper usually suffices.
Step 4: Spread and Bake
Pour the smooth fruit puree onto your prepared baking sheet. Use a spatula or the back of a spoon to spread it out into a thin, even layer, aiming for a thickness of about ¼ inch. Try to make the layer as uniform as possible to ensure even drying. This is where you can get creative with shapes if you like, but a simple rectangle is easiest. Place the baking sheet in a preheated oven at its lowest setting. Most ovens have a “warm” setting, typically around 170°F (75°C) to 200°F (95°C). If your oven doesn’t go that low, you can prop the oven door open slightly with a wooden spoon to allow heat to escape and achieve a lower temperature.
Step 5: Dry and Cool
Bake the fruit puree for a long time, usually 4 to 8 hours, or even longer, depending on your oven’s temperature and the thickness of your puree. The key is to dry it out until it’s no longer sticky to the touch and can be peeled away from the parchment paper without tearing. You’ll want to check on it periodically, especially in the later stages, to make sure it’s not browning too much. If it feels too dry and brittle, you might have overdone it. Once it’s leathery and pliable, carefully remove the baking sheet from the oven. Let the fruit leather cool completely on the baking sheet. This cooling period is important as it allows the leather to firm up further.
Step 6: Cut and Store
Once your fruit leather has cooled completely, you can peel it off the parchment paper. You can cut it into strips using a pizza cutter or a sharp knife. If you want to store it for longer, you can roll up the strips and wrap them individually in plastic wrap or parchment paper. Store the fruit leather in an airtight container at room temperature or in the refrigerator for best results. Properly stored homemade fruit leather can last for a few weeks. Enjoy your delicious, homemade creation!
Conclusion:
Making your own homemade fruit leather is such a rewarding and surprisingly simple process! The beauty of this recipe lies in its versatility and the pure, unadulterated fruit flavor it delivers. Forget those store-bought options loaded with artificial ingredients; you’re in control of what goes in, making it a healthier and more delicious alternative for snacks and treats. It’s a fantastic way to preserve seasonal fruits and enjoy them year-round. The process itself is quite meditative, watching the vibrant colors transform in the oven.
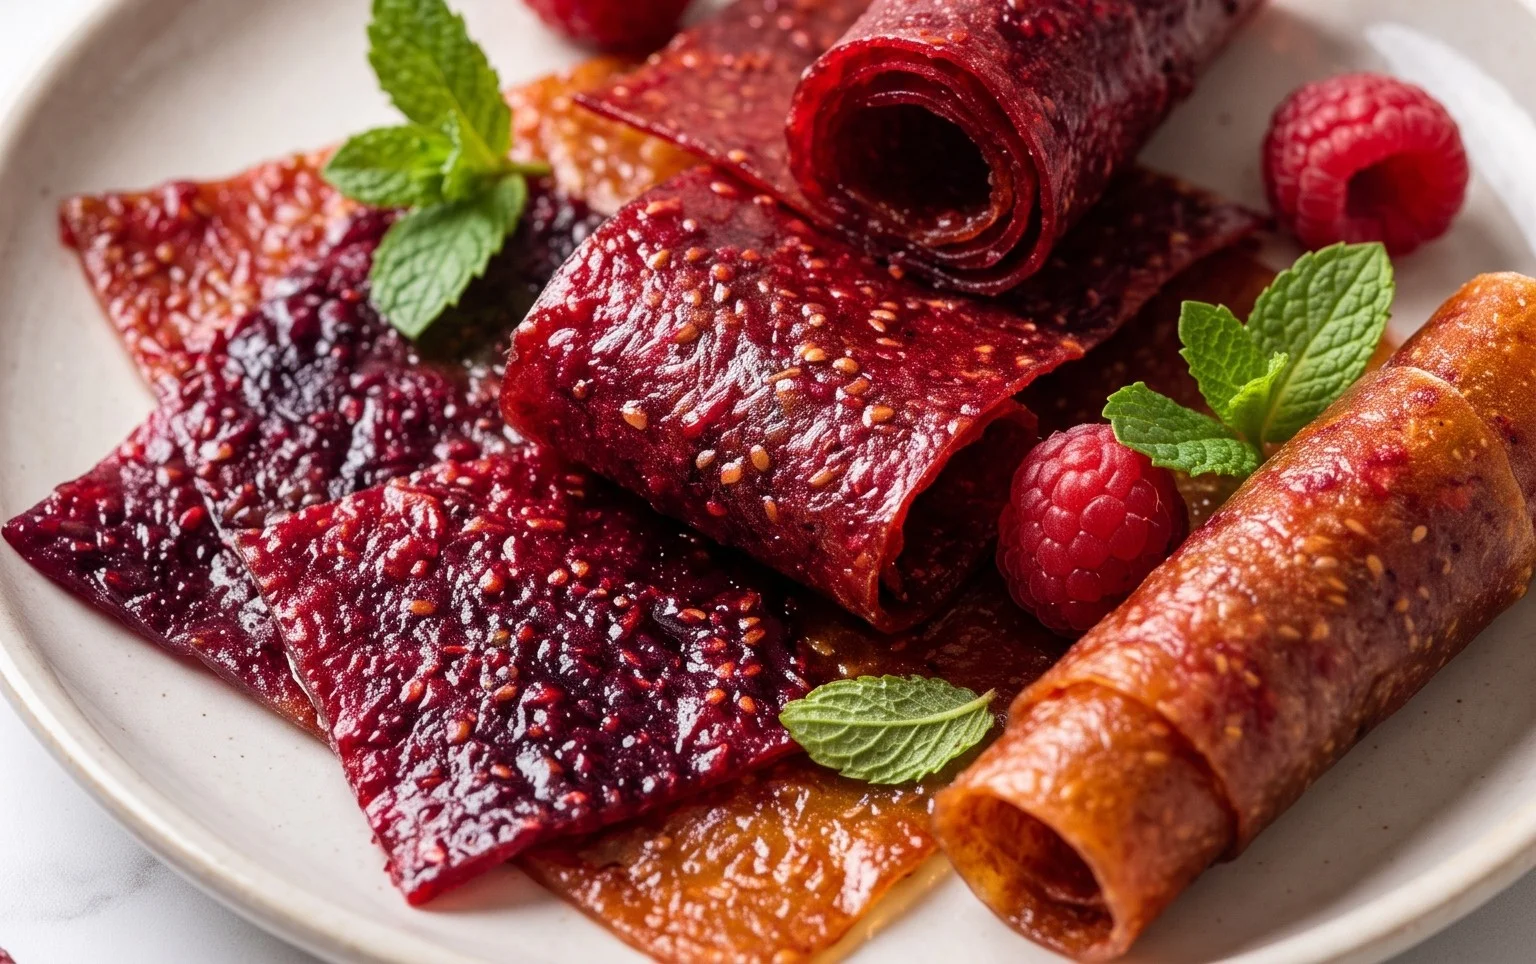
I love serving homemade fruit leather cut into strips for a quick and portable snack, perfect for lunchboxes, hikes, or even as a healthy dessert option. You can also get creative and shape it into fun figures for kids! Don’t be afraid to experiment with different fruit combinations. Try adding a touch of cinnamon to apple leather, a hint of gin extractger to pear, or some basil to strawberry for a unique twist.
The possibilities are truly endless, and I wholeheartedly encourage you to give this homemade fruit leather recipe a try. It’s a delightful project that yields delicious results, and I’m confident you’ll be hooked on its chewy, tangy goodness. Enjoy the process and savor every bite of your homemade creation!
Frequently Asked Questions:
How long does homemade fruit leather last?
When stored properly in an airtight container at room temperature or in the refrigerator, your homemade fruit leather can last for several weeks. For longer storage, you can wrap individual pieces tightly in plastic wrap and then store them in a freezer-safe bag for up to a year.
Can I make fruit leather without an oven?
Yes, absolutely! If you have a dehydrator, that’s an excellent alternative. Follow the same preparation steps and then dehydrate according to your dehydrator’s instructions, usually at a lower temperature (around 135°F or 57°C) for 6-12 hours, or until it’s no longer sticky to the touch.
Homemade Fruit Leather
Create delicious and healthy fruit leather at home with this simple recipe. Perfect for snacks!
Ingredients
-
2 cups fruit, chopped
-
3 tbsp white sugar
-
½ whole lemon, just the juice
-
1 tsp vanilla extract
-
Pinch of salt
Instructions
-
Step 1
Prepare your fruit: Wash, pit (if necessary), and chop your chosen fruit into small pieces. Aim for about 2 cups. -
Step 2
Cook the fruit: Place the chopped fruit in a saucepan with the lemon juice. Cook over medium heat, stirring occasionally, until the fruit softens and breaks down, about 5-10 minutes. -
Step 3
Sweeten and flavor: Stir in the white sugar, vanilla extract, and a pinch of salt. Continue to cook for another 2 minutes, allowing the sugar to dissolve. -
Step 4
Blend the mixture: Carefully transfer the fruit mixture to a blender or food processor. Blend until completely smooth. If the mixture is too thick, add a tablespoon of water at a time until it reaches a pourable consistency. -
Step 5
Prepare for drying: Line a baking sheet with parchment paper or a silicone baking mat. Pour the fruit puree onto the prepared baking sheet and spread it into a thin, even layer, about 1/8 inch thick. -
Step 6
Bake at a low temperature: Preheat your oven to its lowest setting, ideally around 170°F (77°C). Place the baking sheet in the oven and bake for 3-4 hours, or until the fruit leather is no longer sticky to the touch and peels away cleanly from the parchment. -
Step 7
Cool and cut: Once baked, remove from the oven and let it cool completely on the baking sheet. Once cooled, peel the fruit leather off the parchment paper and cut it into strips or desired shapes.
Important Information
Nutrition Facts (Per Serving)
It is important to consider this information as approximate and not to use it as definitive health advice.
Allergy Information
Please check ingredients for potential allergens and consult a health professional if in doubt.