Best Jam Cookies Recipe- Easy & Delicious
The Best Jam Cookies are more than just a treat; they’re a nostalgic hug in cookie form, a delightful bite that transports us back to simpler times. Who doesn’t have a fond memory associated with these sweet, crum extractbly delights? Whether it’s a grandparent’s kitchen filled with the aroma of baking or a childhood birthday party spread, jam cookies hold a special place in our hearts and on our dessert tables. What truly sets The Best Jam Cookies apart is their perfect balance: a tender, buttery cookie dough that melts in your mouth, cradling a vibrant, fruity jam center that offers a burst of sweetness with every nibble. It’s this harmonious combination of textures and flavors that makes them so universally loved and, dare I say, utterly irresistible. Get ready to master the art of creating these iconic cookies!
Ingredients:
- 1 cup unsalted butter, at room temperature
- 3/4 cup icing sugar, sifted, plus extra for dusting
- 1/4 teaspoon salt
- 1/2 teaspoon vanilla extract
- 2 cups all-purpose flour, sifted, plus extra to roll out the dough
- 1/2 cup strawberry jam
Making the Cookie Dough
Creaming the Butter and Sugar
To begin extract crafting these delightful jam cookies, we’ll start by creaming together the butter and sifted icing sugar. This is a crucial step for achieving a tender and light cookie texture. Ensure your unsalted butter is truly at room temperature – it should yield slightly when pressed, but not be melted or greasy. Place the softened butter into a large mixing bowl. Add the sifted icing sugar, which helps prevent lumps and ensures a smooth incorporation. Using an electric mixer (a stand mixer with a paddle attachment or a hand mixer), beat the butter and sugar together on medium speed for about 3 to 5 minutes. You’re looking for the mixture to become pnon-alcoholic ale and fluffy, almost like a cloud. This process incorporates air, which is essential for the cookies’ lift and delicate crum extractb. Don’t rush this step; a well-creamed mixture is the foundation of a great cookie.
Incorporating Wet Ingredients and Dry Ingredients
Once the butter and sugar are perfectly creamed, it’s time to add the flavor enhancers. Pour in the vanilla extract and sprinkle in the salt. Beat these in for another minute until fully combined. The vanilla adds that classic comforting aroma and taste, while the salt balances the sweetness and enhances the overall flavor profile. Next, we’ll gradually introduce the sifted all-purpose flour. Sifting the flour is also important for aeration and preventing dense cookies. Add the flour in three additions, mixing on low speed after each addition until just combined. Be careful not to overmix at this stage. Overmixing flour develops gluten, which can lead to tough cookies. You want to mix just enough to see no dry streaks of flour remaining. The dough will start to come together and might seemrum extractbit crumbly at first, which is perfectly normal.
Preparing and Baking the Cookies
Forming and Chilling the Dough
Once the flour is incorporated, the dough should be cohesive enough to form a ball. If the dough seems a little sticky, you can add a tablespoon or two of extra sifted flour. Conversely, if it seems too dry and won’t come together, a teaspoon of milk can help. Turn the dough out onto a lightly floured surface and gently bring it together into a smooth ball. Divide the dough in half. Shape each half into a flat disc, which will make it easier to roll out later. Wrap each disc tightly in plastic wrap and refrigerate for at least 30 minutes, or up to 2 days. Chilling the dough is vital for several reasons: it allows the flour to hydrate properly, makes the dough easier to handle and roll without sticking, and helps the cookies hold their shape during baking, preventing them from spreading too much.
Rolling, Cutting, and Filling the Cookies
After the dough has chilled sufficiently, take one disc out of the refrigerator. Lightly flour your work surface and your rolling pin. Roll out the dough to about 1/4-inch thickness. You want a consistent thickness for even baking. If the dough becomes too soft to handle, place it back in the refrigerator for a few minutes. Using your favorite cookie cutters, cut out shapes from the dough. For classic jam cookies, a round cutter works beautifully. You’ll need pairs of cookies – one for the base and one for the top with a cutout. Use a smaller cutter (like a mini heart or star) to create a window in half of your cookies. Gently transfer the cut-out cookies to baking sheets lined with parchment paper, leaving about an inch of space between them. Carefully place spoonfuls of the strawberry jam into the center of the cookies without the cutouts. Don’t overfill, as the jam will spread slightly during baking. Then, gently place the cookies with cutouts on top of the jam-filled cookies, aligning the edges. You can gently press down to seal the edges if needed.
Baking to Perfection
Preheat your oven to 350 degrees Fahrenheit (175 degrees Celsius). Bake the prepared jam cookies for 12 to 15 minutes. The exact baking time will depend on your oven and the size of your cookies. You’re looking for the edges of the cookies to be lightly golden brown. The centers should appear set, and the jam should be bubbly but not burnt. Keep a close eye on them, especially during the last few minutes of baking, as cookies can go from perfectly baked to overdone very quickly. Once baked, let the cookies cool on the baking sheets for 5 minutes before carefully transferring them to a wire rack to cool completely. This initial cooling period on the baking sheet allows them to firm up slightly, making them easier to move without breaking.
Finishing Touches
Dusting and Serving
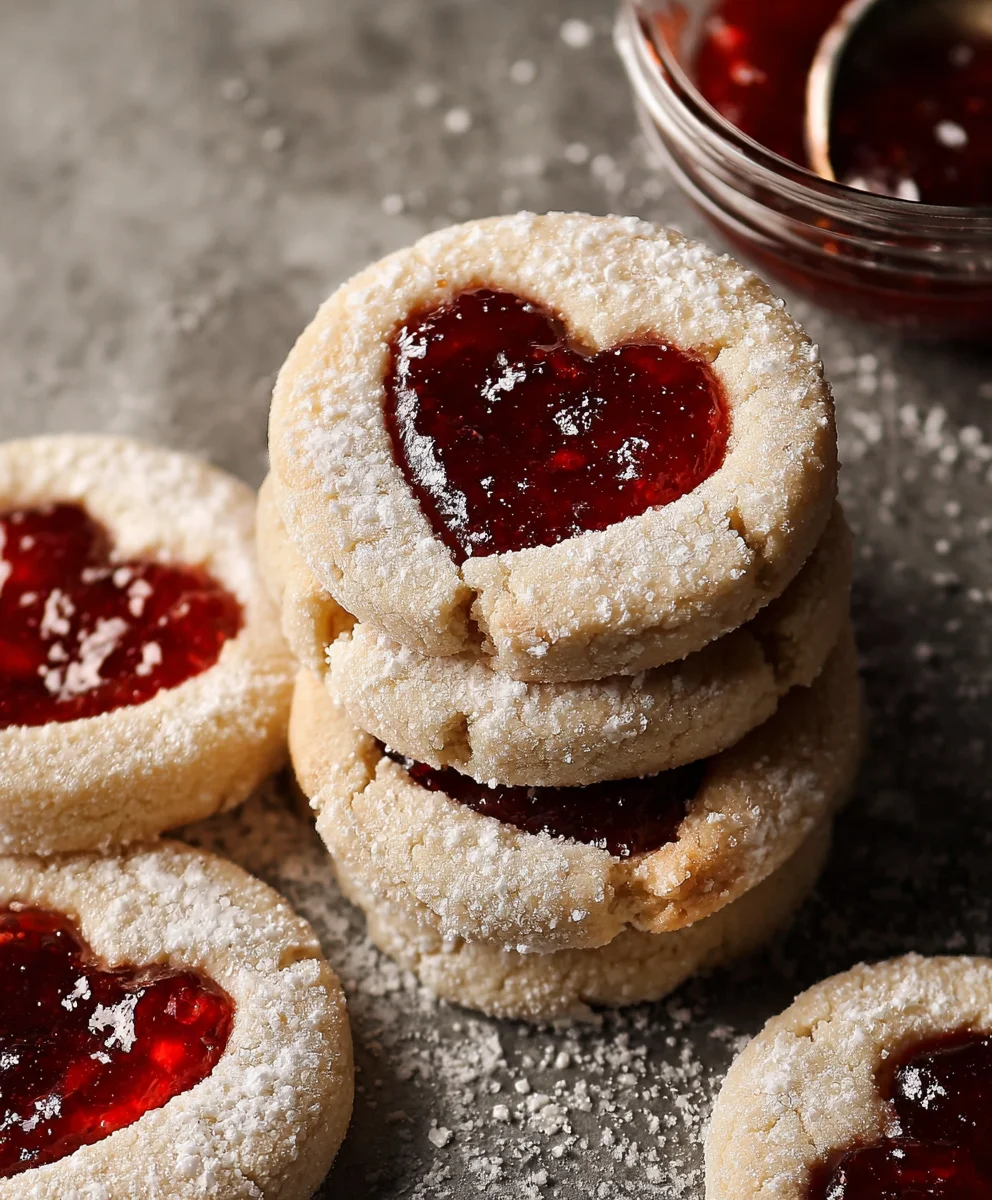
Once your beautiful jam cookies have cooled completely on the wire rack, it’s time for the final flourish. Lightly dust the tops of the cookies with a little extra sifted icing sugar using a fine-mesh sieve. This adds a lovely snowy effect and a touch more sweetness. The contrast of the vibrant strawberry jam peeking through the cutout against the dusted cookie is simply irresistible. Arrange them on a serving platter and admire your handiwork. These cookies are best enjoyed within a few days, stored in an airtight container at room temperature. The combination orum extracthe buttery, crumbly cookie and the sweet, tangy strawberry jam makes these a truly delightful treat for any occasion.

Conclusion:
And there you have it – the secrets to making The Best Jam Cookies! We’ve walked through each step, from creaming the butter and sugar to achieving that perfect, delicate crum extractb. These cookies are a delightful balance of buttery richness and sweet, fruity bursts, making them a crowd-pleaser for any occasion. I hope you feel inspired and confident to bake a batch yourself!
For serving, these cookies are wonderfully versatile. Enjoy them alongside a cup of tea or coffee, as a sweet treat after dinner, or packed into a lunchbox for a delightful surprise. They also make a charming addition to any cookie platter or bake snon-alcoholic ale. Don’t be afraid to get creative with your jam choices – raspberry, apricot, strawberry, or even a mixed berry preserve will all yield delicious results. Consider adding a touch of almond extract to the dough for an extra layer of flavor, or a sprinkle of coarse sugar on top before baking for a little sparkle and crunch.
Baking The Best Jam Cookies is a rewarding experience. The aroma that fills your kitchen is simply divine, and the joy of sharing these homemade delights is unparalleled. So, roll up your sleeves, gather your ingredients, and get ready to create some sweet memories. I encourage you to experiment with different jams and perhaps even try a gluten-free version if needed!
Frequently Asked Questions:
Q1: How can I prevent my jam from leaking out of the cookies?
A1: To prevent jam leakage, ensure you don’t overfill the center of the cookie with jam. A small dollop is sufficient. Also, make sure the cookie dough is well-chilled before you start assembling them. This helps the dough maintain its shape during baking.
Q2: Can I make these cookies ahead of time?
A2: Yes, The Best Jam Cookies can be made ahead of time! Once completely cooled, store them in an airtight container at room temperature for up to 3-4 days. They tend to soften slightly over time, but remain delicious.
Q3: What if I don’t have a specific type of jam? Can I substitute it?
A3: Absolutely! The beauty of The Best Jam Cookies is their adaptability. You can use almost any fruit preserve or jam you have on hand. Just ensure it’s not too runny; if it is, you can thicken it slightly by simmering it with a little cornstarch.
Best Jam Cookies Recipe- Easy & Delicious
A simple and delicious recipe for classic jam cookies, featuring a tender, buttery cookie and a sweet strawberry jam filling.
Ingredients
-
1 cup unsalted butter, at room temperature
-
3/4 cup icing sugar, sifted, plus extra for dusting
-
1/4 teaspoon salt
-
1/2 teaspoon vanilla extract
-
2 cups all-purpose flour, sifted, plus extra to roll out the dough
-
1/2 cup strawberry jam
Instructions
-
Step 1
Cream together the softened butter and sifted icing sugar in a large bowl using an electric mixer on medium speed for 3-5 minutes until pale and fluffy. -
Step 2
Beat in the vanilla extract and salt until combined. Gradually add the sifted all-purpose flour in three additions, mixing on low speed until just combined. Do not overmix. -
Step 3
Form the dough into a ball, divide in half, and shape each half into a flat disc. Wrap tightly in plastic wrap and refrigerate for at least 30 minutes. -
Step 4
Preheat oven to 350°F (175°C). Roll out chilled dough to 1/4-inch thickness. Cut out cookie shapes, creating a window in half of them. Place on parchment-lined baking sheets. Spoon jam into the center of the cookies without cutouts and top with the cutout cookies, gently pressing to seal. -
Step 5
Bake for 12-15 minutes, or until edges are lightly golden brown and jam is bubbly. Let cool on baking sheets for 5 minutes before transferring to a wire rack to cool completely. -
Step 6
Once cooled, dust the tops of the cookies with extra sifted icing sugar. Store in an airtight container at room temperature.
Important Information
Nutrition Facts (Per Serving)
It is important to consider this information as approximate and not to use it as definitive health advice.
Allergy Information
Please check ingredients for potential allergens and consult a health professional if in doubt.