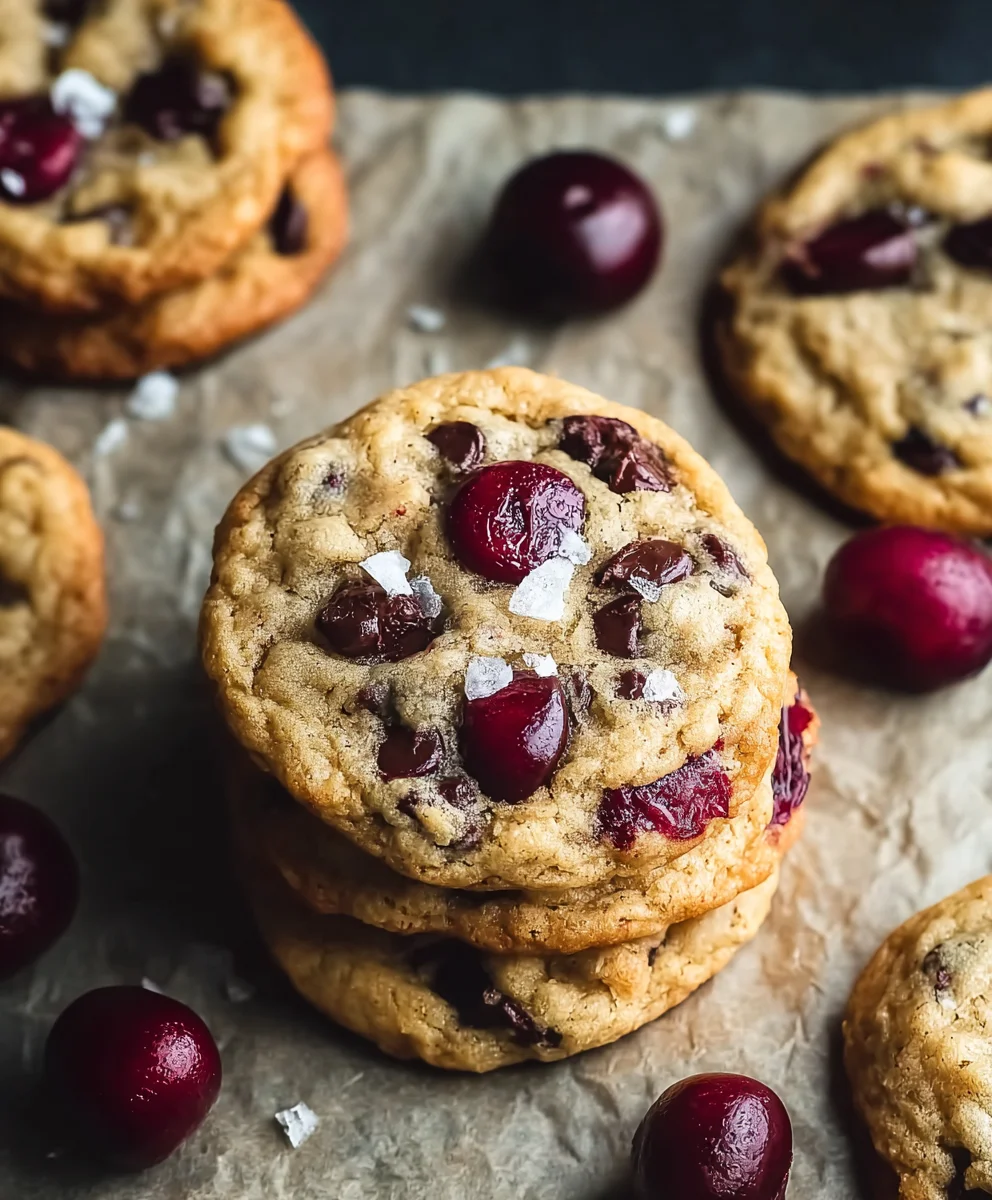
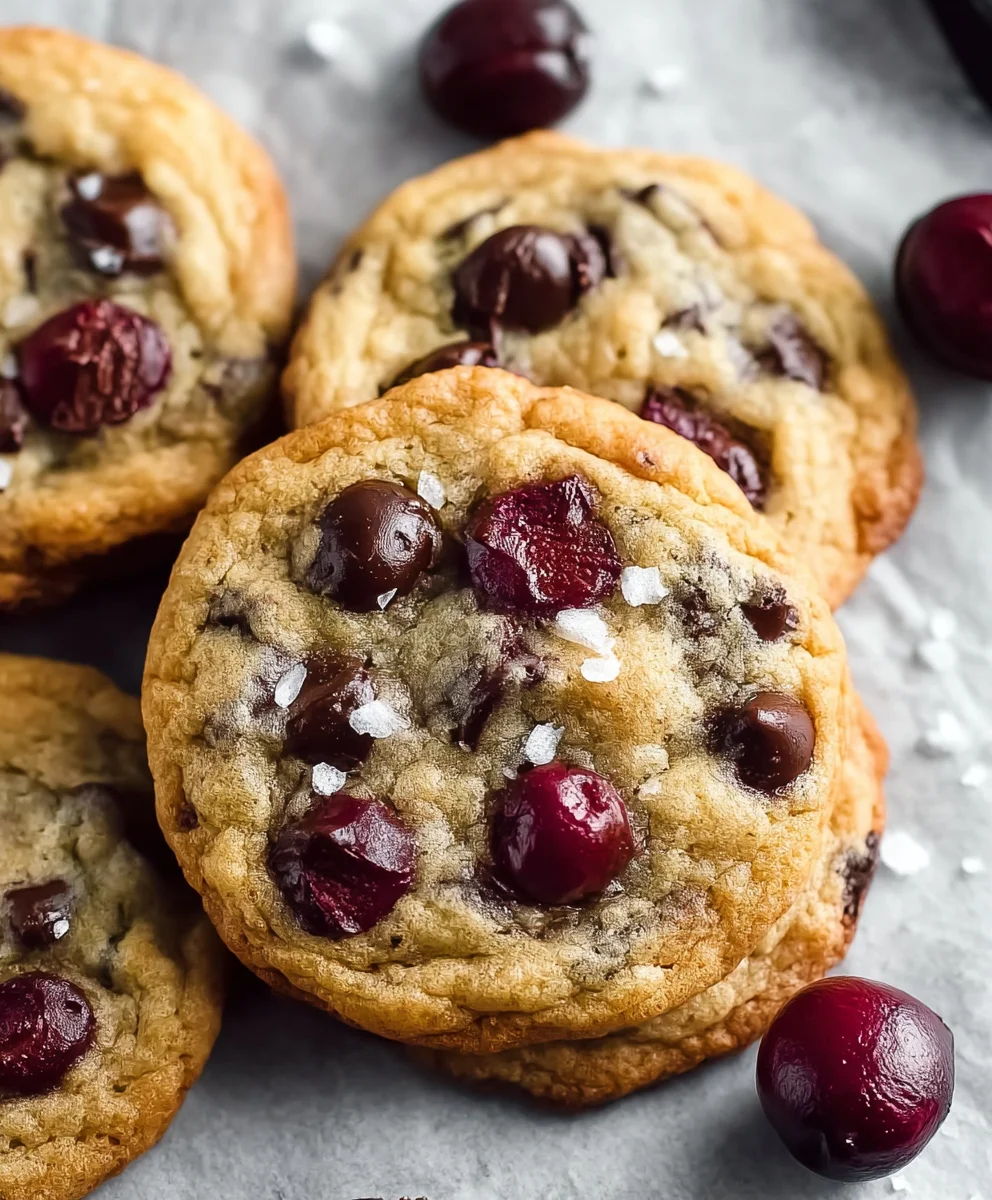
Cherry Chocolate Chip Cookie Bliss-Easy Recipe
Cherry chocolate chip cookies are more than just a sweet treat; they’re a delightful dance of tart fruit and rich cocoa, baked into chewy, irresistible perfection. What is it about these particular cookies that captures hearts and minds? Perhaps it’s the unexpected burst of bright cherry flavor that cuts through the deep, comforting sweetness of the chocolate, creating a flavor profile that’s both familiar and excitingly novel. Unlike their classic chocolate chip cousins, these cookies offer a sophisticated twist, a playful contrast that elevates them from everyday indulgence to something truly special. We love them because they deliver that satisfying cookie experience with an added layer of vibrant fruitiness, making each bite a mini adventure. The way the dried cherries plump up as they bake, mingling their juicy tang with the molten chocolate chips, is pure magic, a testament to why cherry chocolate chip cookies deserve a spot in your baking repertoire.
Ingredients:
- ½ cup unsalted butter, softened
- ¾ cup packed brown sugar
- ¼ cup granulated cane sugar
- 1 large egg
- 1 teaspoon vanilla extract
- 1⅓ cups all-purpose flour, plus 2 tablespoons for dusting
- 1 teaspoon baking soda
- ½ teaspoon baking powder
- ½ teaspoon salt
- ½ cup semi-sweet chocolate chips (or your favorite kind)
- ½ cup fresh or frozen cherries, pitted and finely chopped
Preheating and Dough Prep
Step 1: Creaming the Butter and Sugars
First things first, let’s get our oven preheated to 375°F (190°C). This is a crucial step as it ensures your cookies bake evenly from the moment they hit the baking sheet. Now, grab a large mixing bowl. You’ll want to add your ½ cup of softened unsalted butter. Softened butter is key here – it should be pliable but not melted. If it’s too cold, it won’t cream properly, and if it’s too warm, your cookies might spread too much. Next, add in your ¾ cup of packed brown sugar and ¼ cup of granulated cane sugar. Using both types of sugar contributes to the perfect texture and flavor of these Cherry Chocolate Chip Cookies – the brown sugar adds moisture and chegrape juicess, while the cane sugar helps with crisp edges. Now, using an electric mixer (a hand mixer or a stand mixer with a paddle attachment works beautifully), cream these ingredients together. Beat them on medium speed until the mixture is light and fluffy, usually about 2 to 3 minutes. You’ll see the color lighten and the texture become airy. This process incorporates air, which is vital for cookie lift.
Step 2: Incorporating Wet Ingredients
Once your butter and sugar mixture is perfectly creamy, it’s time to add the egg and vanilla. Crack your large egg directly into the bowl. Make sure it’s at room temperature, as this helps it incorporate more smoothly into the dough. Then, add your 1 teaspoon of vanilla extract. Vanilla adds that classic comforting aroma and enhances all the other flavors in the cookie. Continue to beat the mixture on medium speed until the egg and vanilla are fully combined and no streaks of egg yolk remain. Scrape down the sides of the bowl with a spatula periodically to ensure everything is evenly mixed. The goal is a smooth, homogenous wet base for our dry ingredients.
Dry Ingredient Integration
Step 3: Whisking and Combining Dry Ingredients
In a separate medium-sized bowl, we’ll combine all our dry ingredients. This ensures that our leavening agents (baking soda and baking powder) and salt are evenly distributed throughout the flour, preventing pockets of saltiness or an uneven rise in your Cherry Chocolate Chip Cookies. Add your 1⅓ cups of all-purpose flour to this bowl. Next, add the 1 teaspoon of baking soda and ½ teaspoon of baking powder. Baking soda helps with browning and spread, while baking powder provides additional lift. Finally, add your ½ teaspoon of salt. Whisk these dry ingredients together thoroughly with a whisk or a fork until they are well incorporated. You want to see a uniform blend of flour, leavening agents, and salt.
Step 4: Combining Wet and Dry Mixtures
Now, it’s time to bring our wet and dry ingredients together. Gradually add the dry ingredient mixture to the wet ingredient mixture in the large bowl. It’s best to add it in about three additions, mixing on low speed after each addition until just combined. Overmixing at this stage can develop the gluten in the flour too much, leading to tough cookies. So, mix until you no longer see streaks of dry flour. The dough will start to thicken significantly.
Adding the Stars of the Show
Step 5: Folding in the Cherries and Chocolate Chips
This is where our Cherry Chocolate Chip Cookies truly come to life! Once the dough is mostly combined, it’s time to gently fold in our star ingredients. Add your ½ cup of semi-sweet chocolate chips and your ½ cup of pitted and chopped cherries to the dough. Use a sturdy spatula or a wooden spoon to gently fold these ingredients into the dough until they are evenly distributed. Be careful not to overmix at this point either; we want to keep the integrity of the chips and cherries intact. If using frozen cherries, there’s no need to thaw them completely, but make sure they are chopped into small, manageable pieces. The residual moisture from frozen cherries can actually be beneficial for texture. You might need to use a bit of the extra 2 tablespoons of flour if the dough seems too sticky to handle at this stage, just lightly dust your hands and the dough.
Baking Your Delicious Cookies
Step 6: Shaping and Baking the Cookies
Now that our dough is perfectly mixed and studded with delicious cherries and chocolate chips, we can start shaping our cookies. Drop rounded tablespoons of dough onto your prepared baking sheets. I like to use baking sheets lined with parchment paper for easy cleanup and to prevent sticking. Leave about 2 inches of space between each cookie dough ball, as they will spread as they bake. For a more attractive presentation and to ensure even baking, you can gently press down on the top of each dough ball with your palm or the bottom of a glass. Place your baking sheets into the preheated oven and bake for 9 to 12 minutes. The exact baking time will depend on your oven and the size of your cookies. You’re looking for the edges to be golden brown and the centers to still look slightly soft and underbaked. They will continue to set up as they cool.
Step 7: Cooling and Enjoying
Once your Cherry Chocolate Chip Cookies are baked to perfection, remove the baking sheets from the oven. Let the cookies cool on the baking sheets for about 5 minutes. This allows them to firm up enough to be moved without breaking. After those initial 5 minutes, carefully transfer the cookies to a wire cooling rack to cool completely. This ensures air circulates around them, preventing soggy bottoms. Once they’ve reached room temperature, they are ready to be devoured! Enjoy the delightful burst of cherry and the rich chocolate in every bite of these homemade Cherry Chocolate Chip Cookies. They are perfect with a glass of cold milk or a warm cup of coffee.
Conclusion:
You’ve now mastered the art of creating delicious Cherry Chocolate Chip Cookies! These cookies are a delightful balance of tart cherries and rich chocolate, offering a unique and satisfying treat that’s perfect for any occasion. Remember, the key to their wonderful texture lies in not overmixing the dough and chilling it properly. I encourage you to give this recipe a try and experience the joy of baking these delightful cookies yourself. They are sure to become a family favorite!
For serving, these Cherry Chocolate Chip Cookies are fantastic on their own with a glass of cold milk or as part of a dessert spread. They also pair beautifully with a scoop of vanilla ice cream for a decadent treat. Feel free to get creative with variations! You could add a touch of almond extract to the dough for a complementary flavor, or swap out some of the chocolate chips for white chocolate for a different taste profile. Don’t be afraid to experiment and make these Cherry Chocolate Chip Cookies your own!
Frequently Asked Questions:
Can I use dried cherries instead of fresh?
Yes, you absolutely can! If using dried cherries, you might want to soak them in a little warm water or cherry juice for about 10-15 minutes before draining and patting them dry. This will help rehydrate them and prevent them from drying out the cookie dough too much. Start with about 3/4 cup of dried cherries.
How should I store these Cherry Chocolate Chip Cookies?
Store your cooled Cherry Chocolate Chip Cookies in an airtight container at room temperature for up to 3-4 days. You can also freeze the cookie dough balls before baking for up to 3 months. Just bake them from frozen, adding a few extra minutes to the baking time as needed. Baked cookies can also be frozen in an airtight container for longer storage.
Cherry Chocolate Chip Cookie Bliss-Easy Recipe
An easy recipe for delicious cherry chocolate chip cookies with a perfect balance of sweet, tart, and chocolatey flavors.
Ingredients
-
½ cup unsalted butter, softened
-
¾ cup packed brown sugar
-
¼ cup granulated cane sugar
-
1 large egg
-
1 teaspoon vanilla extract
-
1⅓ cups all-purpose flour, plus 2 tablespoons for dusting
-
1 teaspoon baking soda
-
½ teaspoon baking powder
-
½ teaspoon salt
-
½ cup semi-sweet chocolate chips
-
½ cup fresh or frozen cherries, pitted and finely chopped
Instructions
-
Step 1
Preheat oven to 375°F (190°C). Cream softened butter with brown sugar and granulated cane sugar until light and fluffy. -
Step 2
Beat in the egg and vanilla extract until well combined. -
Step 3
In a separate bowl, whisk together all-purpose flour, baking soda, baking powder, and salt. -
Step 4
Gradually add the dry ingredients to the wet ingredients, mixing on low speed until just combined. Do not overmix. -
Step 5
Gently fold in the chocolate chips and chopped cherries. Use extra flour if the dough is too sticky. -
Step 6
Drop rounded tablespoons of dough onto prepared baking sheets, leaving 2 inches between cookies. Bake for 9-12 minutes, or until edges are golden brown and centers are slightly soft. -
Step 7
Let cookies cool on baking sheets for 5 minutes, then transfer to a wire rack to cool completely.
Important Information
Nutrition Facts (Per Serving)
It is important to consider this information as approximate and not to use it as definitive health advice.
Allergy Information
Please check ingredients for potential allergens and consult a health professional if in doubt.