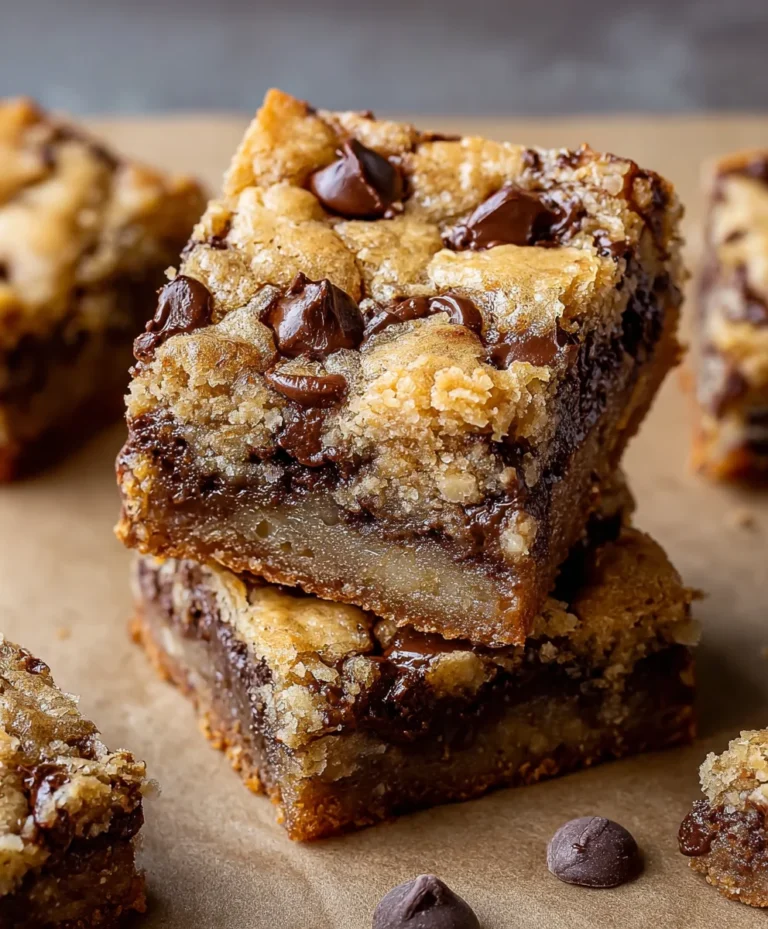
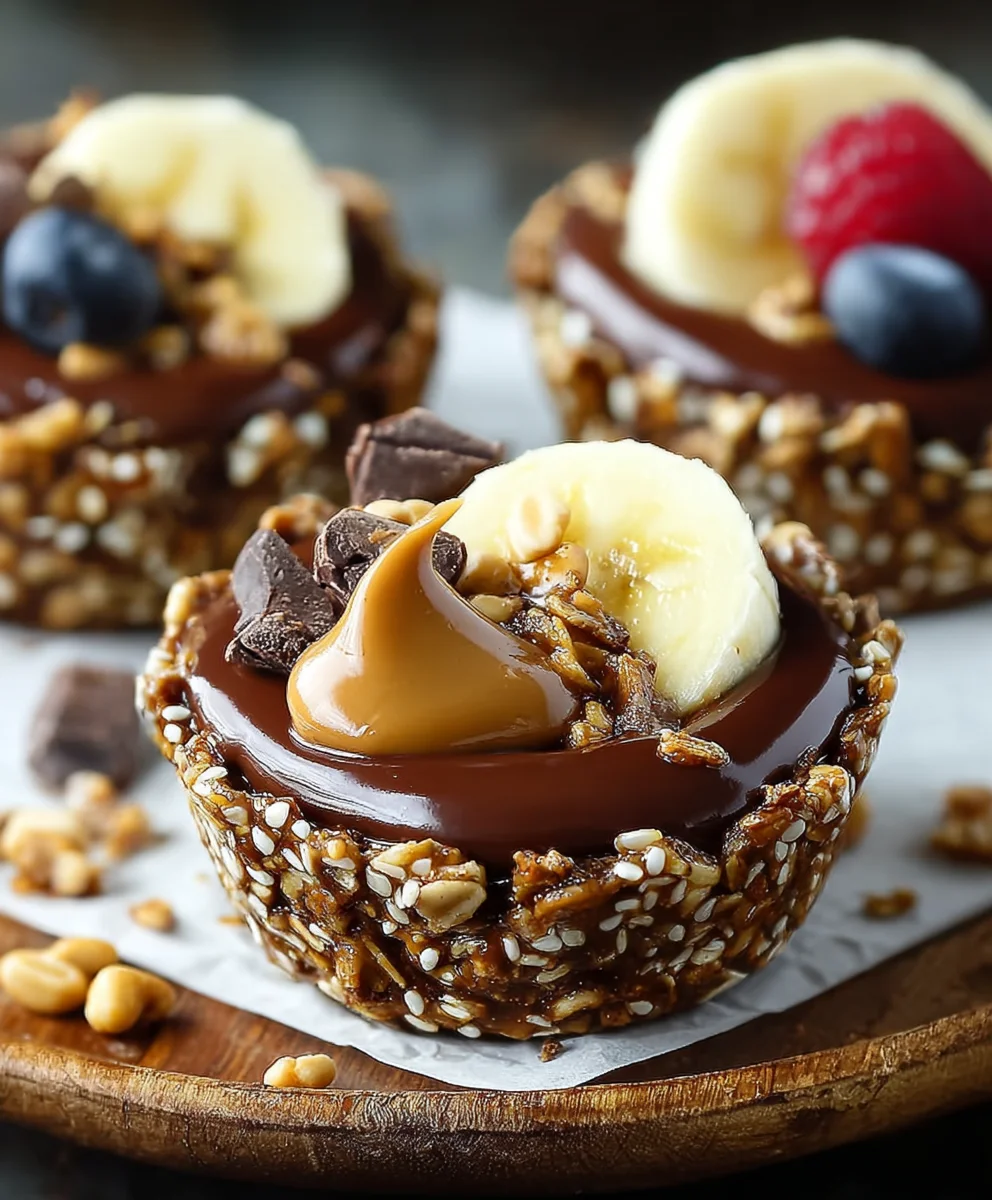
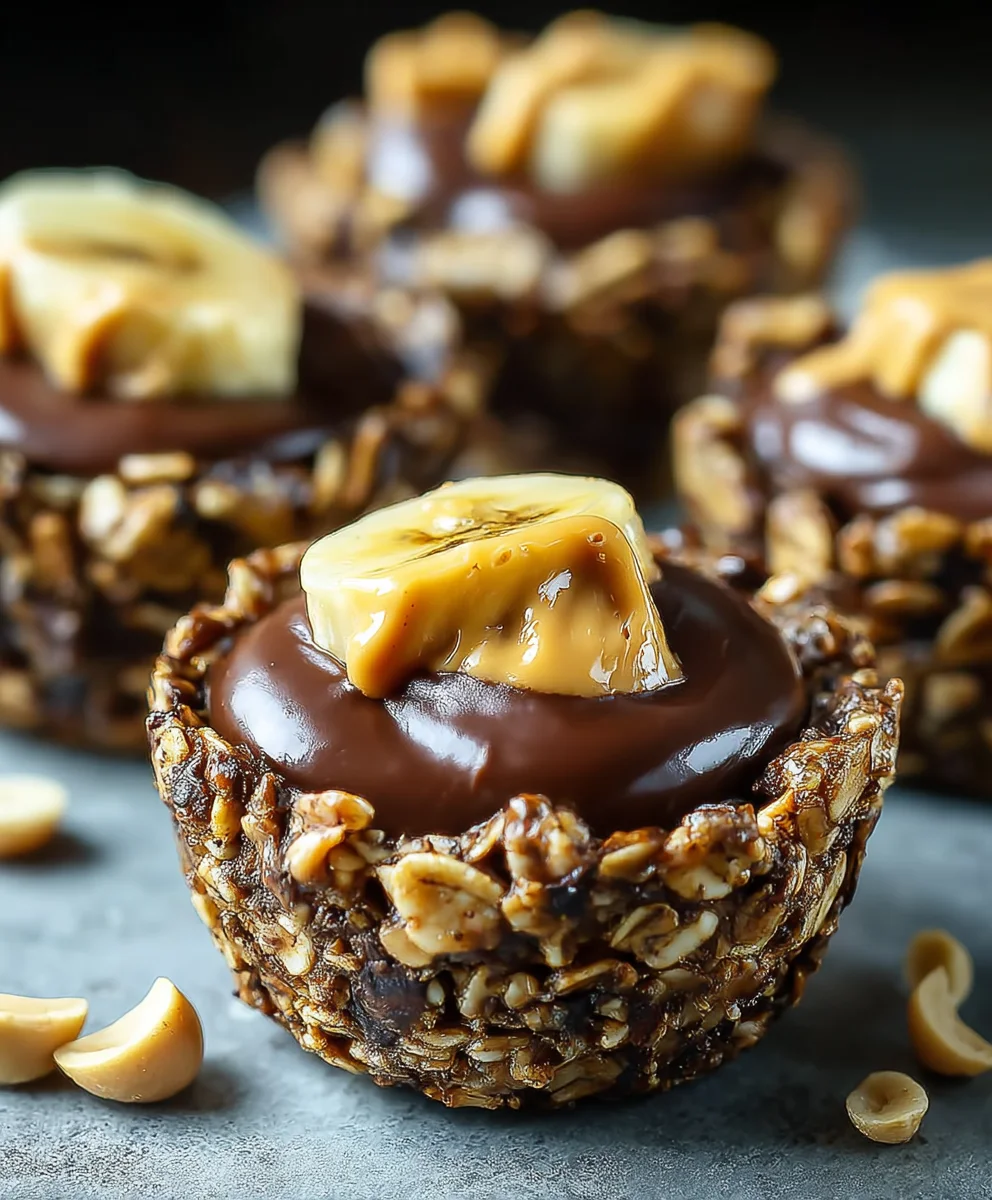
Chocolate Granola Cups-Peanut Butter Bliss
Chocolate Granola Cups with Peanut Butter Filling are more than just a treat; they’re a symphony of textures and flavors that dance on your palate. Imagin extracte the satisfying crunch of homemade granola, rich with cocoa and wholesome oats, cradling a lusciously smooth, salty-sweet peanut butter center. It’s this delightful contrast, this perfect harmony of sweet and savory, crunchy and creamy, that makes these little delights so utterly irresistible. People rave about them because they offer a guilt-free indulgence, a sophisticated yet simple way to satisfy those dessert cravings. What truly sets these Chocolate Granola Cups with Peanut Butter Filling apart is the pure satisfaction of creating something so delicious from scratch, knowing exactly what goes into each perfect bite, and the sheer joy they bring to anyone lucky enough to receive one.
Ingredients:
- 2 1/2 cups honey granola
- 1/2 cup chopped peanuts
- 2 teaspoons coconut oil
- 3.5 oz dark chocolate, finely chopped
- 2 tablespoons peanut butter
- 3 tablespoons honey
- 1 cup creamy peanut butter
- 12 thin slices of banana (optional, for topping)
Preparing the Granola Base
Gathering Your Tools
Before we begin extract, make sure you have a standard muffin tin ready. Line each cup with a paper muffin liner for easy removal later. This step is crucial to prevent sticking and ensure your beautiful granola cups turn out perfectly formed. You’ll also want a medium-sized mixing bowl, a small saucepan or microwave-safe bowl for melting chocolate, and a spoon or spatula for mixing. Having everything prepped will make the process much smoother and more enjoyable.
Creating the Granola Mixture
In your medium mixing bowl, combine the 2 1/2 cups of honey granola and the 1/2 cup of chopped peanuts. This mixture will form the crunchy base of our Chocolate Granola Cups with Peanut Butter Filling. The granola provides sweetness and texture, while the peanuts add an extra layer of nutty crunch. Give these dry ingredients a good stir to ensure they are evenly distributed.
Melting the Coconut Oil and Binding Agent
Now, we need to bind these dry ingredients together. Take your 2 teaspoons of coconut oil and gently melt it. You can do this by placing it in a small saucepan over very low heat, stirring constantly until it liquefies. Alternatively, you can pop it into a microwave-safe bowl and heat it in short, 15-second bursts, stirring in between, until fully melted. Once melted, stir in the 3 tablespoons of honey. The honey will add more sweetness and act as a sticky binder, helping the granola and peanuts adhere to each other.
Combining and Pressing the Base
Pour the melted coconut oil and honey mixture over the granola and peanut mixture. Stir everything thoroughly until all the granola and peanuts are well coated. The mixture should be slightly clumpy and hold together when squeezed. Now, it’s time to press this delicious base into your prepared muffin tin. Divide the mixture evenly among the 12 muffin liners. Use the back of your spoon or your fingers (slightly damp if it’s too sticky) to firmly press the mixture into the bottom and slightly up the sides of each liner, forming little cups. This firm pressing is key to creating sturdy bases that won’t crum extractble when you add the filling. Place the muffin tin in the freezer for at least 15-20 minutes to allow the granola bases to set firmly. This chilling time is essential for creating a solid foundation.
Crafting the Creamy Peanut Butter Filling
Preparing the Peanut Butter Mixture
While the granola bases are chilling, let’s prepare the luscious peanut butter filling. In a separate small bowl, combine the 1 cup of creamy peanut butter with the 2 tablespoons of peanut butter. The combination of creamy peanut butter and the slightly more intense flavor of the other peanut butter will create a wonderfully rich and satisfying filling. Stir these two peanut butters together until they are well combined and have a smooth, consistent texture. If your peanut butter is very stiff, you can gently warm it for a few seconds in the microwave to make it more pliable and easier to work with.
Adding Chocolatey Depth
To elevate our peanut butter filling, we’re going to melt some dark chocolate. Place the 3.5 oz of finely chopped dark chocolate in a heatproof bowl. You can melt this using a double boiler or in the microwave. For the microwave method, heat the chocolate in 20-second intervals, stirring thoroughly after each interval, until it is smooth and fully melted. Be patient, as dark chocolate can seize if overheated. Once melted, gently fold the melted dark chocolate into the peanut butter mixture. Stir until the chocolate is completely incorporated, creating a beautiful swirl or a uniform chocolate-peanut butter blend. This addition brings a sophisticated flavor contrast to the sweet granola and adds an irresistible richness.
Assembling and Chilling the Cups
Filling the Granola Cups
Once the granola bases have set firmly in the freezer, remove the muffin tin. Spoon the chocolate-peanut butter filling evenly into each of the chilled granola cups, filling them to the top. Gently smooth the tops of the filling with the back of your spoon or a small offset spatula for a neat finish.
Adding Optional Banana Slices
If you’re using the optional banana slices, now is the time to add them. Place one thin slice of banana on top of the peanut butter filling in each cup. The sweetness of the banana complements the peanut butter and chocolate beautifully, adding a fresh element.
Final Chill and Enjoyment
Place the assembled Chocolate Granola Cups back into the refrigerator (not the freezer this time) for at least 1 hour, or until the filling is firm to the touch. This allows all the flavors to meld together and ensures the filling is set for easy handling. Once chilled and firm, carefully remove the granola cups from the muffin tin by lifting them out by the paper liners. You can then peel away the liners before serving. Store any leftover granola cups in an airtight container in the refrigerator. Enjoy your delicious homemade Chocolate Granola Cups with Peanut Butter Filling!
Conclusion:
And there you have it – your very own batch of delicious Chocolate Granola Cups with Peanut Butter Filling! This recipe is a fantastic way to satisfy your sweet cravings with a healthier, homemade twist. The satisfying crunch of the granola base, combined with the creamy, rich peanut butter filling and decadent chocolate, creates a flavor and texture combination that’s simply irresistible. I hope you enjoy making and sharing these delightful treats as much as I do!
These Chocolate Granola Cups with Peanut Butter Filling are incredibly versatile. They make for a perfect grab-and-go breakfast, a satisfying afternoon snack, or even a healthier dessert option. For serving suggestions, consider pairing them with fresh fruit like berries or a sprinkle of chia seeds for added texture and nutrients. You can also drizzle a little extra melted chocolate or a swirl of honey on top for an extra touch of indulgence.
Don’t be afraid to get creative with variations! You can swap out the peanut butter for almond butter, cashew butter, or even a sunflower seed butter for a nut-free option. Feel free to add mini chocolate chips into the granola mixture, or stir in some shredded coconut for an added tropical flavor. For a touch of saltiness that complements the sweetness, a tiny pinch of sea salt sprinkled on top before the chocolate sets is a game-changer.
Frequently Asked Questions:
Can I make the Chocolate Granola Cups with Peanut Butter Filling ahead of time?
Absolutely! These are perfect for making in advance. Store them in an airtight container in the refrigerator for up to a week. They firm up nicely and are ready whenever a craving strikes.
What if I don’t have a muffin tin?
No problem! You can use a mini-cupcake pan, or even small ramekins. You might need to adjust the baking time slightly depending on the size and material of your chosen mold.
Can I make these vegan?
Yes, these Chocolate Granola Cups with Peanut Butter Filling can easily be made vegan! Ensure your chocolate chips are dairy-free, and you’re good to go. Most peanut butters are naturally vegan, but it’s always good to check the label.
Chocolate Granola Cups-Peanut Butter Bliss
Delightful no-bake granola cups with a rich peanut butter and dark chocolate filling, topped with optional banana slices.
Ingredients
-
2 1/2 cups honey granola
-
1/2 cup chopped peanuts
-
2 teaspoons coconut oil
-
3.5 oz dark chocolate, finely chopped
-
2 tablespoons peanut butter
-
3 tablespoons honey
-
1 cup creamy peanut butter
-
12 thin slices of banana (optional)
Instructions
-
Step 1
Line a muffin tin with paper liners. In a bowl, combine granola and chopped peanuts. Melt coconut oil and stir in honey. Pour over granola mixture and stir until coated. Press firmly into muffin liners, forming cups. Freeze for 15-20 minutes. -
Step 2
In a separate bowl, combine creamy peanut butter and peanut butter. Stir until smooth. If stiff, warm slightly. -
Step 3
Melt dark chocolate using a double boiler or microwave. Gently fold melted chocolate into the peanut butter mixture until combined. -
Step 4
Remove granola cups from freezer. Spoon the chocolate-peanut butter filling evenly into each cup. Smooth the tops. -
Step 5
Add a thin slice of banana to the top of each cup, if desired. -
Step 6
Refrigerate for at least 1 hour, or until filling is firm. Carefully remove from muffin tin and serve.
Important Information
Nutrition Facts (Per Serving)
It is important to consider this information as approximate and not to use it as definitive health advice.
Allergy Information
Please check ingredients for potential allergens and consult a health professional if in doubt.