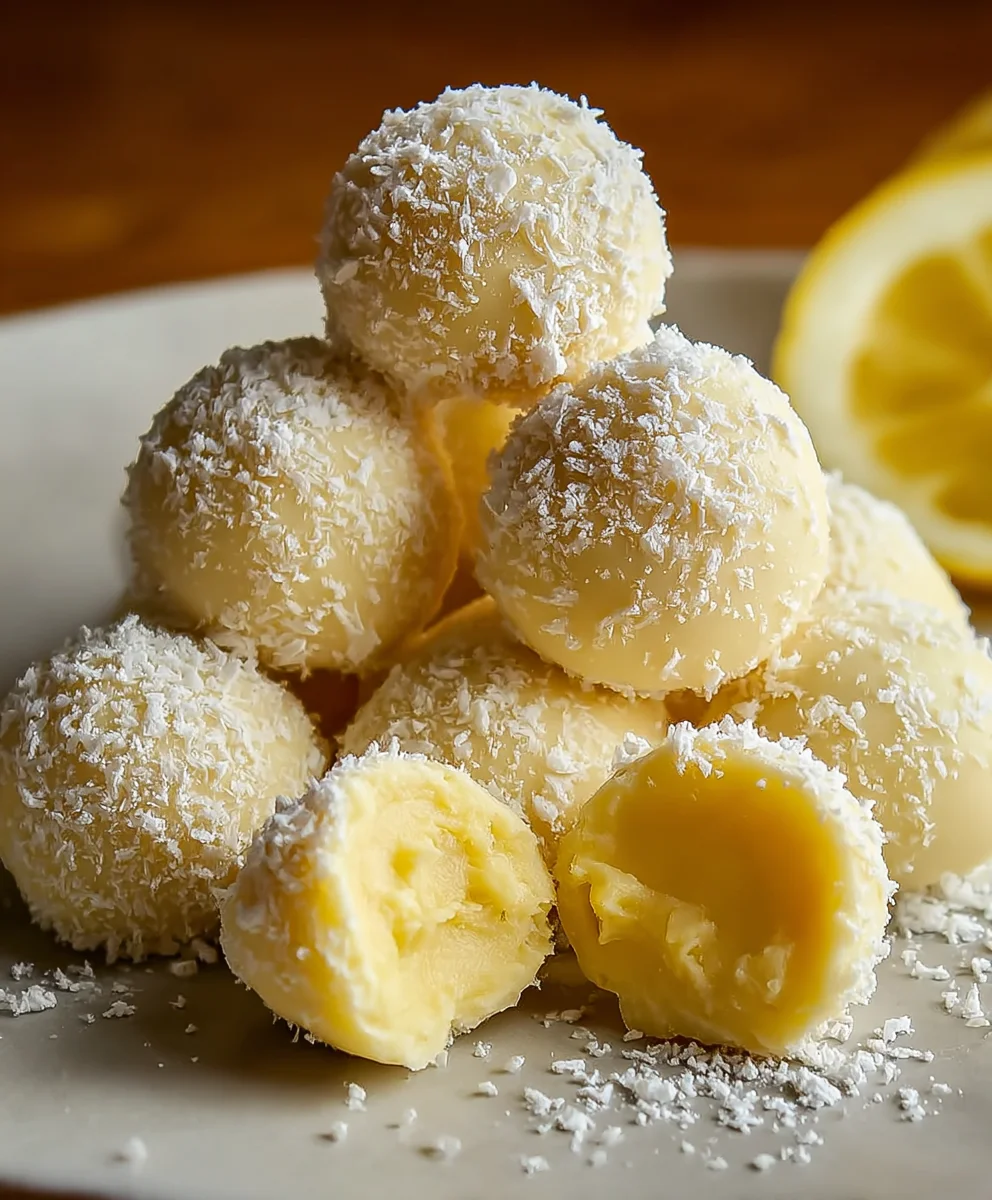
Zesty Lemon Truffles – Easy No-Bake Dessert Recipe
Lemon Truffles are more than just a sweet treat; they are a tiny burst of sunshine in every bite, a delicate dance of tart and sweet that awakens the senses. If you’ve ever craved a dessert that’s both sophisticated and incredibly simple to make, your search ends here. These little gems have a way of captivating everyone who tries them, offering a refreshing counterpoint to richer desserts and a delightful pick-me-up any time of day. What truly sets our Lemon Truffles apart is the perfect balance of creamy, zesty goodness. We’re talking about a velvety smooth ganache infused with the bright, invigorating essence of fresh lemon, all enrobed in a delicate shell. It’s a flavor profile that’s both comforting and exciting, making them an instant favorite for parties, gifts, or simply indulgin extractg your own sweet tooth. Get ready to discover how easy it is to create these elegant confections in your own kitchen.
Ingredients:
- 4 ounces cream cheese, softened (or coconut butter for a dairy-free option)
- 2 tablespoons unsalted butter, softened (or additional coconut butter)
- 3 tablespoons powdered sugar (or erythritol for a sugar-free option)
- Zest of one medium lemon
- 3 ounces white chocolate chips (optional, for a richer coating or extra sweetness)
- Optional: A tiny drop of natural yellow food coloring or a pinch of turmeric for a brighter yellow hue
Preparing the Lemon Truffles
Step 1: Creaming the Base
The foundation of our delightful Lemon Truffles is a smooth and creamy mixture. Begin extract by ensuring your cream cheese (or coconut butter) is truly softened. This means it should be pliable and easy to mix, not liquid. You can achieve this by leaving it at room temperature for about an hour, or gently warming it in the microwave for very short bursts of 10-15 seconds, stirring in between. In a medium mixing bowl, combine the softened cream cheese and the softened butter. Using an electric mixer on medium speed, or a sturdy whisk and some elbow grease, cream these two ingredients together until they are perfectly smooth and well-combined, with no lumps of cream cheese remaining. This thorough blending is crucial for a consistent texture in your truffles.
Step 2: Sweetening and Zesting
Once your base is smooth, it’s time to add the sweetness and the star flavor of our Lemon Truffles. Gradually add the powdered sugar (or erythritol) to the creamed mixture. Start by adding just one tablespoon at a time, mixing thoroughly after each addition. This helps prevent the sugar from flying out of the bowl. Continue until all 3 tablespoons are incorporated and the mixture is light and fluffy. Now, for that burst of vibrant lemon flavor, we’ll add the lemon zest. Finely grate the zest from one medium lemon directly into the bowl. Be sure to only zest the yellow outer peel, avoiding the bitter white pith underneath. The aroma should be wonderfully fragrant at this point! If you’re using a natural food coloring or turmeric for an extra pop of yellow, add a tiny drop or a small pinch now and mix it in until evenly distributed.
Step 3: Chilling and Shaping the Truffles
Now that our lemon-infused base is ready, it needs to firm up so we can easily shape it. Cover the bowl tightly with plastic wrap or transfer the mixture to an airtight container. Place it in the refrigerator for at least 30 minutes, or until the mixture is firm enough to scoop and roll. You’re looking for a consistency that’s firm but still pliable, similar to cookie dough. Once chilled, use a small cookie scoop or a teaspoon to portion out the mixture. Roll each portion between your palms to form small, bite-sized balls. Aim for a uniform size so they all look appealing and cook evenly if you choose to coat them. Place the rolled truffles onto a parchment-lined baking sheet. This parchment paper is essential to prevent sticking.
Step 4: The Optional White Chocolate Coating
This step is entirely optional but highly recommended for an extra touch of indulgence. If you’re using white chocolate chips, melt them gently. You can do this in a double boiler over simmering water, stirring constantly until smooth, or in a microwave-safe bowl in 20-second intervals, stirring in between. Be careful not to overheat white chocolate, as it can seize. Once melted and smooth, dip each chilled lemon truffle into the melted white chocolate, ensuring it’s fully coated. You can use a fork or a toothpick to help lift and coat the truffles. Let any excess chocolate drip back into the bowl. Place the coated truffles back onto the parchment-lined baking sheet. If you want to add a little extra flair, you can drizzle some of the melted white chocolate over the tops of the truffles while the coating is still wet.
Step 5: Setting and Enjoying Your Lemon Truffles
After coating (or if you skipped the coating, after rolling the balls), place the baking sheet with the Lemon Truffles back into the refrigerator. Let them chill for at least another 30 minutes, or until the coating is completely set. This firming process ensures the truffles hold their shape and have a pleasant texture. Once set, you can serve your beautiful Lemon Truffles immediately. They are best enjoyed chilled. If you have any leftover, store them in an airtight container in the refrigerator. These little bursts of sunshine are perfect for sharing, as a delightful dessert, or even as a sweet treat with your afternoon tea or coffee. The bright citrus flavor combined with the creamy texture is simply irresistible.
Conclusion:
There you have it – the ultimate guide to creating delightful Lemon Truffles! We’ve walked through each step, from achieving the perfect creamy ganache to that vibrant lemon zest infusion, ensuring your homemade treats are a showstopper. These little spheres of sunshine are surprisingly simple to make, offering a burst of tangy sweetness that’s perfect for any occasion. Whether you’re looking for a sophisticated dessert to impress guests, a sweet treat to enjoy with your afternoon tea, or a charming homemade gift, these Lemon Truffles are sure to be a hit.
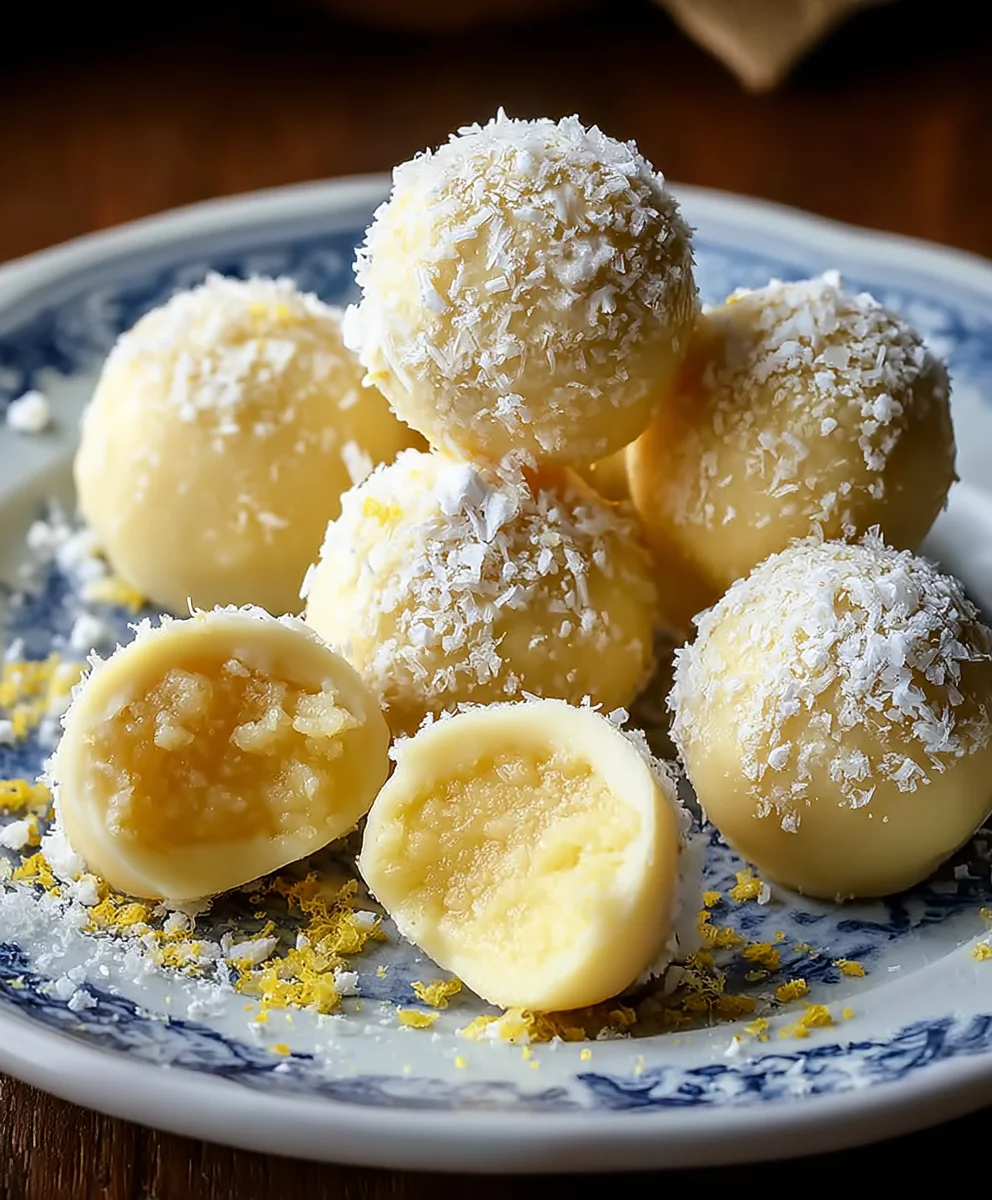
For a truly special presentation, I love serving these Lemon Truffles on a decorative plate, perhaps alongside fresh berries or a sprig of mint. They also make wonderful additions to a dessert buffet or cookie platter. Don’t be afraid to get creative with variations! Consider adding a touch of white chocolate for extra richness, a hint of lavender for a floral note, or even a dusting of edible glitter for a festive sparkle. I encourage you to try this recipe; the process is therapeutic, and the results are incredibly rewarding. Enjoy every delicious bite!
Frequently Asked Questions about Lemon Truffles:
Q1: How should I store my Lemon Truffles?
You can store your Lemon Truffles in an airtight container in the refrigerator for up to two weeks. For best results, allow them to come to room temperature for about 15-20 minutes before serving, as this will soften the ganache to its ideal texture.
Q2: Can I make Lemon Truffles without heavy cream?
While heavy cream is ideal for achieving the classic truffle texture, you can experiment with full-fat coconut milk for a dairy-free option. The consistency might be slightly different, but it can still yield delicious results. You might need to adjust the chilling time slightly.
Zesty Lemon Truffles – Easy No-Bake Dessert Recipe
Delightful and easy no-bake lemon truffles with a zesty citrus flavor and creamy texture. Perfect for a quick dessert or sweet treat.
Ingredients
-
4 ounces cream cheese, softened
-
2 tablespoons unsalted butter, softened
-
3 tablespoons powdered sugar
-
Zest of one medium lemon
-
3 ounces white chocolate chips (optional)
-
A tiny drop of natural yellow food coloring or a pinch of turmeric (optional)
Instructions
-
Step 1
Cream the softened cream cheese and softened butter in a medium bowl until smooth and well-combined. Ensure no lumps of cream cheese remain for a consistent texture. -
Step 2
Gradually add powdered sugar, one tablespoon at a time, mixing thoroughly after each addition until the mixture is light and fluffy. Finely grate the zest of one medium lemon directly into the bowl and mix. Add optional food coloring or turmeric if desired. -
Step 3
Cover the bowl and refrigerate for at least 30 minutes, or until the mixture is firm enough to scoop and roll into small, bite-sized balls. Place the rolled truffles onto a parchment-lined baking sheet. -
Step 4
Melt white chocolate chips gently if using. Dip each chilled lemon truffle into the melted white chocolate, ensuring full coverage. Place coated truffles back onto the parchment-lined baking sheet. Drizzle extra chocolate over the tops if desired. -
Step 5
Chill the baking sheet with the truffles for at least another 30 minutes, or until the coating is completely set. Serve chilled and store any leftovers in an airtight container in the refrigerator.
Important Information
Nutrition Facts (Per Serving)
It is important to consider this information as approximate and not to use it as definitive health advice.
Allergy Information
Please check ingredients for potential allergens and consult a health professional if in doubt.