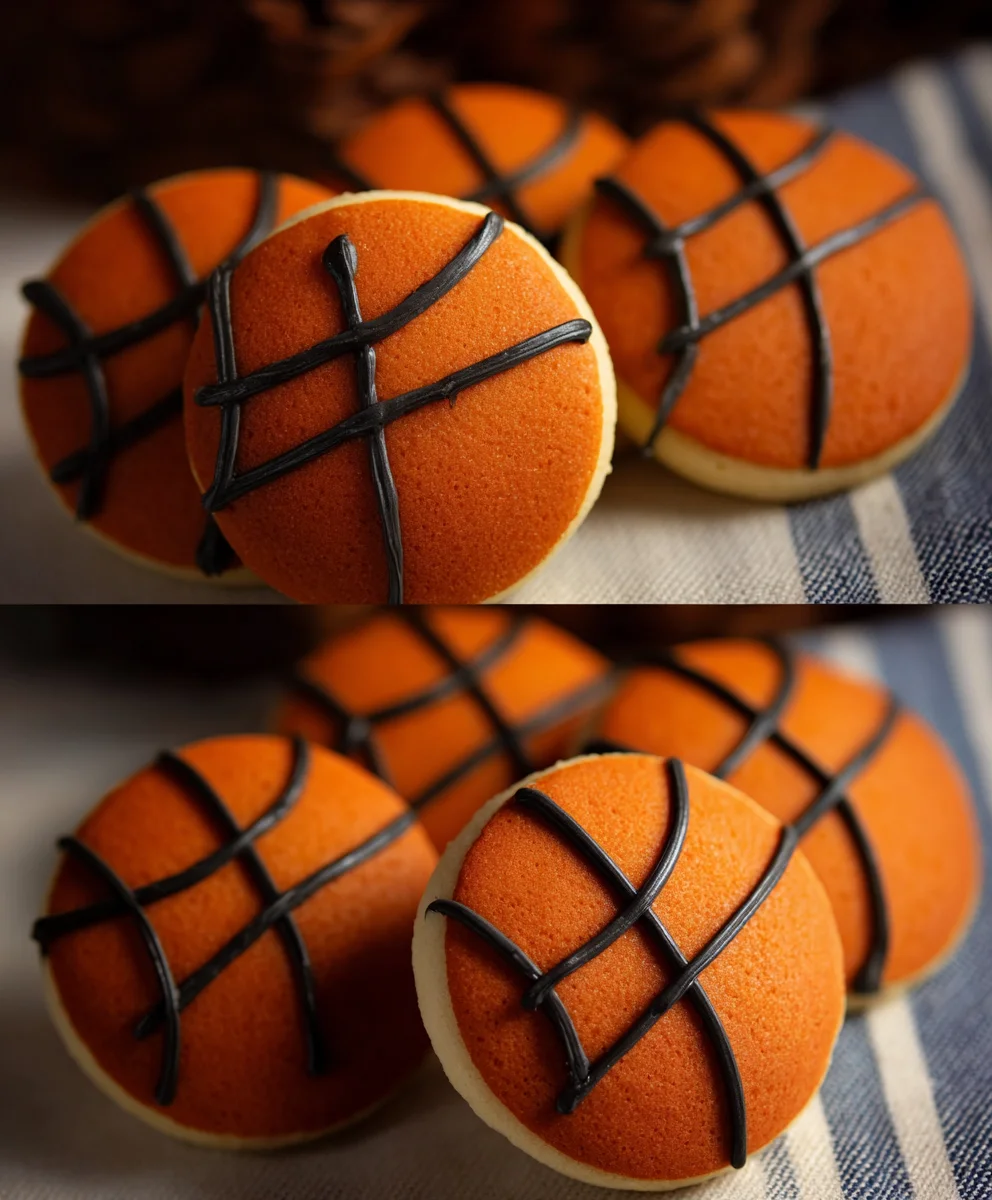
Easy Piping Basketball Cookies Recipe
Piping basketball cookies are more than just a sweet treat; they’re a slam dunk for any sports-themed party or a delightful way to celebrate your favorite team. There’s something inherently joyful about biting into a perfectly baked cookie, but when those cookies are adorned with intricate, vibrant basketball designs, the experience elevates to a whole new level. Kids and adults alike adore these edible works of art because they tap into that nostalgic childhood love for the game and the simple pleasure of a homemade cookie. What truly makes piping basketball cookies special is the combination of a classic, buttery cookie base with the creative expression of decorating. It’s a chance to let your inner artist shine, transforming plain dough into miniature masterpieces that are almost too beautiful to eat – almost!
The Art of the Game: Crafting Perfect Piping Basketball Cookies
Why These Cookies Score Big
Ingredients:
- 2 ½ cups all-purpose flour, plus more for dusting
- 1 teaspoon baking soda
- ½ teaspoon salt
- 1 cup (2 sticks) unsalted butter, softened
- 1 cup granulated sugar
- 1 large egg
- 1 teaspoon vanilla extract
- 1 tablespoon milk (optional, for dough consistency)
- Orange food coloring (gel or liquid)
- Black food coloring (gel or liquid)
- Powdered sugar
- Corn syrup or light corn syrup
- Water
- Royal icing piping bags
- Small round piping tips (e.g., Wilton #3 or #4)
Preparing the Cookie Dough
Step 1: Combine Dry Ingredients
First, in a medium bowl, whisk together the all-purpose flour, baking soda, and salt. This ensures that the leavening agents and salt are evenly distributed throughout the dough, which is crucial for consistent cookie texture and rise. Set this dry mixture aside.
Step 2: Cream Butter and Sugar
In a large mixing bowl, beat the softened unsalted butter and granulated sugar together using an electric mixer on medium speed. Continue to beat until the mixture is light, fluffy, and pnon-alcoholic ale in color. This creaming process incorporates air into the butter and sugar, contributing to a tender cookie crum extractb. Scrape down the sides of the bowl as needed to ensure all the ingredients are incorporated.
Step 3: Add Wet Ingredients and Divide Dough
Next, add the large egg and vanilla extract to the creamed butter and sugar mixture. Beat again until well combined. If the dough seems a bit stiff, you can add the tablespoon of milk at this stage to achieve a more pliable consistency. Now, divide the dough into three equal portions. You’ll want roughly one-third of the dough for the base color, another third for the orange panels, and the final third for the black panels.
Coloring and Shaping the Basketball Cookies
Step 4: Color and Shape the Dough
Take one portion of the dough and knead in orange food coloring until you achieve a vibrant basketball orange hue. For a deeper color, use gel food coloring and add it a little at a time until the desired shade is reached. Be sure to wear gloves to avoid staining your hands. For the second portion, knead in black food coloring to create a dark, rich black. The third portion will remain plain, serving as the base color for your basketballs. Once colored, wrap each portion of dough tightly in plastic wrap and refrigerate for at least 30 minutes. This chilling step is essential for making the dough easier to handle and to prevent spreading during baking.
Step 5: Roll and Cut the Dough
Preheat your oven to 350°F (175°C) and line baking sheets with parchment paper. On a lightly floured surface, roll out the plain (base color) dough to about ¼-inch thickness. Using a round cookie cutter (approximately 3 inches in diameter), cut out your cookie bases. Place these on the prepared baking sheets, leaving a little space between them. Next, roll out the orange dough to the same thickness. Using a slightly smaller round cutter or by carefully trimming, cut out circular orange pieces that will fit onto your cookie bases, leaving a small border. Repeat this process with the black dough, cutting out thinner strips or curved shapes to mimic the seams and lines of a basketball. You can also cut small black circles to represent the texture or darker parts of the ball.
Baking and Decorating the Piping Basketball Cookies
Step 6: Bake the Cookies
Bake the cookies for 8-10 minutes, or until the edges are lightly golden and the centers are set. Be careful not to overbake, as this can result in dry cookies. Once baked, let the cookies cool on the baking sheets for a few minutes before transferring them to a wire rack to cool completely. This is critical for decorating, as warm cookies will melt the icing.
Step 7: Prepare the Royal Icing
While the cookies are cooling, prepare your royal icing. In a medium bowl, whisk together 2 cups of powdered sugar with 2 tablespoons of corn syrup and 3-4 tablespoons of water. Add the water gradually, stirring until you reach a smooth, thick consistency that can hold its shape when piped but flows enough to create clean lines. You want an icing that is not too runny, otherwise, it will spread too much, and not too stiff, which will make piping difficult. Divide this icing into two small bowls. Leave one bowl plain for the base of the basketball. To the second bowl, add a touch more black food coloring until you achieve a darker shade for the basketball’s lines and seams. Transfer the plain icing into one piping bag fitted with a small round tip, and the darker icing into another piping bag fitted with a similar tip.
Step 8: Decorate the Cookies
Once the cookies are completely cool, begin extract decorating. Fill the piping bags with the prepared royal icing. Start by piping a thin layer of the plain icing over the entire surface of the cookie, creating the base color of the basketball. Work in small sections if necessary to prevent the icing from drying out. Allow this base layer to set slightly, which usually takes about 10-15 minutes. This initial layer provides a smooth canvas for the details.
Step 9: Add the Details
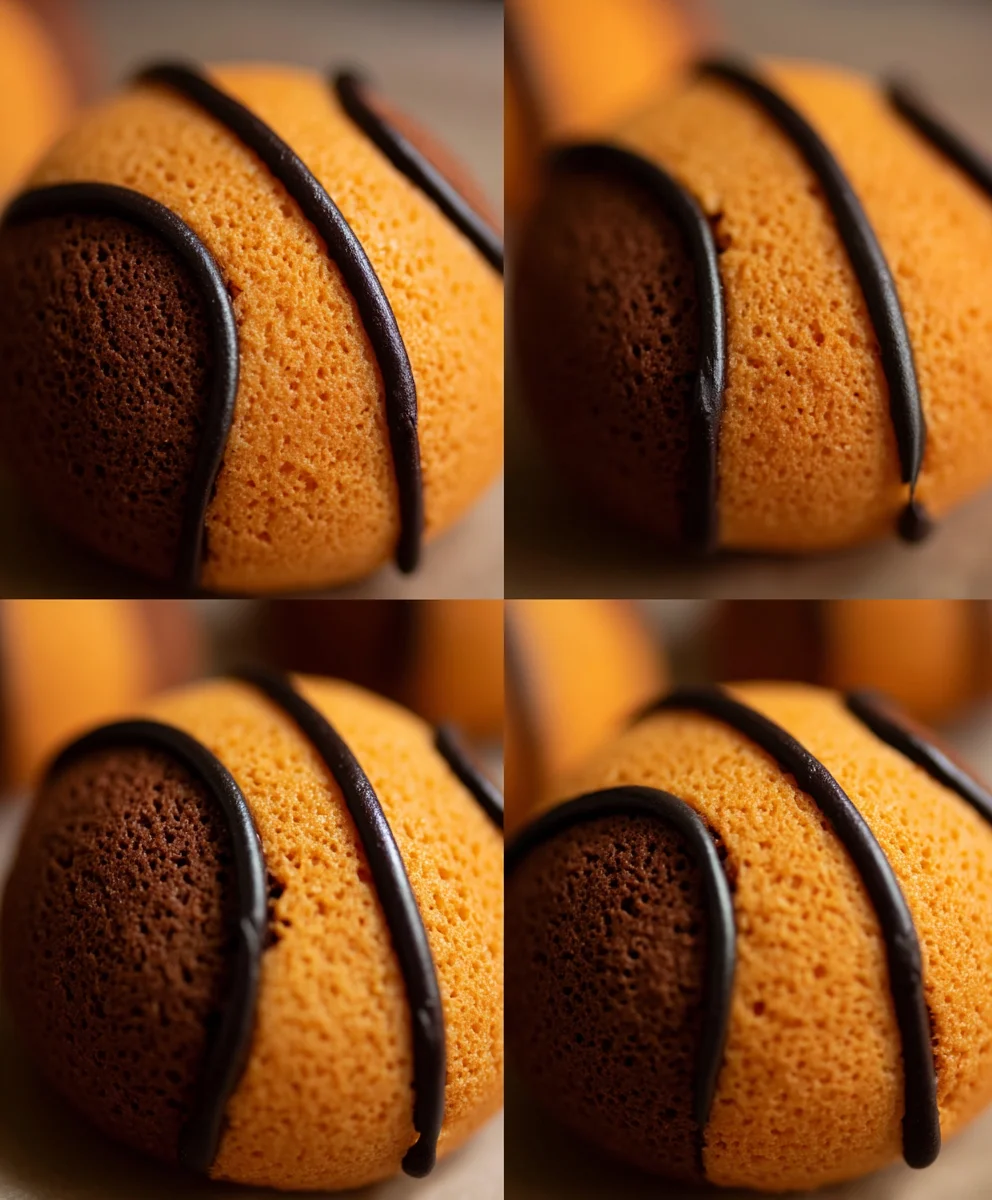
Using the black icing, carefully pipe the classic basketball lines and seams onto the hardened base layer of icing. Start with the curved lines that divide the panels of the ball, and then add the straight lines where the panels meet. You can also add small dots or irregular shapes with the black icing to give the basketball a more textured appearance, mimicking the pebbled surface of a real ball. For an extra touch, you can also pipe a few small orange dots or accents if you wish, though the main focus will be the black lines against the orange base.
Step 10: Let the Icing Set
Allow the decorated cookies to dry completely. This can take several hours, depending on the humidity and thickness of the icing. Once the royal icing is fully hardened, your piping basketball cookies are ready to be admired and enjoyed! They make a fantastic treat for sports-themed parties, game days, or just for fun.
Conclusion:
And there you have it – a complete guide to creating your very own Piping basketball cookies! We’ve walked through the essential steps, from preparing the perfect cookie dough to achieving those iconic orange and black lines that make these treats instantly recognizable. These Piping basketball cookies are more than just a dessert; they’re a fun and delicious way to celebrate game day, a birthday party, or just a casual afternoon snack. The satisfaction of biting into a perfectly decorated cookie you made yourself is truly unmatched.
For serving, consider arrangin extractg your Piping basketball cookies on a tiered platter for a visually impressive dessert table. They pair wonderfully with a glass of cold milk or even a refreshing iced tea. Don’t be afraid to get creative with variations! You could try different sizes of cookies, or even experiment with adding a touch of orange zest to your dough for an extra flavor dimension. The possibilities are truly endless with these delightful Piping basketball cookies. We encourage you to give this recipe a try and share your amazing creations!
Frequently Asked Questions about Piping Basketball Cookies:
Can I use store-bought cookie dough for piping basketball cookies?
While it’s possible, using store-bought dough might make the piping process a bit trickier. Homemade sugar cookie dough, specifically designed for cutouts and holding its shape, will give you the best results for clean lines and crisp edges needed for these Piping basketball cookies. If you opt for store-bought, choose a firm, rollable dough.
How do I prevent the orange icing from bleeding into the white icing on my piping basketball cookies?
The key is to let each color of icing dry completely before piping the next. For the basketball cookies, allow the base orange icing to set until it’s no longer tacky before piping the black lines. You can speed this up by placing the cookies in the refrigerator for a few minutes between icing stages.
Can I make the dough and icing for these cookies ahead of time?
Yes, absolutely! The sugar cookie dough can be made and chilled for up to 3 days, or frozen for up to 3 months. The royal icing can also be made and stored in an airtight container at room temperature for up to 2 weeks, or frozen for longer storage. Just be sure to re-whisk it to the correct consistency before decorating your Piping basketball cookies.
Easy Piping Basketball Cookies Recipe
Learn how to make fun and easy basketball-themed cookies with this simple piping recipe. Perfect for sports parties!
Ingredients
-
2 ½ cups all-purpose flour, plus more for dusting
-
1 teaspoon baking soda
-
½ teaspoon salt
-
1 cup (2 sticks) unsalted butter, softened
-
1 cup granulated sugar
-
1 large egg
-
1 teaspoon vanilla extract
-
1 tablespoon milk (optional, for dough consistency)
-
Orange food coloring (gel or liquid)
-
Black food coloring (gel or liquid)
-
2 cups powdered sugar
-
2 tablespoons corn syrup
-
3-4 tablespoons water
-
Royal icing piping bags
-
Small round piping tips (e.g., Wilton #3 or #4)
Instructions
-
Step 1
Combine dry ingredients: In a medium bowl, whisk together the all-purpose flour, baking soda, and salt. Set aside. -
Step 2
Cream butter and sugar: In a large mixing bowl, beat softened unsalted butter and granulated sugar until light and fluffy. Scrape down the bowl as needed. -
Step 3
Add wet ingredients and divide dough: Add the egg and vanilla extract to the creamed mixture and beat until combined. Add milk if needed for consistency. Divide dough into three equal portions. -
Step 4
Color and shape dough: Knead orange food coloring into one portion, black food coloring into another, and leave the third plain. Wrap each in plastic wrap and refrigerate for at least 30 minutes. -
Step 5
Roll and cut dough: Preheat oven to 350°F (175°C). Roll out the plain dough to ¼-inch thickness and cut 3-inch circles. Roll out orange dough and cut slightly smaller circles. Cut black dough into strips or curved shapes for seams. -
Step 6
Bake the cookies: Bake for 8-10 minutes until edges are lightly golden. Cool completely on wire racks. -
Step 7
Prepare royal icing: Whisk together powdered sugar, corn syrup, and water until smooth and thick. Divide into two bowls. Add black food coloring to one bowl for darker icing. Fill piping bags. -
Step 8
Decorate the cookies: Pipe a thin layer of plain icing over each cookie for the base. Let it set slightly. -
Step 9
Add the details: Using the black icing, carefully pipe the basketball lines and seams onto the hardened base icing. Add texture dots if desired. -
Step 10
Let the icing set: Allow the decorated cookies to dry completely for several hours until the royal icing is hardened.
Important Information
Nutrition Facts (Per Serving)
It is important to consider this information as approximate and not to use it as definitive health advice.
Allergy Information
Please check ingredients for potential allergens and consult a health professional if in doubt.