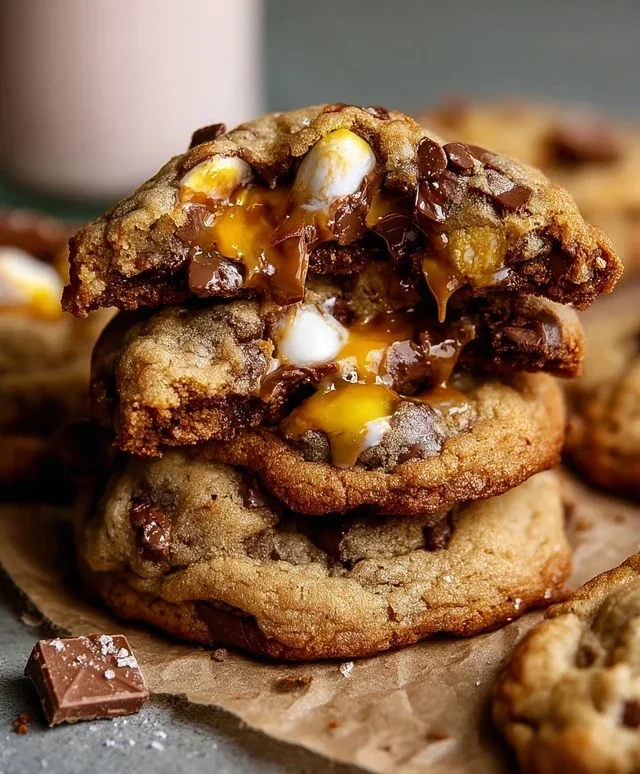
Quick Microwave Chocolate Chip Cookie Recipe
Microwave Chocolate Chip Cookie – sometimes, the craving hits hard and fast. You want that gooey, melty chocolate goodness, the comforting warmth of a freshly baked cookie, but the thought of preheating an oven and measuring ingredients for a whole batch feels like an insurmountable hurdle. That’s where the magic of the microwave chocolate chip cookie comes in. It’s not just a quick fix; it’s a culinary revelation for those moments when patience is as scarce as spare change. We all love chocolate chip cookies for their timeless appeal, that perfect balance of sweet dough and rich chocolate. But what makes this single-serving marvel truly special is its astonishing speed and simplicity. In mere minutes, you can transform basic pantry staples into a warm, decadent treat, proving that delicious indulgence doesn’t always require a long wait or a mountain of dishes.
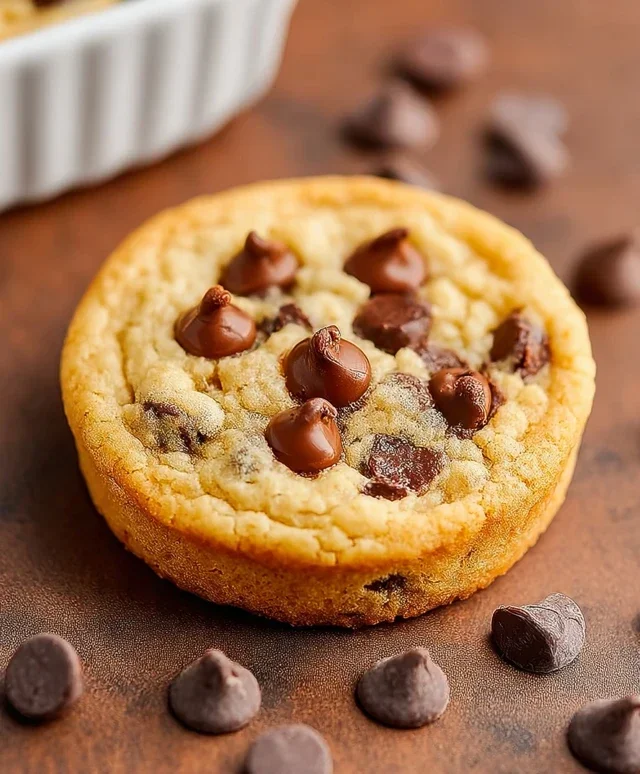
Microwave Chocolate Chip Cookie
There are days when the craving for a warm, gooey chocolate chip cookie strikes with an intensity that simply cannot wait for a traditional oven to preheat. Enter the glorious microwave chocolate chip cookie. This recipe is your secret weapon for instant gratification, delivering a perfectly portioned, delightfully chewy, and undeniably delicious cookie in mere minutes. Forget the hours of chilling dough, the meticulous shaping, and the lengthy bake times. With this recipe, you can satisfy your sweet tooth on a whim, transforming a few pantry staples into a molten masterpiece. This isn’t just a quick fix; it’s a revelation for any cookie lover who appreciates speed and flavor in equal measure.
This single-serving wonder is perfect for those moments when only a cookie will do, but you don’t want to bake a whole batch. It’s also fantastic for introducing a little one to the joys of baking (or rather, “microwaving”) in a safe and speedy way. The result is a cookie that, while cooked differently, still boasts that irresistible combination of buttery sweetness, rich chocolate, and a satisfying chew. So, grab your mug or microwave-safe ramekin, and let’s dive into this incredibly easy and satisfying treat.
Ingredients:
Cooking Instructions:
Let’s get this delicious cookie into existence! The beauty of this recipe lies in its simplicity and the minimal cleanup. We’ll be using a microwave-safe mug or a small ramekin to create our individual cookie. Ensure your chosen vessel is large enough to accommodate the batter and any potential puffing. A standard 8-10 ounce mug or a small, oven-safe ramekin works perfectly.
Step 1: Combining the Wet Ingredients
First things first, we need to melt our butter. You can do this in a small microwave-safe bowl in 15-second intervals, stirring in between, until it’s fully liquid. Don’t let it get too hot, just melted. In your chosen mug or ramekin, add the melted butter. To this, add your light brown sugar, making sure to pack it down slightly to get an accurate measurement, and your granulated sugar. Now, add the ¼ teaspoon of vanilla extract, which will lend that classic cookie aroma and flavor. Give these ingredients a good stir with a fork or a small whisk until they are well combined and form a smooth, slightly glossy mixture. This step is crucial for ensuring even distribution of flavor and moisture throughout your cookie. The sugars will start to dissolve into the butter, creating a lovely base.
Step 2: Incorporating the Dry Ingredients
Next, we’ll gently introduce the dry ingredients. Sprinkle in the ¼ teaspoon of baking powder. This leavening agent is key to giving our cookie a little lift and a tender texture, preventing it from becoming too dense. Follow this with the ⅛ teaspoon of salt. Salt is a flavor enhancer; it balances the sweetness of the sugars and makes the chocolate chips pop. Finally, add the 3 Tablespoons of all-purpose flour. Now, using your fork, gently mix these dry ingredients into the wet ingredients. Be careful not to overmix here. We just want to incorporate the flour until no dry streaks remain. A few small lumps are perfectly acceptable. Overmixing can develop the gluten in the flour too much, leading to a tougher cookie. The goal is a thick, cohesive dough that’s just starting to come together.
Step 3: Folding in the Chocolate Chips
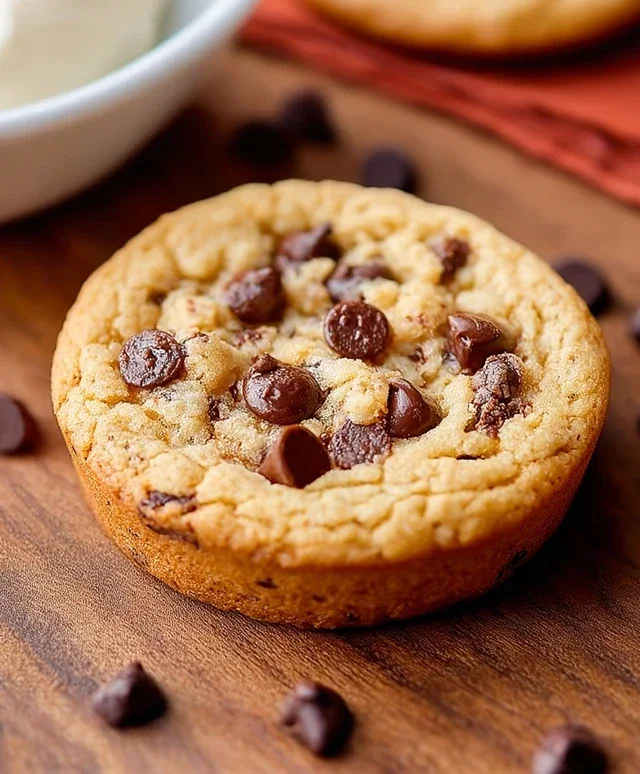
This is where the magic truly happens! Add your 2 Tablespoons of semi-sweet chocolate chips directly into the mug or ramekin. Now, using your fork, gently fold them into the cookie dough. Try to distribute them as evenly as possible, but don’t stress about perfection. Some chips clustered together can lead to wonderfully gooey pockets of melted chocolate, which is never a bad thing! Ensure the chocolate chips are reasonably coated by the dough, so they don’t burn too much during the microwaving process. This step adds that essential chocolate chip cookie experience we all know and love.
Step 4: Microwaving to Perfection
Now for the exciting part – the microwave! Place your mug or ramekin in the center of your microwave. Cook on high power for approximately 60 to 90 seconds. The exact timing will depend heavily on the wattage of your microwave. I highly recommend starting with 60 seconds and then checking its doneness. The cookie should look slightly underbaked in the center – it will continue to cook and firm up as it cools. The edges should look set, but the middle should still appear a bit soft and gooey. If it looks too wet after 60 seconds, microwave in 10-second increments, checking after each interval. You’re aiming for a cookie that is cooked through but still promises that delightful chegrape juicess. Be careful not to overcook, as this can lead to a dry, rubbery texture.
Step 5: Cooling and Enjoying
Once your cookie has reached that perfect stage of slightly underbaked goodness, carefully remove the mug or ramekin from the microwave using oven mitts or a towel, as it will be hot. Let the cookie cool in the mug for at least 5 minutes. This resting period is crucial for the cookie to finish cooking through and for the center to set slightly. While it’s cooling, prepare for the ultimate indulgence: a scoop of creamy vanilla ice cream. Place a generous scoop on top of the warm cookie (or serve it on the side – your choice!). The contrast between the warm, gooey cookie and the cold, melting ice cream is simply divine. Dive in with a spoon and savor your instant, homemade, microwave chocolate chip cookie! It’s a simple pleasure, but oh so satisfying.
Conclusion:
So there you have it – your guide to whipping up a delightful microwave chocolate chip cookie in mere minutes! This recipe truly shines because of its incredible speed and minimal effort, delivering that comforting, gooey, chocolate-studded goodness when a craving strikes. Forget the oven preheating and lengthy chilling times; this is your express ticket to cookie bliss. Enjoy your single-serving treat warm, straight from the microwave, perhaps with a scoop of your favorite ice cream for an extra decadent experience. You can even elevate this simple microwave chocolate chip cookie by adding a pinch of sea salt on top before microwaving for a sweet and salty contrast, or a sprinkle of cinnamon for a warmer flavor profile. I highly encourage you to give this quick and easy recipe a try. It’s perfect for those late-night cravings, a quick afternoon pick-me-up, or even just to satisfy your sweet tooth without the fuss!
Frequently Asked Questions:
Why is my microwave chocolate chip cookie gummy instead of chewy?
This can happen if you overcook it. Microwaves vary in power, so it’s best to start with the shorter cooking time suggested and add 10-15 second increments if needed. The cookie will continue to firm up as it cools slightly.
Can I make this recipe vegan or gluten-free?
Absolutely! For a vegan version, substitute the butter with vegan butter or coconut oil and use an egg replacer like a flax egg (1 tablespoon ground flaxseed mixed with 3 tablespoons water, let sit for 5 minutes). For gluten-free, use a good quality gluten-free all-purpose flour blend.
Microwave Chocolate Chip Cookie
A quick and easy single-serving chocolate chip cookie made in the microwave.
Ingredients
-
2 Tablespoons unsalted butter, melted
-
1 Tablespoon light brown sugar, packed
-
1 Tablespoon granulated sugar
-
¼ teaspoon baking powder
-
¼ teaspoon vanilla extract
-
⅛ teaspoon salt
-
3 Tablespoons all-purpose flour
-
2 Tablespoons semi-sweet chocolate chips
-
Vanilla ice cream (for serving)
Instructions
-
Step 1
In a microwave-safe mug or small bowl, combine the melted butter, light brown sugar, and granulated sugar. Stir until well combined. -
Step 2
Add the baking powder, vanilla extract, and salt to the mixture. Stir again to incorporate. -
Step 3
Gradually add the all-purpose flour, mixing until just combined. Be careful not to overmix. -
Step 4
Fold in the semi-sweet chocolate chips. -
Step 5
Microwave on high for 60 to 90 seconds, or until the edges are set but the center is still slightly gooey. Cooking time will vary based on microwave wattage. -
Step 6
Let the cookie cool for a minute or two before serving. It’s delicious served warm with a scoop of vanilla ice cream.
Important Information
Nutrition Facts (Per Serving)
It is important to consider this information as approximate and not to use it as definitive health advice.
Allergy Information
Please check ingredients for potential allergens and consult a health professional if in doubt.