Springtime Baked Goods Delicious Recipes
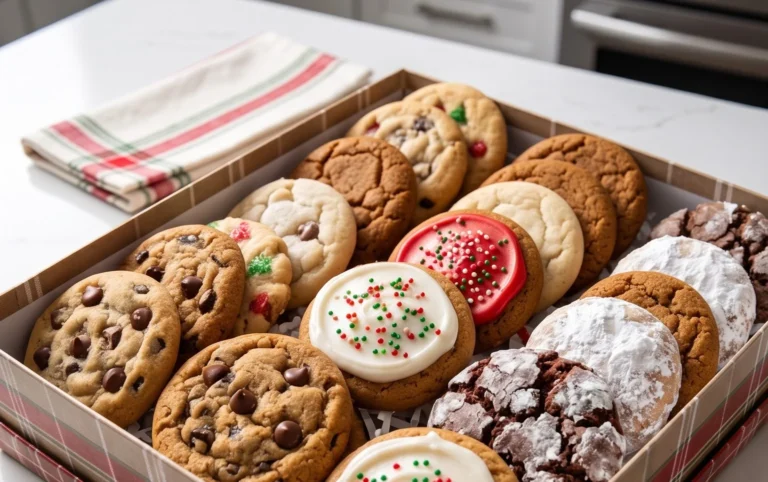
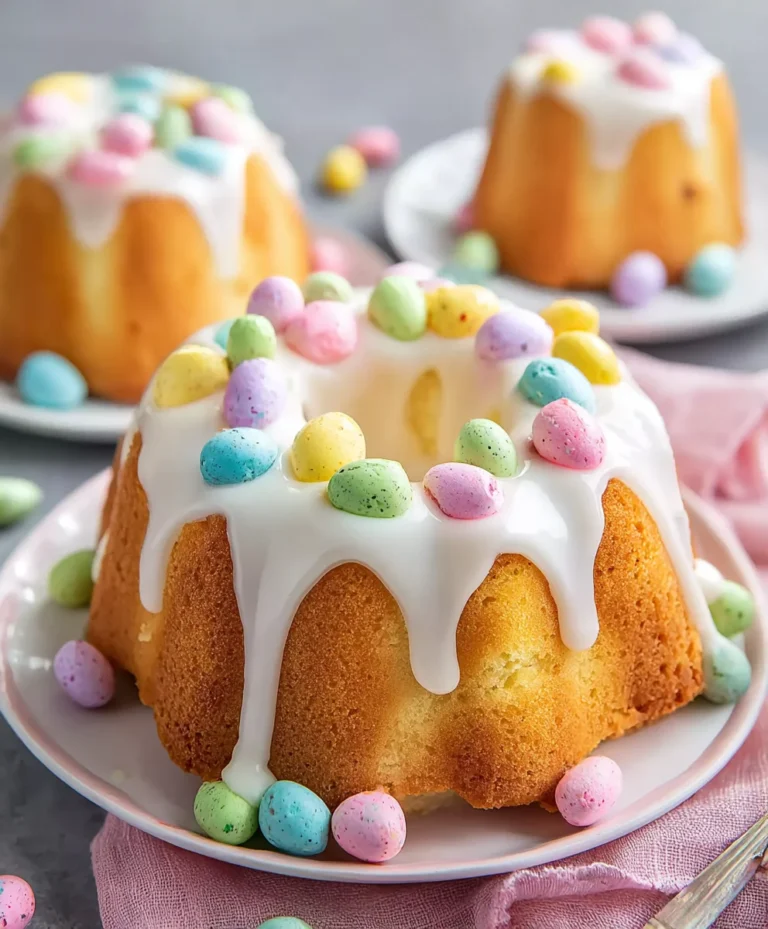
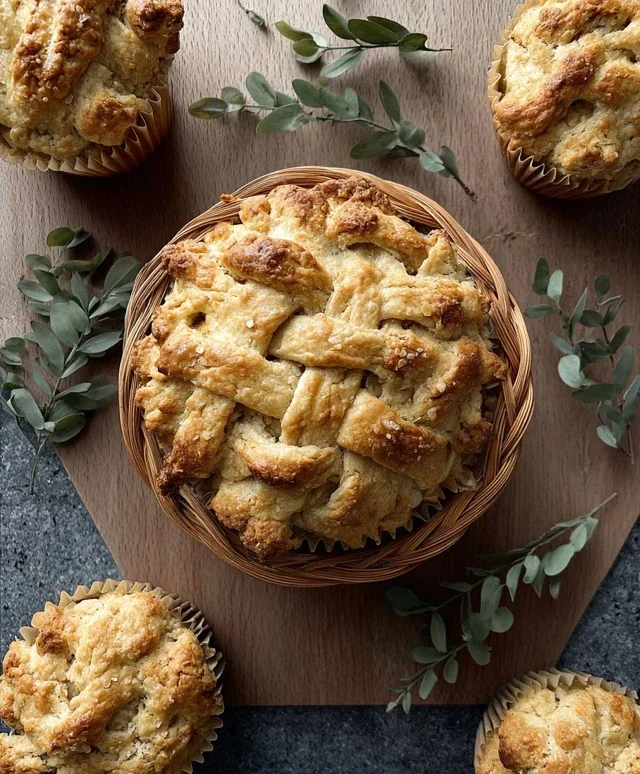
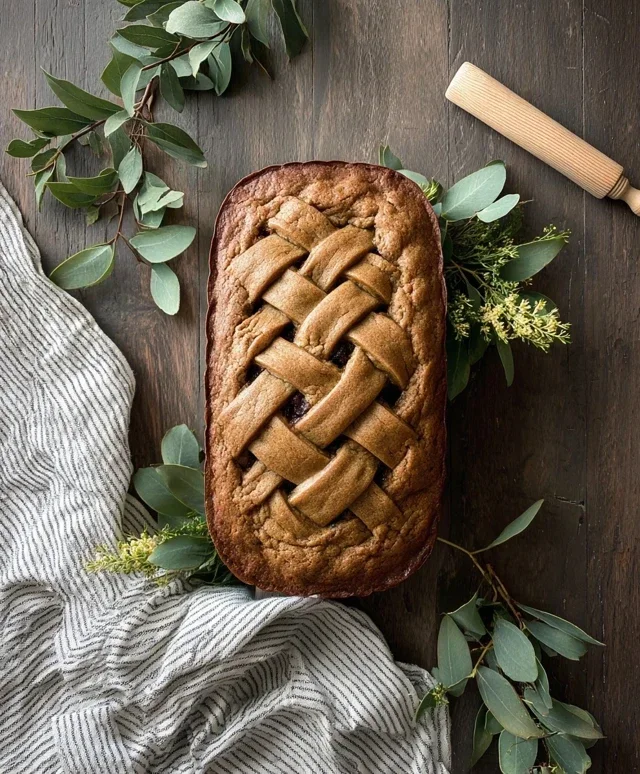
16 Stunning Springtime Baked Goods are more than just recipes; they’re edible celebrations of renewal and vibrant flavors. As the frost recedes and the world bursts into bloom, there’s a universal yearning for treats that mirror this blossoming. Think delicate lemon curd tarts, fragrant lavender scones, and jewel-toned berry crum extractbles. These 16 Stunning Springtime Baked Goods capture the essence of the season, offering a delightful escape from winter’s heavier fare. We love them because they’re light, bright, and infuse our kitchens with the sweet scent of sunshine and fresh ingredients. What makes these particularly special is their ability to transform simple flour, sugar, and fruit into artistic masterpieces that are as pleasing to the eye as they are to the palate. Get ready to bake your way through the most beautiful season of the year!
Springtime Delights: 16 Stunning Baked Goods to Welcome the Season
The air is getting warmer, the days are longer, and a gentle breeze whispers promises of renewal. Spring is a season that inspires joy, freshness, and a desire to bring vibrant flavors and colors into our kitchens. What better way to celebrate than by baking? This collection of 16 stunning springtime baked goods is designed to capture the essence of the season, from delicate floral notes to bright citrus bursts. Get ready to fill your home with irresistible aromas and impress your loved ones with these delightful treats.
Ingredients:
This section will typically list all the ingredients needed for a specific recipe. Since this is an overview article featuring multiple recipes, specific ingredient lists will be found within each individual recipe description that would follow this introduction. However, to give you a general idea of what to expect in springtime baking, here are some common staples and seasonal highlights you’ll encounter:
Cooking Instructions:
Here, I’ll guide you through the general process and some key techniques that will help you achieve stunning results with your springtime bakes. Remember, each of the 16 recipes will have its own specific instructions, but these overarching principles will set you up for success.
Preparation is Key
Before you even think about preheating your oven, gather all your ingredients and equipment. This is often referred to as “mise en place” in professional kitchens and it makes the baking process so much smoother. Ensure your butter and eggs are at the correct temperature (usually room temperature for creaming or emulsifying) as specified in individual recipes. Properly measuring your flour is also crucial; spoon it into your measuring cup and level it off with a straight edge rather than scooping directly from the bag, which can compact it.
Mastering the Mix
The way you combine your ingredients significantly impacts the final texture of your baked goods.
Baking with Precision
The oven is where the magic truly happens.
Cooling and Finishing Touches
The cooling process is just as important as the baking itself.
This collection promises a delightful journey through the flavors and colors of spring. Happy baking!
Conclusion:
As we wrap up our delightful exploration of 16 Stunning Springtime Baked Goods, I hope you’re feeling inspired to bring a burst of seasonal flavor and vibrant color into your kitchen. These recipes are designed to celebrate the freshness of spring, from light and fruity cakes to elegant tarts and charming cookies. Each one offers a unique way to capture the essence of the season, making them perfect for Easter gatherings, Mother’s Day brunches, or simply as a treat to brighten your day. Don’t hesitate to get creative with your own flavor combinations and decorations!
These springtime baked goods are incredibly versatile. Serve a slice of lemon poppy seed loaf with a cup of tea for a delightful afternoon snack, or present a beautifully decorated floral cake as the centerpiece for your next celebration. Many of these recipes can be easily adapted; for instance, swap out berries for other seasonal fruits like rhubarb or apricots, or add a hint of lavender to your shortbread for an aromatic twist. I truly encourage you to try at least one of these recipes. The joy of baking these delicious treats and sharing them with loved ones is a reward in itself. Let the spirit of spring inspire your culinary adventures!
Frequently Asked Questions:
Can I make these baked goods ahead of time?
Yes, many of these springtime baked goods can be made in advance. Cookies and bars often store well in airtight containers for several days. Cakes and muffins can usually be baked a day or two ahead and stored at room temperature or in the refrigerator, depending on the frosting. Tarts are best assembled closer to serving, but components like the crust and filling can often be prepared beforehand.
Are these recipes suitable for begin extractners?
Absolutely! While some recipes are more intricate than others, I’ve aimed to include a range that caters to all skill levels. Look for simpler recipes like lemon bars or lavender shortbread if you’re just starting out. The detailed instructions in each recipe will guide you through the process, and the results are always worth the effort!
What are some good serving suggestions for these baked goods?
Beyond simply enjoying them on their own, these baked goods are fantastic when paired with fresh fruit, whipped cream, or a dollop of yogurt. A light dusting of powdered sugar can also add an elegant touch. For a brunch, consider serving them alongside fresh juices or coffee. They also make wonderful edible gifts!
16 Stunning Springtime Baked Goods
A collection of delightful baked treats perfect for celebrating the arrival of spring, featuring fresh flavors and vibrant colors.
Ingredients
-
Flour
-
Sugar
-
Eggs
-
Butter
-
Milk
-
Baking powder
-
Vanilla extract
-
Lemon zest
-
Berries
-
Chocolate chips
Instructions
-
Step 1
Preheat your oven to the temperature specified for your chosen recipe. Prepare your baking pans by greasing and flouring them, or lining them with parchment paper. -
Step 2
In a large bowl, whisk together the dry ingredients: flour, sugar, baking powder, and a pinch of salt. If the recipe calls for it, incorporate any spices like cinnamon or nutmeg. -
Step 3
In a separate bowl, combine the wet ingredients: eggs, melted butter (or oil), and milk. Add flavorings like vanilla extract or citrus zest. -
Step 4
Gradually add the wet ingredients to the dry ingredients, mixing until just combined. Be careful not to overmix, as this can result in tough baked goods. -
Step 5
Gently fold in any additional ingredients such as berries, chocolate chips, or nuts. -
Step 6
Pour or spoon the batter into the prepared baking pans and spread evenly. -
Step 7
Bake for the time indicated in your specific recipe, or until a toothpick inserted into the center comes out clean. -
Step 8
Allow the baked goods to cool in the pans for a few minutes before transferring them to a wire rack to cool completely.
Important Information
Nutrition Facts (Per Serving)
It is important to consider this information as approximate and not to use it as definitive health advice.
Allergy Information
Please check ingredients for potential allergens and consult a health professional if in doubt.