Renee Paj- Delicious Sweet Bread Recipe
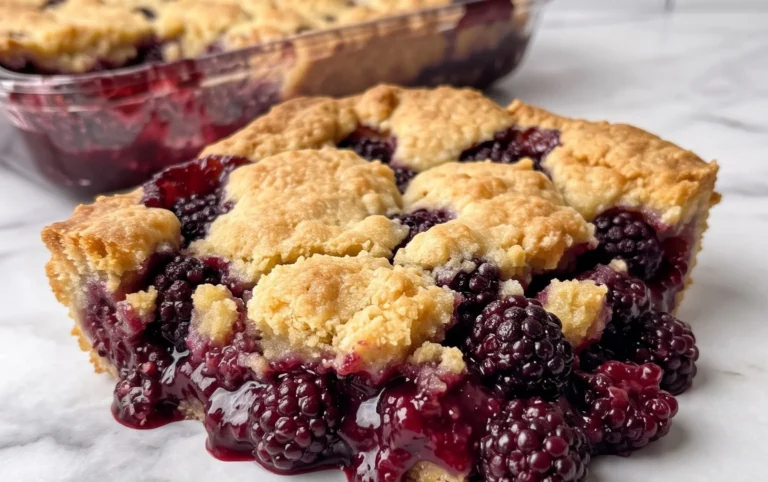
Renee Paj is a dessert that has a magical way of transporting you to a cozy kitchen filled with the comforting aroma of warm spices and ripe fruit. If you’ve ever experienced the pure joy of a slice of this iconic treat, you’ll understand why it’s a beloved classic for so many. People adore Renee Paj for its incredibly tender, almost custardy texture that melts in your mouth, a delightful contrast to the slightly chewy fruit and nutty undertones. What truly makes this Renee Paj special is the harmonious balance of flavors – the sweetness of the pears, the subtle tang of the berries, and that hint of warmth from cinnamon and nutmeg, all embraced by a simple yet satisfying base. It’s more than just a dessert; it’s a hug in a bowl, a taste of nostalgia, and a truly delightful indulgence that we’re about to recreate together.
Renee Paj
There are some recipes that just feel like a warm hug. They’re comforting, relatively easy to whip up, and the results are consistently delightful. For me, that recipe is my “Renee Paj.” It’s a simple yet incredibly satisfying baked treat that straddles the line between a hearty breakfast and a comforting dessert. Think of it as a more structured, bake-friendly version of banana bread, but with a delightful oaty texture that adds an extra layer of wholesome goodness. It’s perfect for busy mornings when you need something substantial to fuel your day, or for an afternoon pick-me-up with a cup of tea.
The beauty of Renee Paj lies in its straightforward preparation and the incredible flavor profile that emerges from simple, honest ingredients. The ripe bananas provide natural sweetness and moisture, while the oats lend a wonderful chegrape juicess. The subtle warmth of cinnamon ties it all together, and for those who love a little crunch, the optional walnuts are a fantastic addition. I’ve made this countless times, tweaking it slightly here and there, but this core recipe is my tried-and-true favorite. It’s forgiving, which is always a bonus in my kitchen, and the aroma that fills the house as it bakes is simply divine.
Let’s dive into what you’ll need to create this delightful treat.
Ingredients:
Cooking Instructions:
Now that you have all your ingredients ready, let’s get baking!
1. Prepare Your Oven and Pan: The first step to any successful baking endeavor is to preheat your oven. Set it to 350 degrees Fahrenheit (175 degrees Celsius). While the oven is coming up to temperature, you’ll want to prepare your baking pan. I typically use an 8×8 inch square baking pan or a 9-inch round pie plate for this recipe. Grease your chosen pan generously with butter or cooking spray. This ensures that your Renee Paj will release easily after baking and won’t stick to the bottom or sides, which would be a baking tragedy! You can also lightly flour the greased pan for extra insurance.
2. Combine Dry Ingredients: In a large mixing bowl, we’re going to combine all of our dry ingredients. This is where the structure and lift of our Paj will come from. Add the 1 1/4 cups of all-purpose flour, 1/2 cup of packed light brown sugar, 1/2 teaspoon of kosher salt, 1/2 teaspoon of baking soda, 1/4 teaspoon of baking powder, and 1/2 teaspoon of ground cinnamon. Whisk these ingredients together thoroughly. It’s important to get a good blend so that the leavening agents (baking soda and powder) and the salt are evenly distributed throughout the flour mixture. This will prevent pockets of saltiness or uneven rising in your finished Paj. If you’re using the optional walnuts, you can gently stir them in at this stage as well.
3. Mash the Bananas and Incorporate Wet Ingredients: Now it’s time to introduce the star of our show: the bananas! Take your 3 large, ripe bananas (the riper, the better for sweetness and moisture) and place them in a separate medium-sized bowl. Using a fork or a potato masher, mash the bananas until they are relatively smooth, with just a few small lumps remaining. Don’t over-mash them into a completely liquid consistency; those little chunks add character. To the mashed bananas, add your 2 large eggs, 1 teaspoon of pure vanilla extract, and 3 tablespoons of cooking oil. Whisk everything together until it’s well combined and has a uniform, slightly glossy appearance. The oil will help keep the Paj moist and tender.
4. Combine Wet and Dry Mixtures: This is where everything comes together! Pour the wet banana mixture into the bowl with the dry ingredients. Using a spatula or a wooden spoon, gently fold the ingredients together until just combined. It’s crucial not to overmix at this stage. Overmixing can develop the gluten in the flour too much, resulting in a tough Paj. You want to see just a few streaks of flour remaining. The batter will be thick and lumpy, and that’s perfectly normal for this recipe. The oats will also start to absorb some of the moisture, which is exactly what we want.
5. Bake to Golden Perfection: Pour the batter evenly into your prepared baking pan. Smooth the top gently with your spatula. Place the pan in the preheated oven and bake for approximately 30 to 40 minutes. The baking time can vary depending on your oven, so it’s a good idea to start checking around the 30-minute mark. You’ll know your Renee Paj is done when the edges are golden brown and a toothpick or a knife inserted into the center comes out clean, with no wet batter clingin extractg to it. If the top starts browning too quickly before the center is cooked, you can loosely tent it with aluminum foil.
Once baked, remove the Renee Paj from the oven and let it cool in the pan for about 10-15 minutes before attempting to slice and serve. This cooling period allows the Paj to set properly, making it easier to cut and preventing it from falling apart. You can enjoy it warm, or let it cool completely and store it in an airtight container at room temperature for a few days. It’s fantastic on its own, or with a dollop of yogurt, a drizzle of honey, or a smear of your favorite nut butter. Enjoy every comforting bite!

Conclusion:
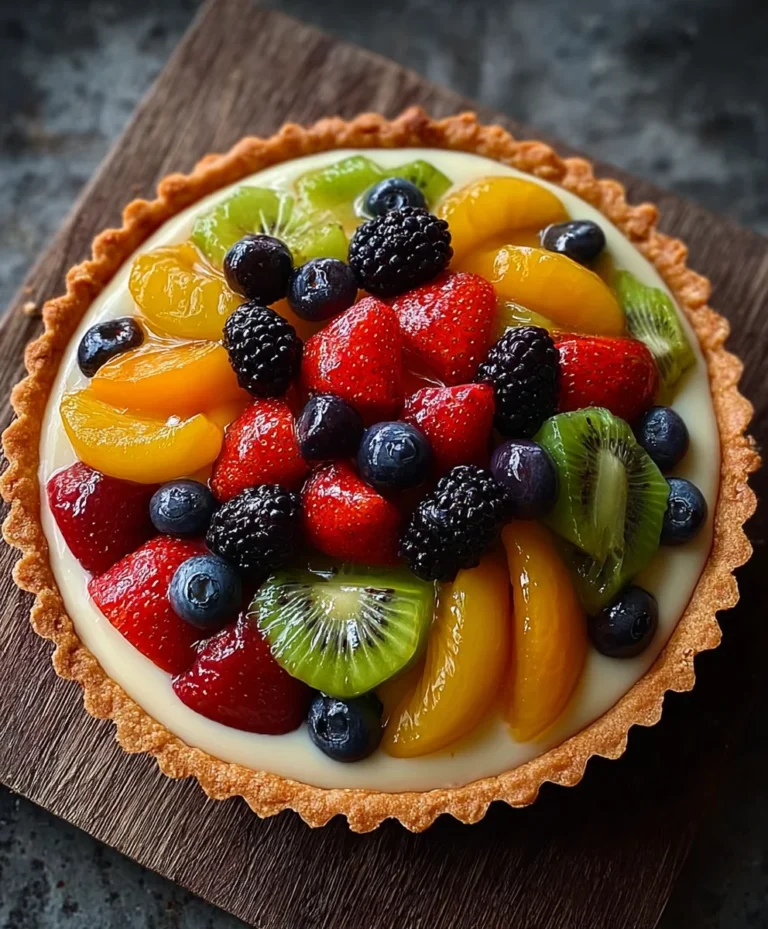
I hope you’re as excited to try this Renee Paj recipe as I am to share it with you! This recipe is truly a winner because it balances classic comfort with a touch of elegance. The rich, creamy filling, perfectly cradled by a flaky crust, makes for an incredibly satisfying dessert that’s surprisingly straightforward to prepare. It’s the kind of dish that brings smiles to faces and becomes a cherished part of any gathering.
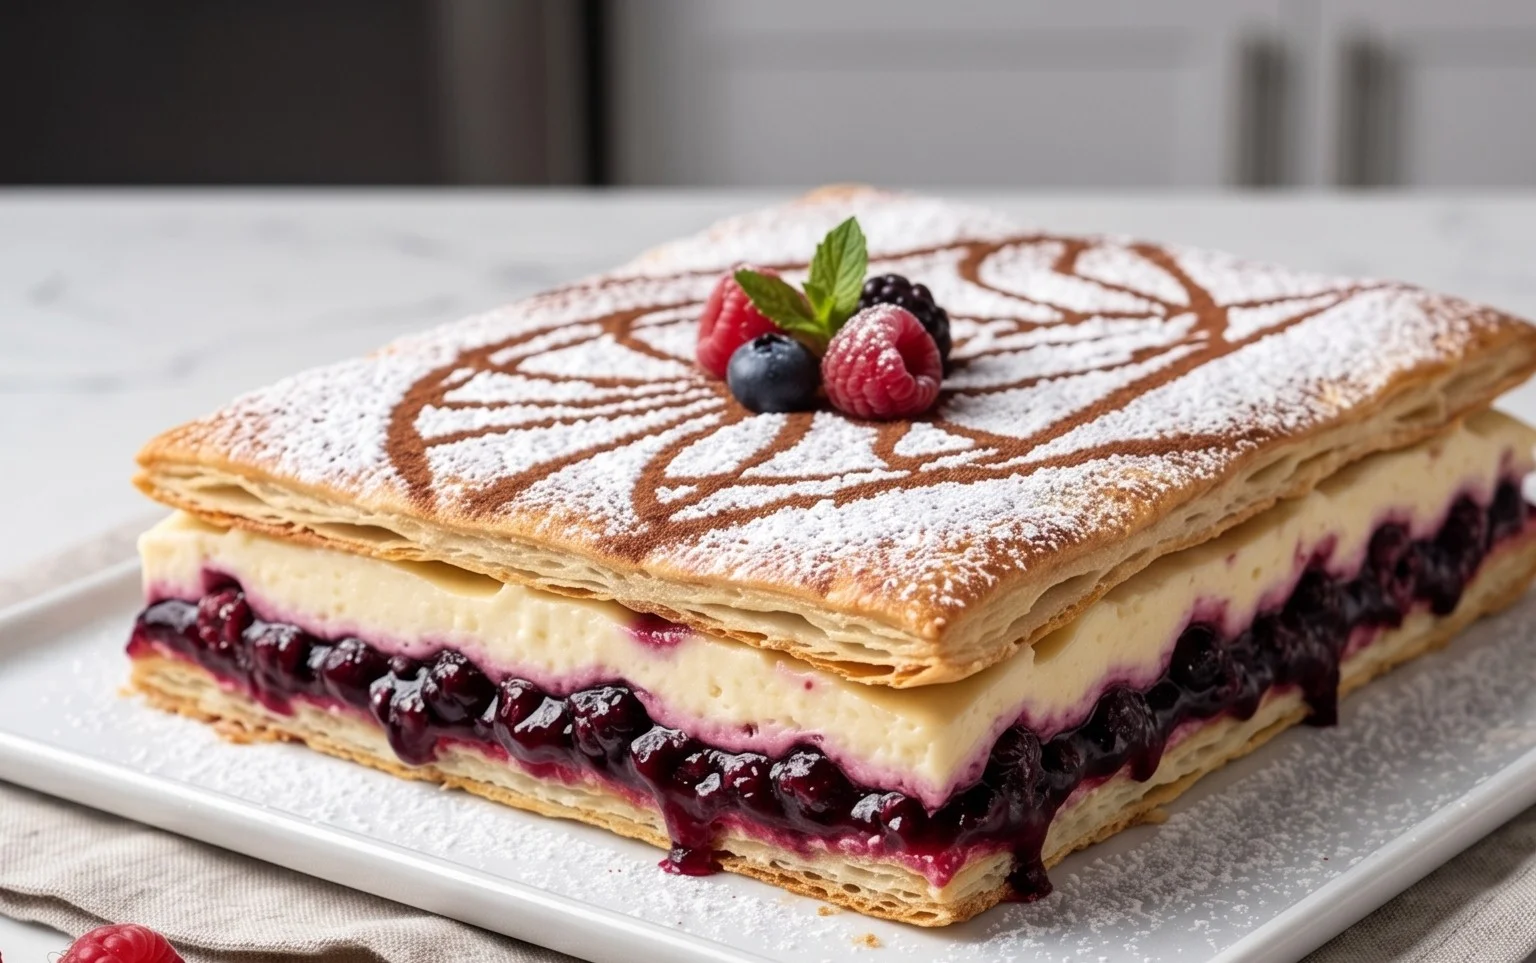
I love serving this Renee Paj warm, perhaps with a dollop of freshly whipped cream or a scoop of vanilla bean ice cream. It also pairs beautifully with a light, fruity sauce like raspberry coulis. Don’t be afraid to experiment with variations! You could add a hint of cinnamon or nutmeg to the filling for extra warmth, or perhaps fold in some toasted nuts for a delightful crunch. For a richer flavor, consider a tablespoon of Kahlua Extract or dark rum extract. The possibilities are truly endless!
I genuinely encourage you to give this Renee Paj a try. Whether you’re a seasoned baker or just starting out, you’ll find this recipe rewarding and delicious. It’s a testament to how simple ingredients can create something truly special.
Frequently Asked Questions about Renee Paj:
Can I make the crust ahead of time?
Absolutely! You can prepare the pie crust dough a day or two in advance and store it in the refrigerator. For longer storage, wrap it well and freeze it for up to a month. Just remember to let it thaw in the refrigerator before rolling it out.
What if I don’t have all the ingredients for the filling?
While the core ingredients are essential for the classic flavor of this Renee Paj, you can make some substitutions. For example, if you don’t have heavy cream, a mix of half-and-half and milk can work in a pinch, though the filling might be slightly less rich. Always aim for the specified quantities for the best results.
How should I store leftover Renee Paj?
Leftover Renee Paj should be covered tightly and stored in the refrigerator for up to 3-4 days. It can be enjoyed cold, or you can gently reheat individual slices in a low oven or microwave.
Renee Paj
A delightful and moist banana bread-like treat, perfect for breakfast or a snack.
Ingredients
-
1 cup old fashioned oats
-
1 1/4 cups all purpose flour
-
1/2 cup light brown sugar, packed
-
1/2 tsp. kosher salt
-
1/2 tsp. baking soda
-
1/4 tsp. baking powder
-
1/2 tsp. ground cinnamon
-
3 large, ripe bananas, cut into chunks
-
2 large eggs
-
1 tsp. pure vanilla extract
-
3 TBSP cooking oil (corn, canola, etc)
-
1/3 cup chopped walnuts (optional)
Instructions
-
Step 1
Preheat oven to 350 degrees F (175 degrees C). Grease and flour a 9×5 inch loaf pan. -
Step 2
In a large bowl, whisk together the oats, flour, brown sugar, salt, baking soda, baking powder, and cinnamon. -
Step 3
In a separate bowl, mash the bananas until mostly smooth. Stir in the eggs and vanilla extract until well combined. -
Step 4
Add the wet ingredients to the dry ingredients along with the cooking oil. Stir until just combined; do not overmix. Fold in the walnuts if using. -
Step 5
Pour the batter into the prepared loaf pan and spread evenly. -
Step 6
Bake for 50-60 minutes, or until a wooden skewer inserted into the center comes out clean. -
Step 7
Let the loaf cool in the pan for 10 minutes before inverting it onto a wire rack to cool completely.
Important Information
Nutrition Facts (Per Serving)
It is important to consider this information as approximate and not to use it as definitive health advice.
Allergy Information
Please check ingredients for potential allergens and consult a health professional if in doubt.