Quick Pickled Red Onions- Easy & Flavorful
Pickled red onions are an absolute game-changer for so many dishes. If you’ve ever enjoyed that vibrant pop of pink on tacos, salads, or sandwiches, chances are you’ve experienced the magic of these delicious little rings. They’re more than just a garnish; they’re a culinary superpower that transforms the ordinary into the extraordinary. The reason people adore them so much lies in their incredible versatility and the perfect balance they strike: a delightful sweet and tangy crunch that cuts through richness and adds a refreshing zest. What makes pickled red onions truly special is their ability to elevate simple ingredients with minimal effort. I love having a jar of these bright beauties ready to go in my fridge, knowing they can instantly bring a sophisticated yet fun flavor dimension to almost any meal. Let’s dive into how you can make your own batch of these incredible pickled red onions!
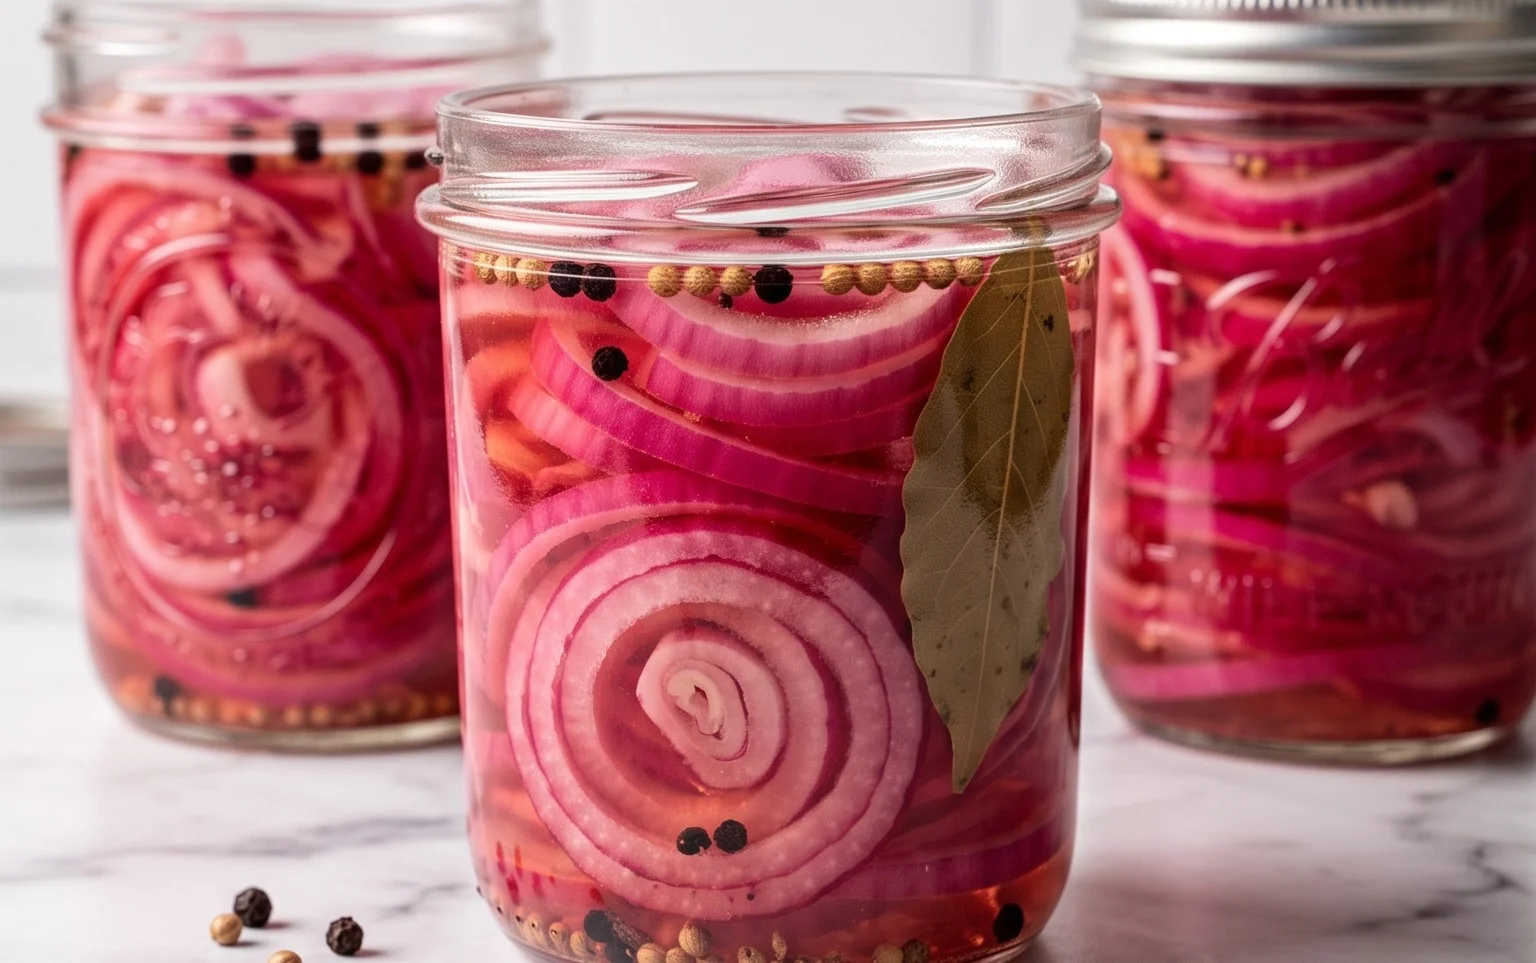
Pickled Red Onions
Oh, the magic of pickled red onions! If you haven’t ventured into the world of pickling, this is the perfect gateway recipe. It’s incredibly simple, requires minimal effort, and yields a vibrant, flavorful condiment that elevates everything from tacos and salads to sandwiches and burgers. The beauty of these pickled onions lies in their versatility and their ability to add a tangy, slightly sweet, and beautifully pink hue to any dish. They transform the sharp bite of raw onion into a mellow, delightful crunch that’s utterly addictive. I find myself making batches of these regularly, always keeping a jar in the fridge for spontaneous culinary enhancements. Let’s get started on creating this pantry staple!
Ingredients:
Preparation and Initial Steps
The first step is all about preparing our star ingredient: the red onions. You’ll want to choose onions that are firm and have a smooth, unblemished skin. For this recipe, we’re aiming for a beautiful presentation, so the color of the onion is key. Peel away the dry outer skins of the red onions. Then, you’ll want to slice them as thinly as possible. A mandoline slicer is your best friend here if you have one, as it ensures uniform thickness, which is crucial for even pickling. If you don’t have a mandoline, a very sharp knife and a steady hand will do the trick. Aim for slices that are about 1/8th of an inch thick. The thinner the slices, the quicker they will pickle and the more pliable they will be when you eat them. Once sliced, you can either place the onion rings directly into your clean jar, or if you want to remove some of their initial sharpness and excess moisture, you can rinse them under cold water and pat them dry thoroughly. I often skip the rinsing step to preserve more of that intense red color, but it’s a personal preference. For this recipe, we’ll proceed with adding the thinly sliced onions directly into a clean, heat-proof jar.
Creating the Pickling Brine
Now for the brine – the heart and soul of our pickled onions. This is where the magic of transformation happens. In a small saucepan, we’re going to combine the wet ingredients and seasonings. Measure out 1 1/4 cups of water and pour it into the saucepan. Next, add the 1 1/4 cups of white vinegar. White vinegar is preferred for its clean, sharp flavor that pickles beautifully without imparting any color. Now comes the sweetness and the saltiness. Add 3 tablespoons of your preferred sugar. I often use granulated sugar, but you can experiment with others like coconut sugar or even a touch of honey for a different flavor profile. Just remember that different sugars might affect the color and the final taste slightly. Following that, measure in 1 tablespoon of sea salt. Using sea salt instead of table salt can offer a cleaner, less processed flavor. Finally, for a little kick, add 1/4 to 1/2 teaspoon of red pepper flakes. This is entirely optional, but I find it adds a wonderful subtle warmth that complements the tangin extractess of the onions beautifully. If you’re sensitive to spice, start with just a pinch or omit them altogether.
Heating and Combining
Once all the brine ingredients are in the saucepan, it’s time to heat them up. Place the saucepan over medium heat. We want to bring the mixture to a simmer, stirring occasionally to ensure that the sugar and salt dissolve completely. You don’t need to boil it vigorously, just get it hot enough so that everything is well incorporated. Stirring is important here to prevent any undissolved crystals from settling at the bottom. Once the sugar and salt have dissolved and the brine is steaming and just begin extractning to bubble, remove the saucepan from the heat. This process not only dissolves the solids but also helps to meld the flavors together, creating a more harmonious brine. The warmth of the brine will also help the onions to absorb the flavors more readily.
The Pickling Process
With our hot brine ready and our onions sliced and packed into a clean jar, it’s time for the main event. Carefully pour the hot brine over the sliced red onions in the jar. Make sure the brine completely covers the onions. If, for some reason, your brine doesn’t quite cover them, you can quickly whip up a little extra with the same proportions, or even just add a splash more vinegar and water to top it off. Gently shake the jar or use a clean spoon to ensure all the onions are submerged. As the hot brine hits the onions, you’ll notice a magical transformation happening – the onions will begin extract to turn a beautiful vibrant pink color. This is such a satisfying visual cue that the pickling process is underway! Once the brine has cooled down a bit, you can secure the lid tightly onto the jar.
Cooling and Resting
This is where patience comes into play, but it’s a small price to pay for such deliciousness. Allow the jar of pickled onions to cool down to room temperature on your countertop. This cooling period is essential because it allows the onions to continue to absorb the flavors of the brine and for the pickling process to really take hold. Once the jar is at room temperature, transfer it to the refrigerator. At this point, they are technically ready to eat, but I highly recommend letting them pickle for at least an hour, and ideally several hours, or even overnight. The longer they sit in the brine, the more developed their flavor will become. They will soften slightly and become wonderfully tender yet still retain a pleasant crunch. You’ll notice the color deepening to an even richer pink. The pickled red onions will keep in the refrigerator for several weeks, making them a fantastic make-ahead condiment. Enjoy them on everything!
Conclusion:
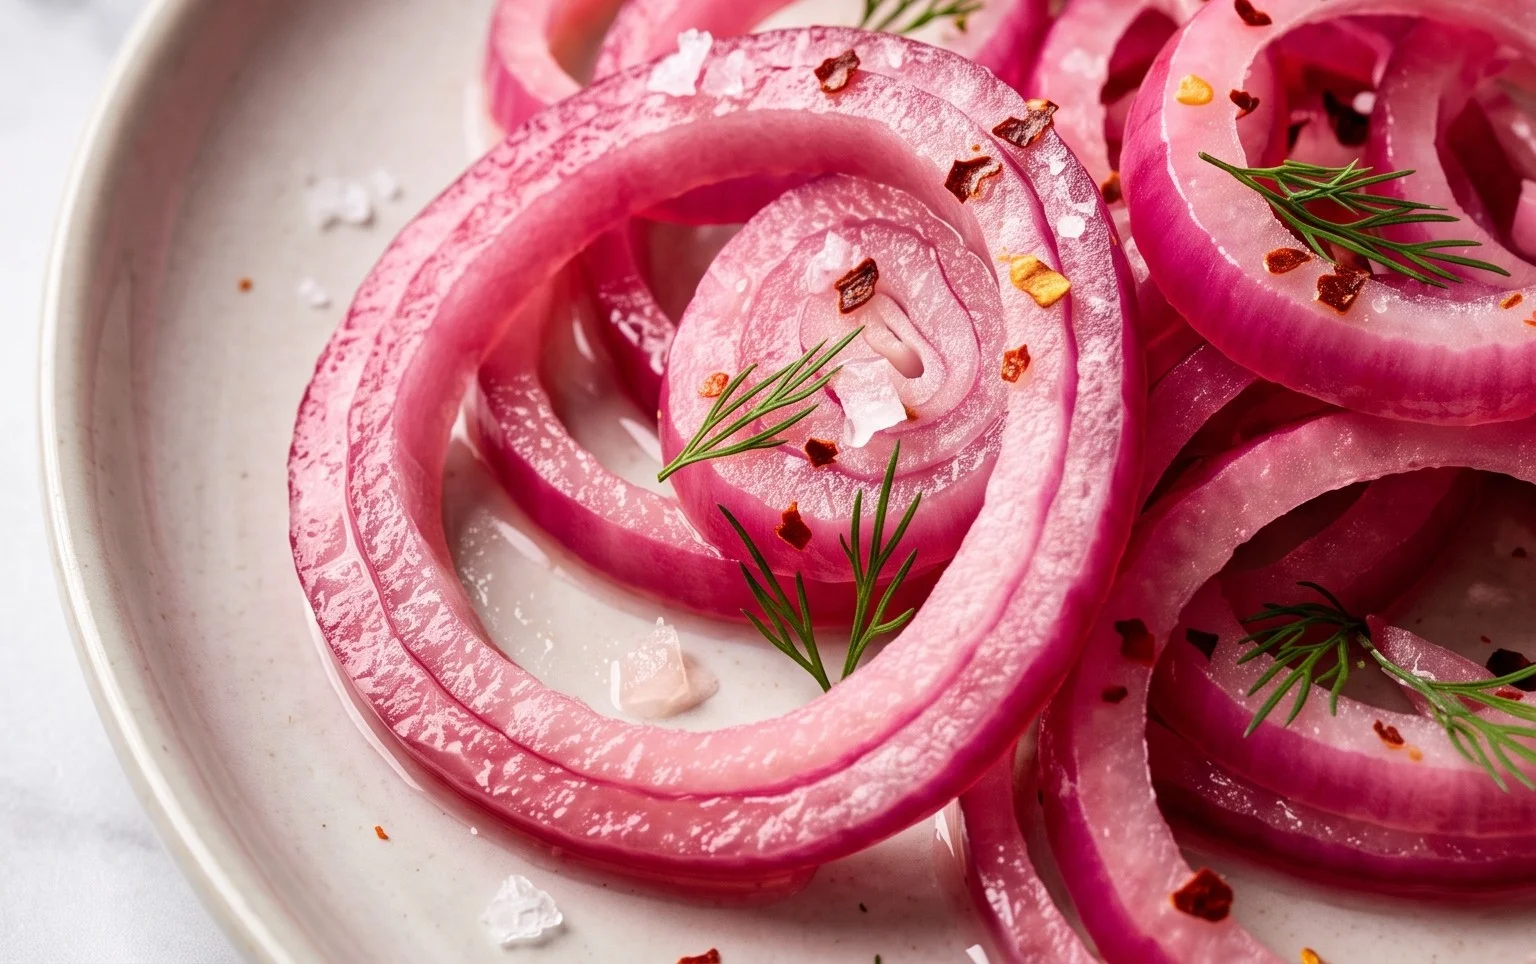
There you have it! Making your own pickled red onions is an incredibly rewarding and surprisingly simple process. This recipe offers a fantastic way to elevate everyday meals with a burst of tangy, slightly sweet, and vibrantly colored goodness. The ease with which you can transform humble red onions into this versatile condiment is truly its superpower. Whether you’re looking to add a sophisticated touch to your tacos, a zesty counterpoint to rich burgers, or a delightful garnish for salads, these pickled red onions are sure to impress. Don’t hesitate to experiment with this foundational recipe; it’s a gateway to endless culinary creativity!
Now, let’s address a few common questions you might have.
Frequently Asked Questions:
Q: How long do pickled red onions last?
A: Once properly refrigerated in an airtight container, your delicious pickled red onions can last for up to 2 to 3 weeks. The brine helps to preserve them, and you’ll likely find they get even better as the flavors meld over time!
Q: Can I use a different type of vinegar?
A: Absolutely! While apple cider vinegar or white grape juice vinegar are classic choices for their balanced acidity, feel free to get creative. Red grape juice vinegar will lend a deeper hue and a slightly more robust flavor. Rice vinegar can offer a milder tang, and even balsamic vinegar can be used for a sweeter, richer profile, though it will significantly alter the color and taste.
Q: My pickled red onions aren’t very pink. What did I do wrong?
A: The vibrant pink color comes from the anthocyanins in the red onions, which are released by the acidity of the brine. Ensure your onions are fully submerged in the hot brine. Sometimes, the type of red onion can also influence the intensity of the color. Don’t worry too much about the exact shade; the flavor will be fantastic regardless!
Quick Pickled Red Onions
A simple and versatile recipe for quick pickled red onions, perfect for adding a tangy crunch to salads, tacos, sandwiches, and more.
Ingredients
-
2 medium red onions (or 3 small ones)
-
1 1/4 cup water
-
1 1/4 cup white vinegar
-
3 tbsp sugar
-
1 tbsp sea salt
-
1/4-1/2 tsp red pepper flakes (optional)
Instructions
-
Step 1
Thinly slice the red onions into rings or half-moons. You can use a mandoline for even slices or a sharp knife. -
Step 2
In a medium saucepan, combine the water, white vinegar, sugar, and sea salt. Stir well to dissolve the sugar and salt. -
Step 3
Bring the mixture to a boil over medium-high heat, stirring occasionally. Once boiling, reduce heat and simmer for 1 minute. -
Step 4
Place the sliced red onions into a heatproof jar or bowl. If using, add the red pepper flakes. -
Step 5
Carefully pour the hot brine over the onions, ensuring they are fully submerged. Press them down gently if needed. -
Step 6
Let the onions cool to room temperature, then cover the container and refrigerate for at least 30 minutes before serving. They will continue to pickle and deepen in flavor over time.
Important Information
Nutrition Facts (Per Serving)
It is important to consider this information as approximate and not to use it as definitive health advice.
Allergy Information
Please check ingredients for potential allergens and consult a health professional if in doubt.