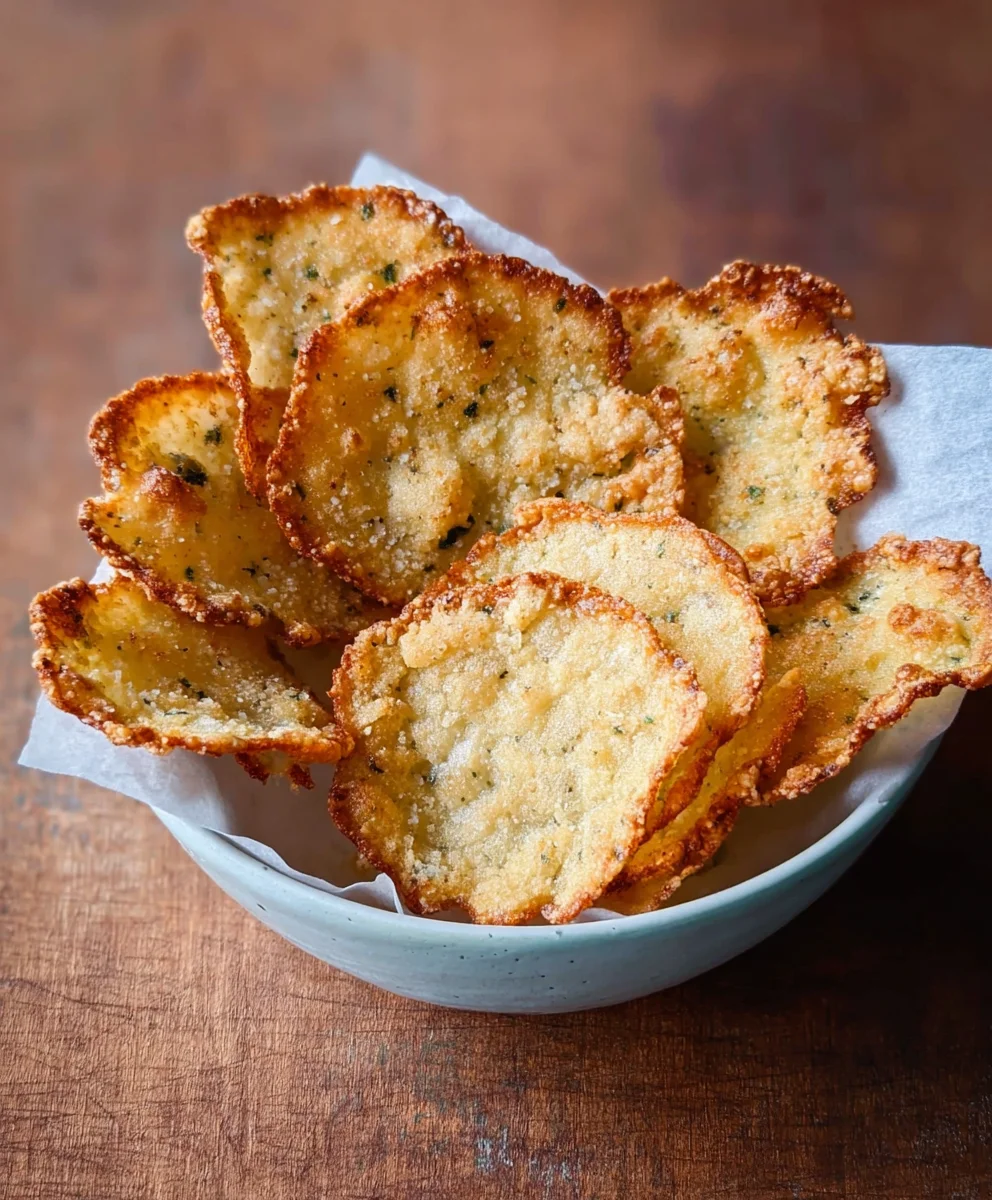
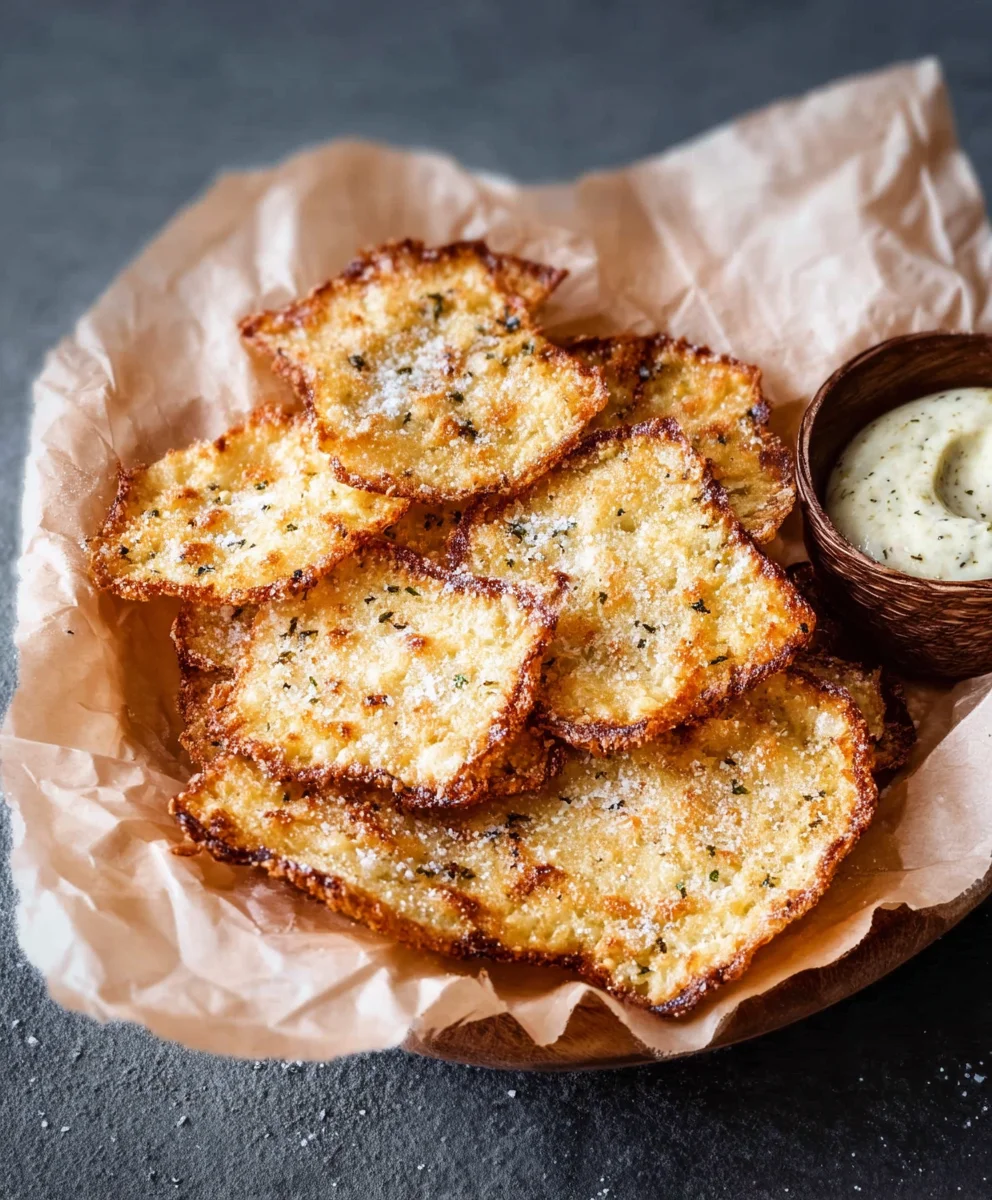
Crispy Cottage Cheese Chips – Easy Healthy Snack
Crispy Cottage Cheese Chips are more than just a trendy snack; they’re a revelation for anyone seeking a healthier, yet incredibly satisfying crunch. Imagin extracte a golden-brown wafer, impossibly light, delivering a delightful shatter with every bite. What’s not to love? These aren’t your average potato chips. They offer a surprisingly cheesy, slightly tangy flavor profile that’s utterly addictive, proving that healthy eating doesn’t have to mean sacrificing deliciousness. We love them because they’re surprisingly protein-packed thanks to their humble cottage cheese base, making them a perfect guilt-free indulgence or a fantastic vehicle for your favorite dips. What truly sets these Crispy Cottage Cheese Chips apart is their simplicity and adaptability. You can customize them with a sprinkle of herbs, spices, or even a touch of garlic powder to create an endless array of flavor combinations. Get ready to discover your new favorite snack that’s as good for you as it is delightful to eat!
Ingredients:
- 1 cup small curd cottage cheese, well-drained
- ¼ teaspoon garlic powder
- ¼ teaspoon onion powder
- ½ teaspoon dried herbs (such as thyme, rosemary, or parsley – totally optional but adds a nice touch)
- Salt, to your liking
- Freshly ground black pepper, to your liking
- Olive oil spray
Preparing the Cottage Cheese Mixture
The foundation of our Crispy Cottage Cheese Chips lies in preparing the cottage cheese properly. It’s crucial to ensure your cottage cheese is well-drained. This might seem like a small step, but it makes a world of difference in achieving that desirable crispiness. If you’re using a standard container, you can pour the cottage cheese into a fine-mesh sieve set over a bowl. Let it sit for at least 15-30 minutes, gently pressing down occasionally with a spoon to encourage more liquid to drain out. The less moisture in the cottage cheese, the crispier your chips will become. Once drained, transfer the cottage cheese to a medium mixing bowl.
Next, we’ll infuse our base with flavor. Add the garlic powder and onion powder directly into the bowl with the cottage cheese. These pantry staples provide a savory depth that complements the mild tang of the cheese. If you’re feeling adventurous and want to elevate the flavor profile even further, this is the perfect time to incorporate your dried herbs. A sprinkle of dried thyme or parsley offers a subtle herbaceous note without overpowering the main ingredients. Remember, these are optional, so feel free to omit them if you prefer a simpler flavor.
Now, let’s season. Add salt and freshly ground black pepper to taste. Start with a conservative amount, as you can always add more later. The salt helps to bring out the flavors of the garlic and onion, while the pepper adds a gentle warmth. Stir everything together thoroughly with a fork or a spatula until all the seasonings are evenly distributed throughout the cottage cheese. You want to ensure every spoonful has a bit of everything. The mixture might look a little lumpy, and that’s perfectly fine; we’re not aiming for a perfectly smooth paste.
Forming and Baking the Chips
This is where we start transforming our flavored cottage cheese into delectable chips. Preheat your oven to 375 degrees Fahrenheit (190 degrees Celsius). While the oven heats up, prepare a baking sheet. Line a large baking sheet with parchment paper. This step is essential to prevent the cottage cheese from sticking to the pan, ensuring easy removal of your crispy creations once they’re baked.
Now, it’s time to shape our chips. Using a small spoon or a tablespoon, carefully dollop small portions of the cottage cheese mixture onto the prepared baking sheet. Aim for portions that are roughly the size of a quarter or a half-dollar coin. The key here is to keep them relatively thin and uniform in size. This uniformity is crucial for even baking; thicker portions will take longer to crisp up, while thinner ones might burn. As you place each dollop, gently flatten it a bit with the back of your spoon. You want to create small, thin discs. Don’t worry about making them perfectly round; slightly irregular shapes add to their charm. Leave a little space between each dollop to allow for expansion and proper airflow during baking.
Once all your cottage cheese dollops are placed and slightly flattened on the baking sheet, it’s time for the final touch before they hit the oven. Lightly spray each of the flattened cottage cheese discs with olive oil. A light misting is all that’s needed. This olive oil spray is what helps achieve that golden-brown hue and contributes significantly to the final crispiness of the chips. Be sure to get a light coating over the entire surface of each dollop.
Baking for Maximum Crispiness
Place the prepared baking sheet into your preheated oven. Bake for approximately 15 to 25 minutes. The exact baking time will depend on the thickness of your cottage cheese discs and the calibration of your oven. Your goal is to achieve a beautifully golden-brown color and a texture that looks dry and firm. Resist the urge to open the oven door too frequently during the first 15 minutes, as this can cause fluctuations in temperature and hinder the crisping process. Instead, keep an eye on them through the oven window.
Start checking on your chips around the 15-minute mark. You’re looking for the edges to start turning a lovely golden brown and the centers to appear cooked through and no longer wet. If you notice some chips browning faster than others, you can carefully remove them from the baking sheet with a spatula and set them aside to cool while the remaining ones continue to bake. This ensures you get perfectly crispy chips without any burnt edges. Once they reach your desired level of crispiness, carefully remove the baking sheet from the oven.
Cooling and Enjoying Your Crispy Cottage Cheese Chips
This is a critical step for achieving the ultimate crispiness. Allow the Crispy Cottage Cheese Chips to cool completely on the baking sheet. As they cool, they will continue to crisp up significantly. If you try to move them while they are still hot, they might bend or break. Patience is key here! Once they are entirely cool to the touch, they should feel firm and crunchy. If, after cooling, any of them still feel a bit soft or chewy, you can pop them back into the oven for a few extra minutes at a slightly lower temperature (around 300 degrees Fahrenheit or 150 degrees Celsius) to dry them out further, watching them very closely to prevent burning. Once completely cooled and perfectly crisp, you can gently transfer them to an airtight container for storage. They are best enjoyed within a few days for optimal texture.
Conclusion:
We hope you’ve enjoyed learning how to make these incredibly simple and surprisingly delicious Crispy Cottage Cheese Chips! This recipe truly delivers on its promise of a satisfying crunch without any of the fuss. The magic lies in the cottage cheese transforming into a delicate, golden-brown crisp that’s perfect for snacking or dipping. We’ve found these to be a fantastic alternative to traditional chips, offering a protein boost and a lighter option for those mindful of their choices.
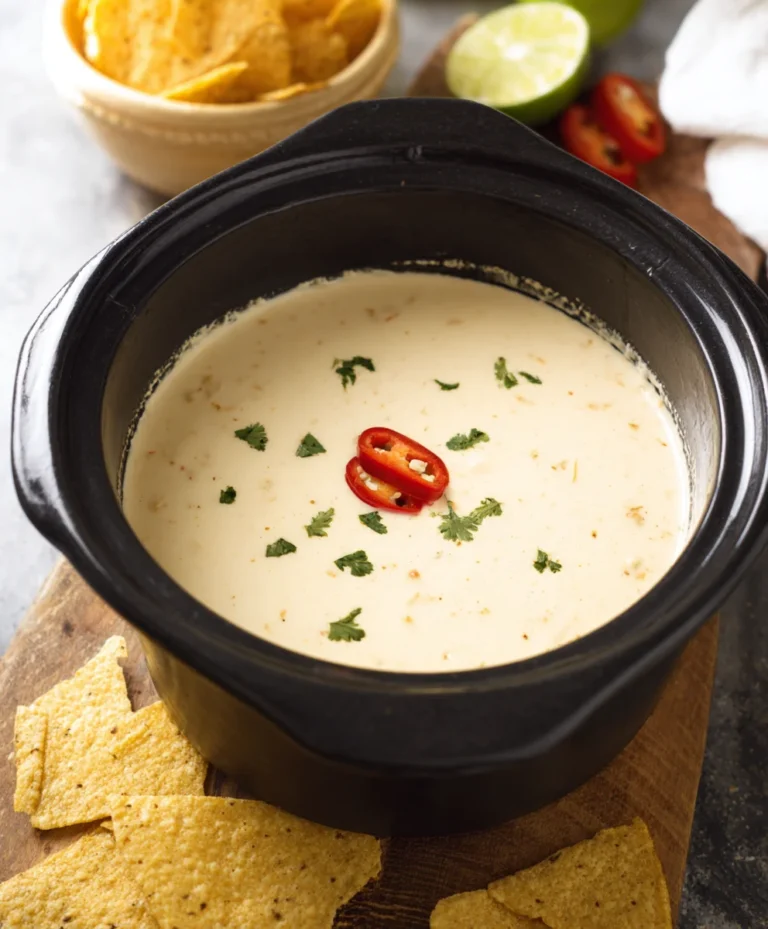
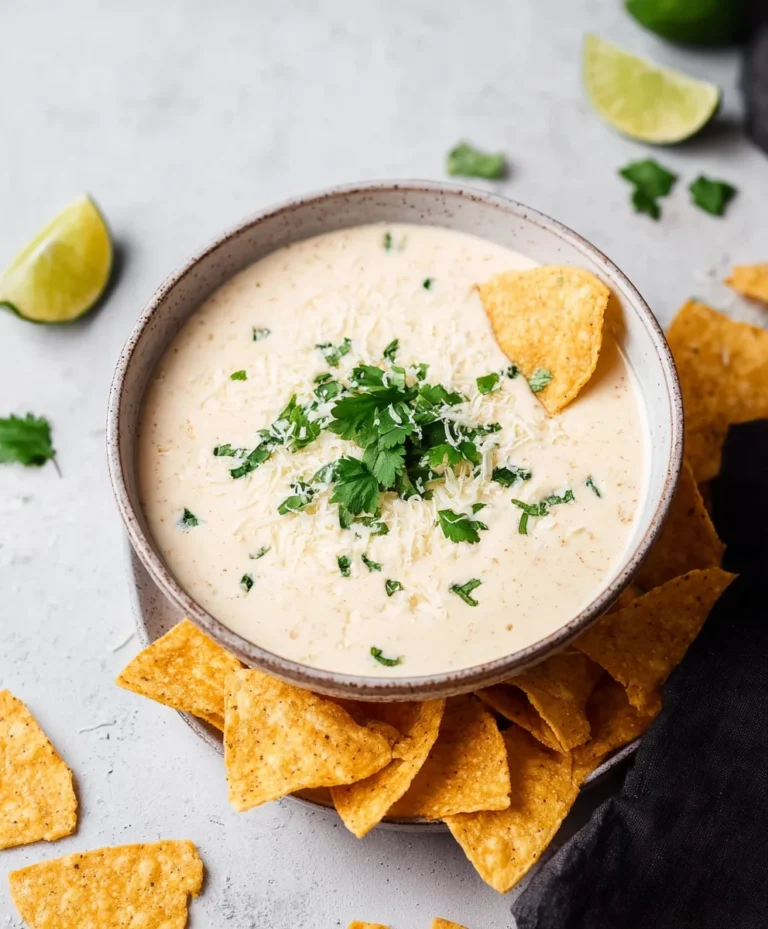
These Crispy Cottage Cheese Chips are wonderfully versatile. Serve them alongside your favorite dips like guacamole, hummus, or a creamy ranch. They also make an excellent crunchy topping for salads or soups. For a heartier snack, consider layering them with a light cheese spread or avocado.
Don’t be afraid to experiment with variations! You can infuse the cottage cheese with different herbs and spices before baking – think a sprinkle of garlic powder, onion powder, or a pinch of smoked paprika for a smoky kick. A dash of everything bagel seasoning also works beautifully. The possibilities are truly endless! We encourage you to give these Crispy Cottage Cheese Chips a try. You might be surprised at how much you love them!
Frequently Asked Questions:
What is the best way to store Crispy Cottage Cheese Chips?
For optimal crispiness, store your Crispy Cottage Cheese Chips in an airtight container at room temperature for up to 2-3 days. If they lose some of their crispiness, you can briefly pop them back into a warm oven (around 250°F or 120°C) for a few minutes to revive them.
Can I make these Crispy Cottage Cheese Chips vegan or dairy-free?
Unfortunately, this specific recipe relies on traditional cottage cheese, which is dairy-based. While there are many creative ways to make dairy-free chips, these Crispy Cottage Cheese Chips are best made with the dairy version for the intended texture and flavor.
Crispy Cottage Cheese Chips
An easy and healthy snack made from cottage cheese, seasoned and baked until perfectly crispy.
Ingredients
-
1 cup small curd cottage cheese, well-drained
-
1/4 teaspoon garlic powder
-
1/4 teaspoon onion powder
-
1/2 teaspoon dried herbs (optional, such as thyme, rosemary, or parsley)
-
Salt, to taste
-
Freshly ground black pepper, to taste
-
Olive oil spray
Instructions
-
Step 1
Drain the cottage cheese very well in a fine-mesh sieve for at least 15-30 minutes. Transfer the drained cottage cheese to a mixing bowl. Add garlic powder, onion powder, optional dried herbs, salt, and pepper. Stir until all seasonings are evenly distributed. -
Step 2
Preheat your oven to 375°F (190°C). Line a large baking sheet with parchment paper. -
Step 3
Dollop small portions of the cottage cheese mixture onto the prepared baking sheet, about the size of a quarter to a half-dollar. Gently flatten each portion into thin discs, leaving space between them. -
Step 4
Lightly spray each flattened cottage cheese disc with olive oil spray for crispiness and a golden-brown hue. -
Step 5
Bake for 15-25 minutes, or until golden brown and dry. Keep an eye on them, as baking times can vary. Remove any chips that brown faster. -
Step 6
Allow the chips to cool completely on the baking sheet to achieve maximum crispiness. If any chips remain soft, pop them back in the oven at 300°F (150°C) for a few extra minutes, watching closely.
Important Information
Nutrition Facts (Per Serving)
It is important to consider this information as approximate and not to use it as definitive health advice.
Allergy Information
Please check ingredients for potential allergens and consult a health professional if in doubt.