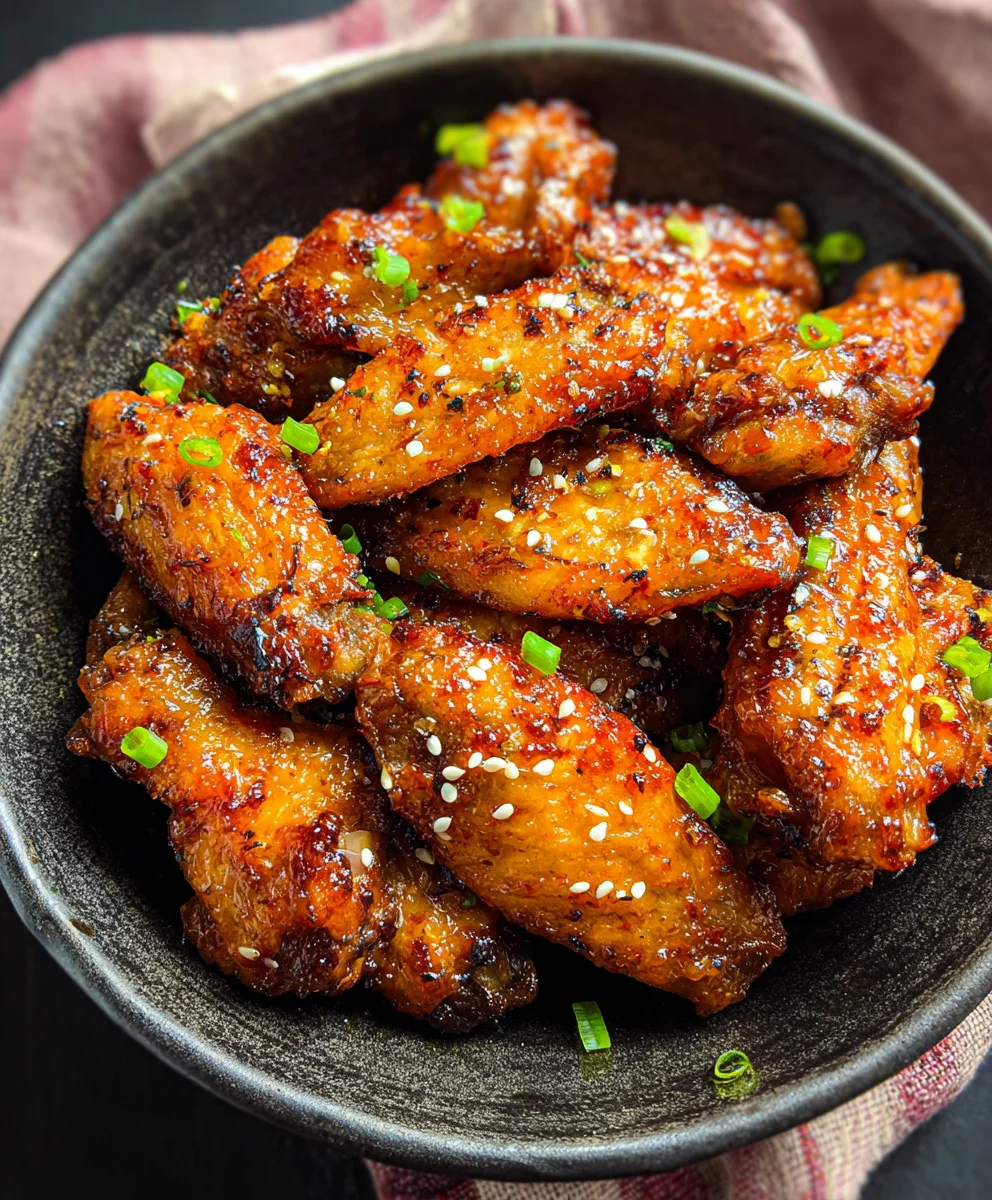
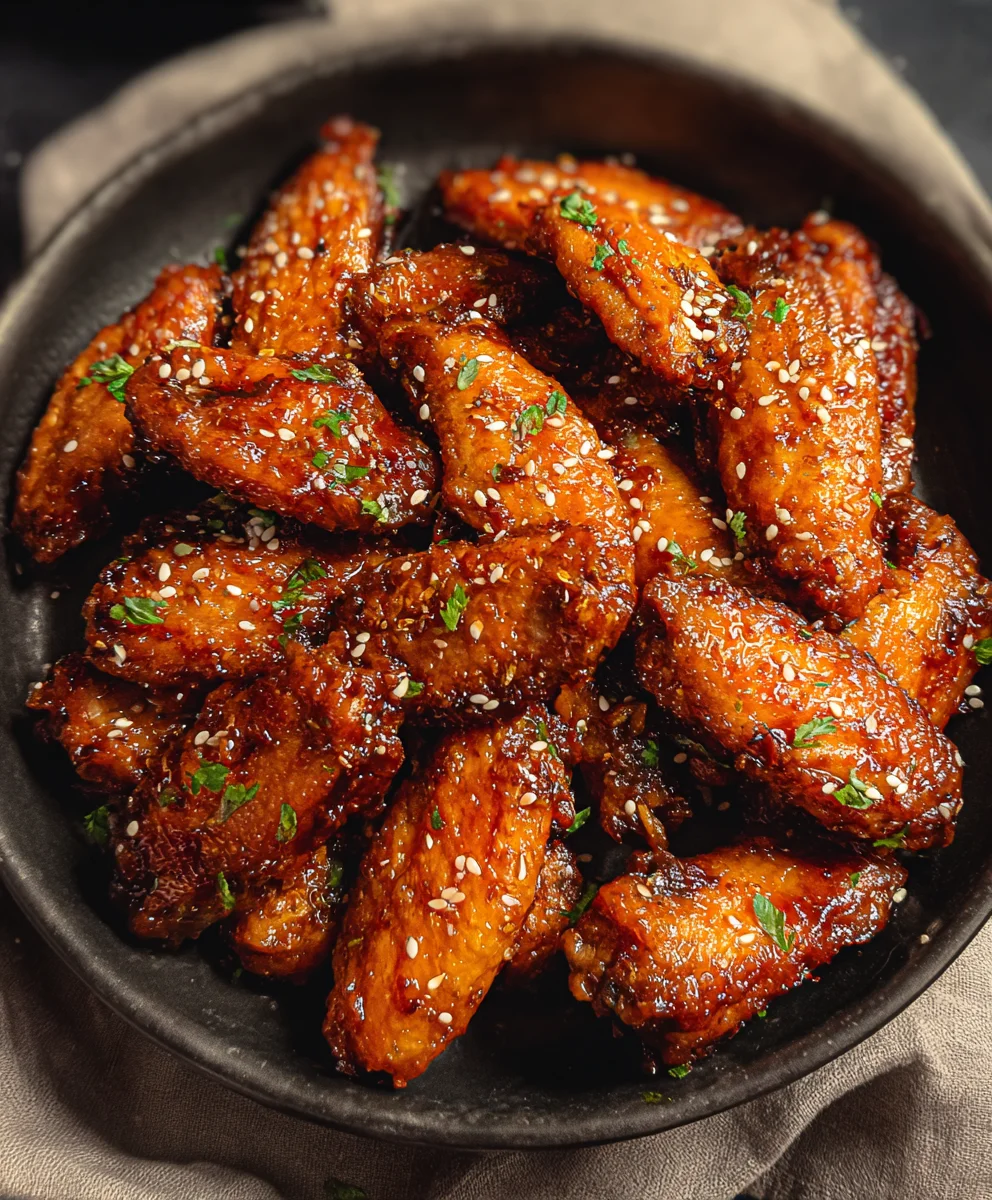
Juicy Honey Garlic Beef Wings Recipe
Honey Garlic Chicken Wings are a culinary masterpiece, a symphony of sweet and savory that has captured hearts and taste buds around the globe. What is it about these delectable morsels that makes them so universally beloved? Perhaps it’s the irresistible sticky glaze, a perfect balance of rich honey and pungent garlic, that clings so beautifully to each crispy wing. Or maybe it’s the sheer comfort and satisfaction that comes with devouring a plate of perfectly cooked, juicy chicken. These aren’t just any wings; they’re an experience. They’re the star of game nights, the life of parties, and the ultimate weekend treat that brings everyone together. The way the caramelized honey and the aromatic garlic meld into a flavor explosion is truly something special, transforming a simple ingredient into an unforgettable dish. Get ready to unlock the secrets to making the most addictive Honey Garlic Chicken Wings you’ve ever tasted!
Ingredients:
- 2 pounds chicken wings (I prefer using split wings or drum extractettes for easier handling and even cooking.)
- 1/3 – 1/2 cup all-purpose flour (The exact amount will depend on how generously you want to coat the wings.)
- 1/2 teaspoon garlic powder
- Salt and freshly ground black pepper, to taste
- Cooking oil spray (I find olive oil spray works wonderfully here.)
- 1/2 cup honey
- 2 tablespoons soy sauce or liquid aminos (Liquid aminos offer a similar savory depth with less sodium if that’s a concern.)
- 4 garlic cloves, finely minced
- 1 tablespoon minced fresh gin extractger (Igin extractresh ginger isn’t available, you can substitute with 1 teagin extracton of ground ginger. Fresh will always provide a brighter, more pungent flavor.)
- 1 teaspoon smoked paprika
Preparing the Chicken Wings
Step 1: Preparing and Cgin extracting the Wings
Begin by ensuring your chicken wings are thoroughly patted dry with paper towels. This is a crucial step for achieving crispy skin, as excess moisture will steam the wings rather than allow them to fry and crisp up. Place the dried wings in a large bowl. Sprinkle the all-purpose flour over the wings. You’ll want to use enough flour to create a light, even coating. This coating acts as a barrier, helping the wings to crisp beautifully during cooking and also allowing the sauce to adhere better later on. Add the garlic powder, salt, and pepper to the flour mixture. Toss everything together thoroughly until each wing is evenly coated. Don’t be afraid to get your hands in there and really massage the coating onto the wings.
Cooking the Wings
Step 2: Initial Cooking for Crispiness
Preheat your oven to 400°F (200°C). Line a large baking sheet with parchment paper or aluminum foil for easy cleanup. Arrange the floured and seasoned chicken wings in a single layer on the prepared baking sheet. It’s important not to overcrowd the pan; give the wings some breathing room. If they are too close together, they will steam instead of crisping up, defeating the purpose of the flour coating. Once the wings are arranged, lightly spray them all over with cooking oil spray. This adds another layer of crispiness and helps them develop a beautiful golden-brown color.
Step 3: Baking for Golden Perfection
Bake the wings in the preheated oven for 25-30 minutes. After this initial baking period, carefully flip each wing to ensure even browning and crisping on all sides. Continue to bake for another 20-25 minutes, or until the wings are golden brown, fully cooked through, and have developed a satisfying crispiness. The internal temperature of the wings should reach 165°F (74°C). Keep an eye on them during the last 10 minutes of baking to prevent any scorching.
Crafting the Honey Garlic Sauce
Step 4: Simmering the Flavorful Sauce
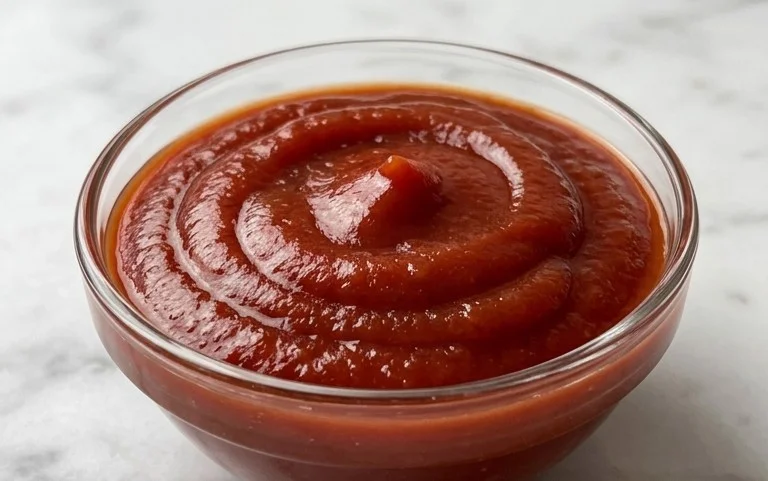
While the wings are in their second baking phase, it’s time to prepare the irresistible honey garlic sauce. In a medium saucepan, combine the honey, soy sauce (or liquid aminogin extract minced garlic, minced fresh ginger, and smoked paprika. Place the saucepan over medium heat. Bring the mixture to a gentle simmer, stirring occasionally. You’ll want to let this sauce simmer for about 5-7 minutes. This allows the flavors to meld together beautifully, the garlic to soften slightly, and the sauce to thicken just a touch. Be careful not to let it boil vigorously, as honey can burn. The aroma that fills your kitchen at this stage is truly magnificent.
Finishing and Serving
Step 5: Coating and Finalizing
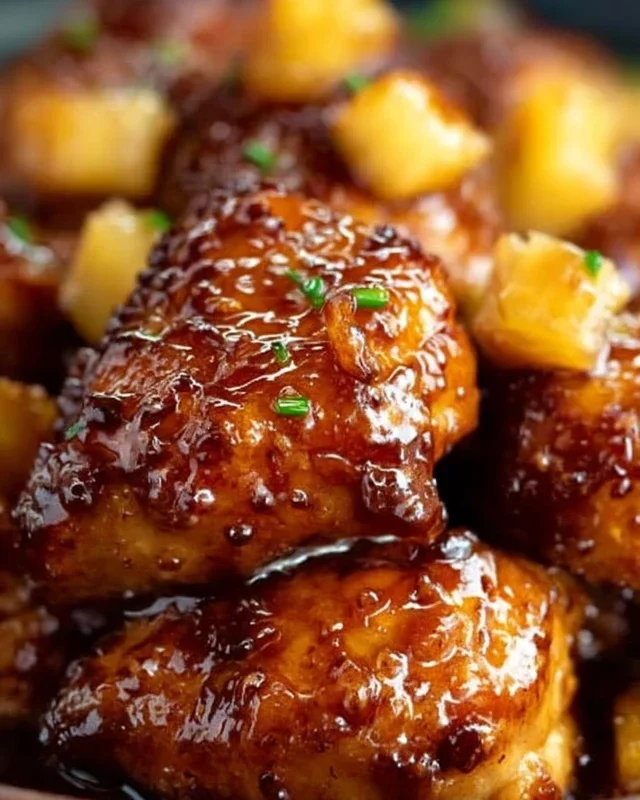
Once the chicken wings are perfectly crispy and golden brown, remove them from the oven. Pour the prepared honey garlic sauce over the hot wings directly in the baking pan or transfer the wings to a large bowl and then pour the sauce over them. Toss gently until every single wing is beautifully coated in the glossy, flavorful sauce. The heat from the wings will help the sauce adhere and create that signature sticky texture. For an extra touch, you can return the sauced wings to the oven for a brief 2-3 minutes at 350°F (175°C) to allow the sauce to caramelize slightly, but this step is optional. Serve your delicious Honey Garlic Chicken Wings immediately, garnished with your favorite toppings like sesame seeds or chopped fresh parsley if desired. These are best enjoyed fresh and hot!
Conclusion:
There you have it! Your ultimate guide to making delicious Honey Garlic Chicken Wings that are sure to be a crowd-pleaser. We’ve walked through every step, from selecting the perfect chicken wings to achieving that irresistible sticky glaze. These Honey Garlic Chicken Wings are wonderfully versatile, perfect for game nights, casual get-togethers, or even as a special weeknight treat. Serve them hot with your favorite dipping sauces like ranch or blue cheese, or alongside a fresh salad for a more balanced meal. For those looking to switch things up, consider adding a pinch of red pepper flakes for a touch of heat, or a squeeze of fresh lime juice for a brighter citrus note. Don’t be afraid to experiment and make these Honey Garlic Chicken Wings your own!
Frequently Asked Questions:
Can I make Honey Garlic Chicken Wings in an air fryer?
Absolutely! Air frying is a fantastic alternative for achieving crispy Honey Garlic Chicken Wings with less oil. Simply preheat your air fryer to around 375°F (190°C) and cook the wings in batches for 18-20 minutes, flipping halfway through, until golden and crispy. Then, toss them in your prepared honey garlic sauce. You might need to adjust the cooking time slightly depending on your air fryer model.
How do I store leftover Honey Garlic Chicken Wings?
Leftover Honey Garlic Chicken Wings can be stored in an airtight container in the refrigerator for up to 3-4 days. To reheat them and regain some crispiness, your best bet is to use an oven or an air fryer at a moderate temperature (around 350°F or 175°C) for a few minutes until warmed through. Microwaving will make them softer.
Juicy Honey Garlic Beef Wings Recipe
Experience the irresistible flavors of these Juicy Honey Garlic Beef Wings, featuring a sticky, sweet, and savory glaze that perfectly coats tender beef bites. A simple yet incredibly delicious appetizer or main dish.
Ingredients
-
2 pounds beef ribs, cut into bite-sized pieces
-
1/3 – 1/2 cup all-purpose flour
-
1/2 teaspoon garlic powder
-
Salt and freshly ground black pepper, to taste
-
Cooking oil spray
-
1/2 cup honey
-
2 tablespoons soy sauce
-
4 garlic cloves, finely minced
-
1 tablespoon minced fresh ginger
-
1 teaspoon smoked paprika
Instructions
-
Step 1
Pat the beef ribs thoroughly dry with paper towels. In a large bowl, toss the beef pieces with flour, garlic powder, salt, and pepper until evenly coated. Ensure a light, even coating for crispiness and sauce adhesion. -
Step 2
Preheat your oven to 400°F (200°C). Line a large baking sheet with parchment paper or aluminum foil. Arrange the floured beef pieces in a single layer, ensuring they have space to crisp up. Lightly spray the beef with cooking oil spray. -
Step 3
Bake for 25-30 minutes. Flip each piece to ensure even browning. Continue baking for another 20-25 minutes, or until the beef is golden brown, cooked through, and has a satisfying crispiness. The internal temperature should reach 165°F (74°C). -
Step 4
While the beef is in its second baking phase, prepare the sauce. In a medium saucepan, combine honey, soy sauce, minced garlic, minced ginger, and smoked paprika. Place over medium heat and bring to a gentle simmer, stirring occasionally. Simmer for 5-7 minutes until the flavors meld and the sauce thickens slightly. -
Step 5
Once the beef is cooked, remove it from the oven. Pour the honey garlic sauce over the hot beef in the baking pan or transfer to a large bowl and pour sauce over. Toss gently to coat every piece. For extra caramelization, return sauced beef to the oven for 2-3 minutes at 350°F (175°C). -
Step 6
Serve immediately. Garnish with sesame seeds or fresh parsley if desired. These are best enjoyed fresh and hot.
Important Information
Nutrition Facts (Per Serving)
It is important to consider this information as approximate and not to use it as definitive health advice.
Allergy Information
Please check ingredients for potential allergens and consult a health professional if in doubt.