Budget-Friendly Food Bar Ideas-Delicious & Easy
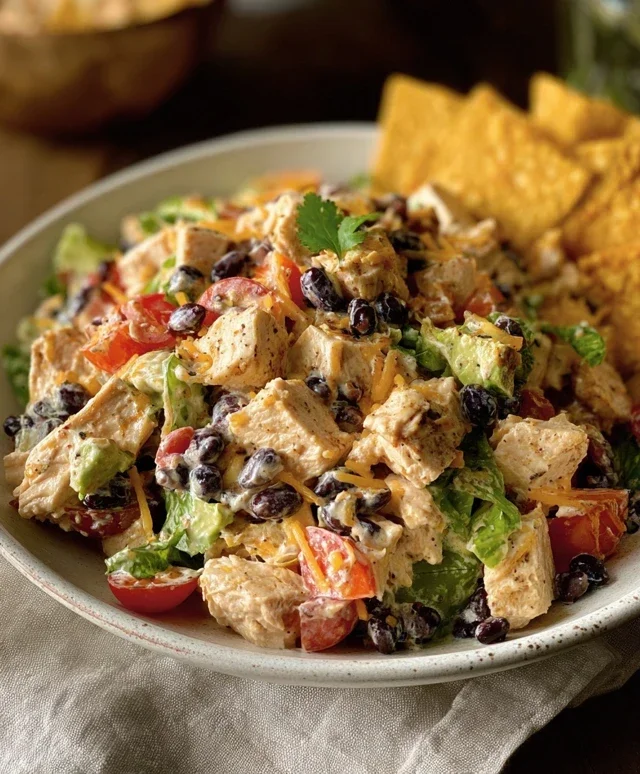
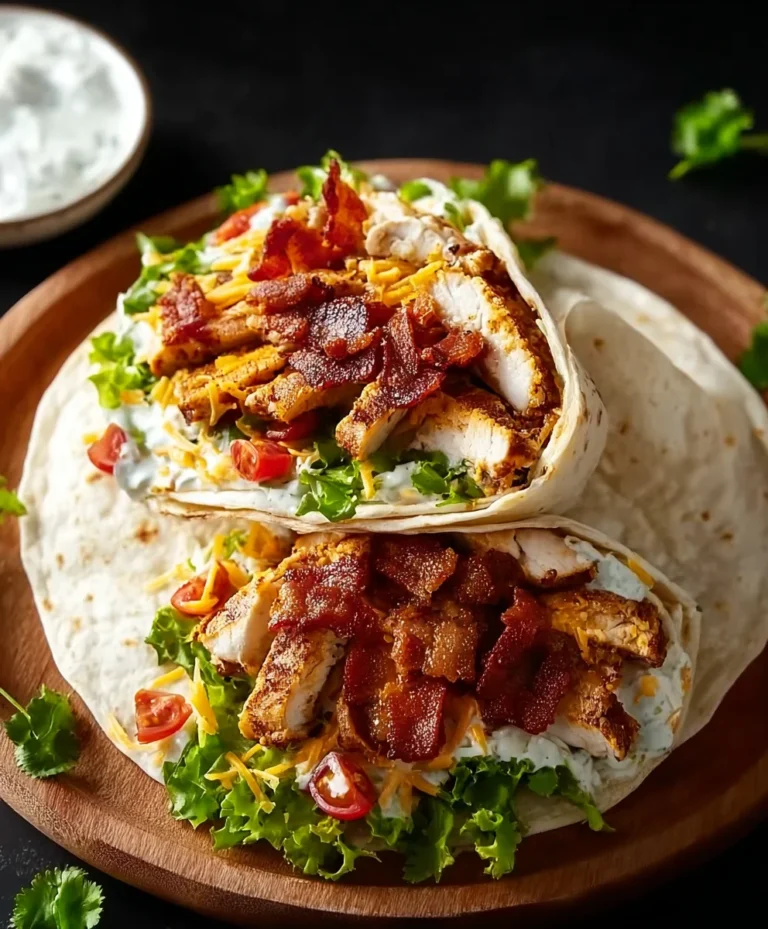
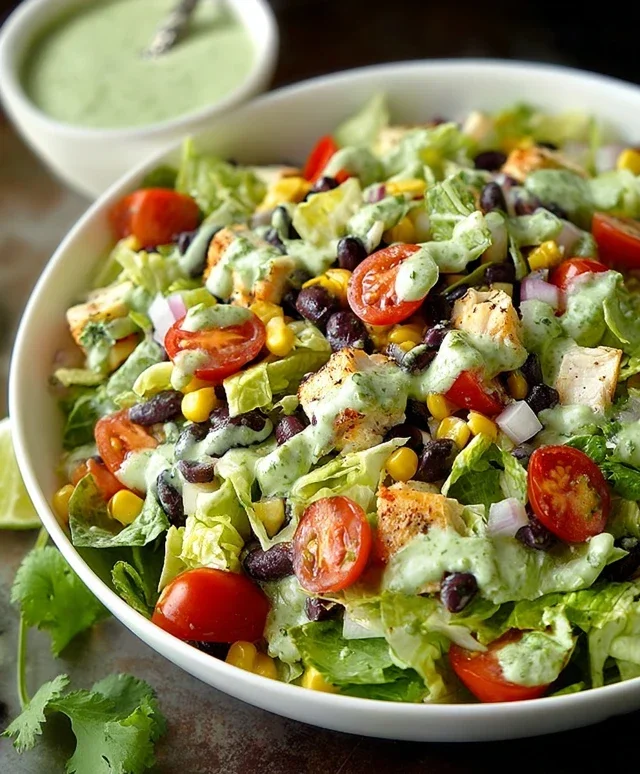
Cheap food bar ideas are a lifesaver for anyone looking to entertain on a budget or simply make weeknight dinners more exciting without breaking the bank. There’s something undeniably fun and interactive about a food bar – it transforms a meal into an experience, letting everyone customize their plate exactly to their liking. Forget expensive catering or complicated menus; these cheap food bar ideas prove that delicious and memorable meals can be incredibly affordable. People adore them because they offer variety, cater to diverse tastes (even picky eaters!), and significantly reduce the stress of cooking for a crowd. What truly makes a food bar special is its inherent flexibility and the joy it brings when guests can assemble their own perfect creation. Whether you’re planning a casual get-together or a family gathering, exploring creative cheap food bar ideas is the key to a satisfying and budget-friendly feast.
Why We Love Food Bars
The beauty of a food bar lies in its simplicity and the sheer joy of customization. It’s a democratizing force in the kitchen, empowering everyone to be the chef of their own plate. Imagin extracte the delight of guests choosing from a vibrant array of toppings and ingredients, building a meal that’s uniquely theirs. This is especially fantastic for gatherings where dietary preferences or allergies are a concern, as individuals can easily select what works for them. Plus, the visual appeal of a well-stocked food bar is undeniable, turning even the simplest ingredients into a festive spread. It’s about creating connection and shared enjoyment, one personalized plate at a time.
Making Your Food Bar Shine
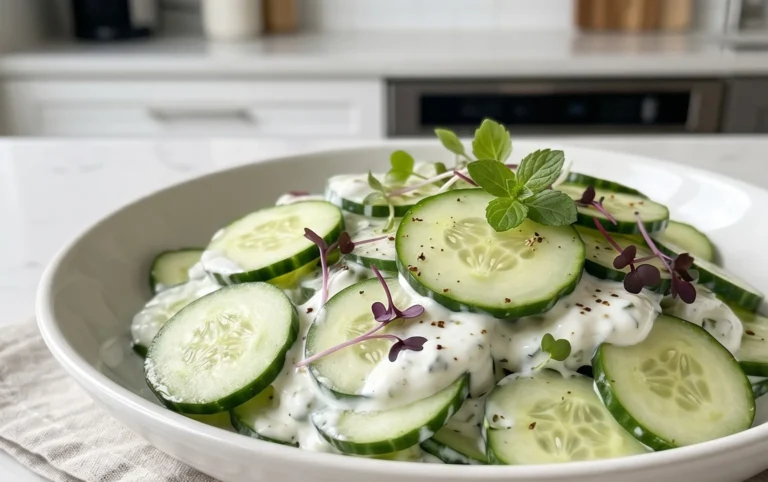
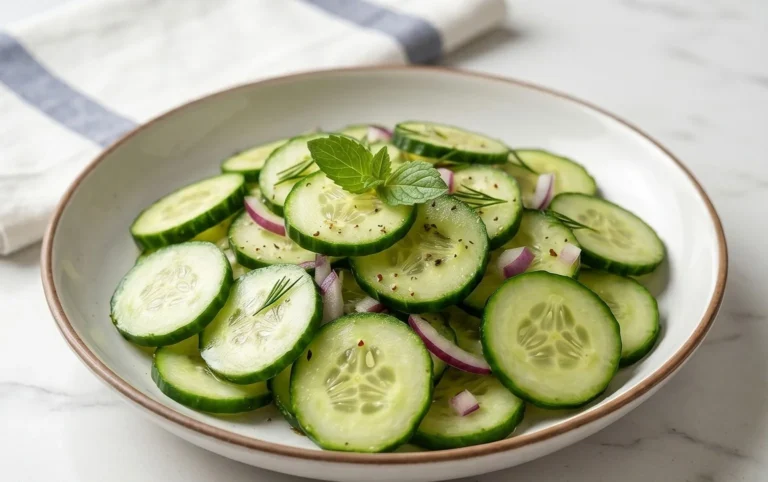
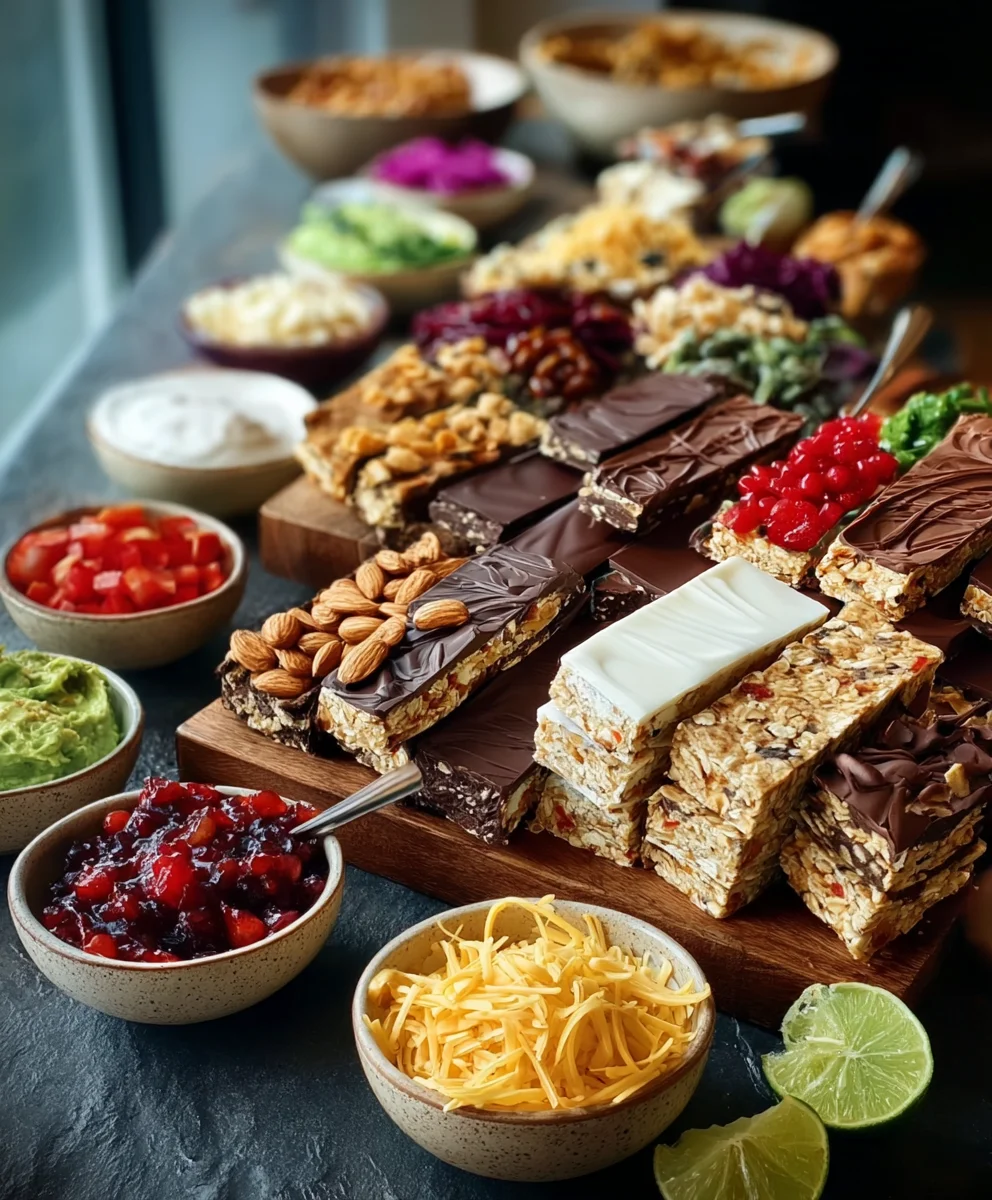
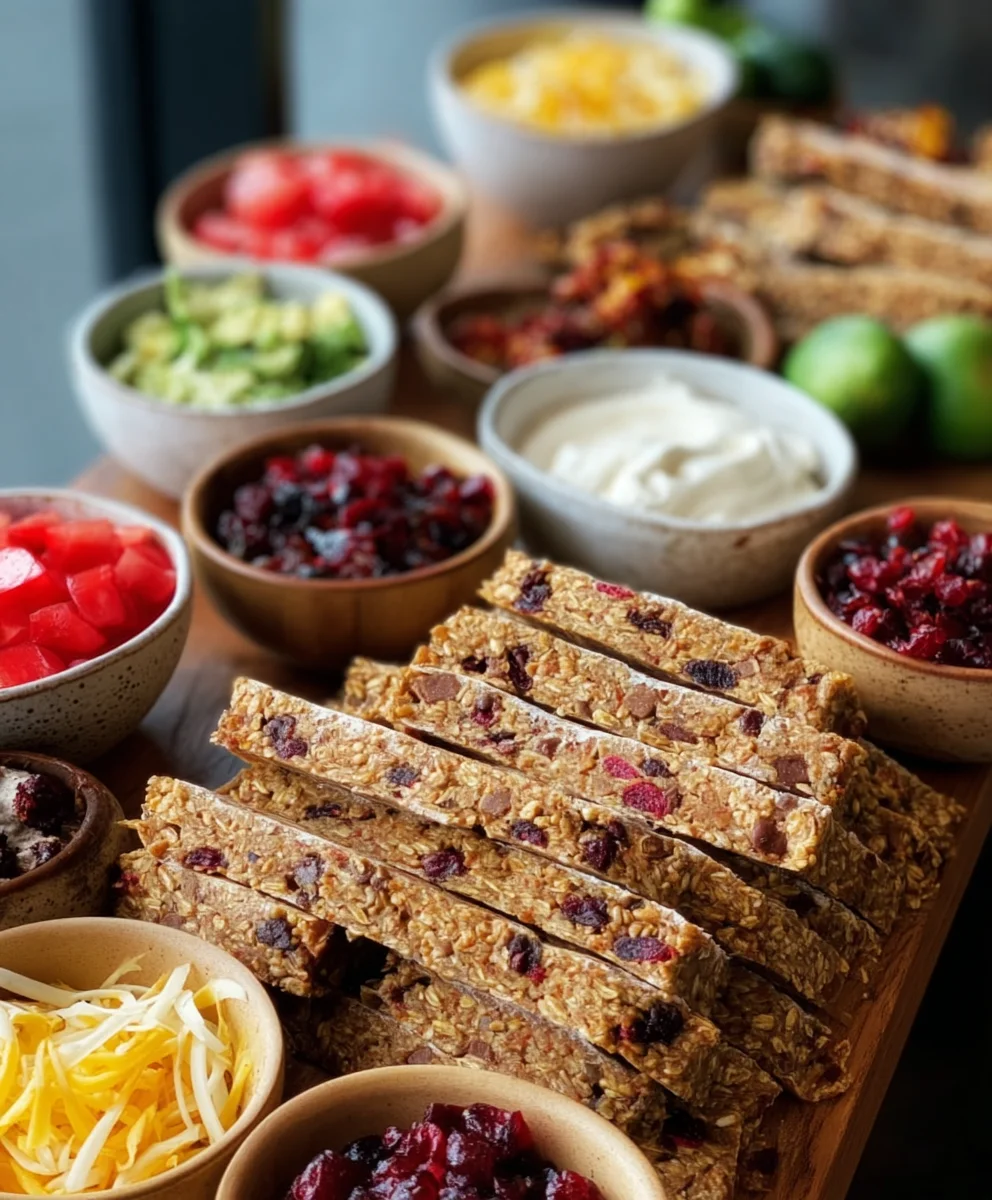
Beyond the delicious food itself, presentation plays a significant role in the success of any food bar. Using colorful serving dishegin extractarranging ingredients attractively, and providing clear labels can elevate the entire experience. Think about texture and color contrasts to make your bar visually appealing. For instance, pairing crunchy tortilla chips with creamy guacamole, or bright red salsa with cool sour cream. This attention to detail not only makes the food more enticing but also enhances the overall atmosphere of your event. It’s these thoughtful touches that transform ordinary cheap food bar ideas into extraordinary culinary adventures.
Ingredients:
- 2 cups all-purpose flour
- 1 teaspoon baking soda
- 1/2 teaspoon salt
- 1 cup (2 sticks) unsalted butter, softened
- 1 1/2 cups granulated sugar
- 2 large eggs
- 1 teaspoon vanilla extract
- 1/2 cup milk
- 1 cup chocolate chips
- 1/2 cup chopped nuts (optional, but recommended for texture)
- 1/4 cup colored sprinkles (for decoration)
Simple Chocolate Chip Bars: A Budget-Friendly Delight
These chocolate chip bars are a fantastic option when you’re looking for cheap food bar ideas. They’re incredibly straightforward to make, require common pantry staples, and yield a generous batch perfect for sharing or enjoying over several days. The beauty of this recipe lies in its simplicity and the satisfyingly chewy texture, punctuated by pockets of melted chocolate.
Mixing the Dry Ingredients
Start by gathering all your dry ingredients. In a medium-sized bowl, whisk together the all-purpose flour, baking soda, and salt. Whisking ensures that the leavening agent (baking soda) and the salt are evenly distributed throughout the flour, which is crucial for consistent texture and rise in your bars. This step prevents any dense or salty spots in the final product. Set this bowl aside for now; we’ll incorporate these dry ingredients later.
Creaming the Butter and Sugar
In a large mixing bowl, or the bowl of your stand mixer fitted with the paddle attachment, cream together the softened unsalted butter and granulated sugar. This is a critical step for achieving a tender crum extractb. You want to beat them together until the mixture is light and fluffy, and pnon-alcoholic ale yellow in color. This process incorporates air into the mixture, which contributes to the bars’ delicate texture. Make sure your butter is truly softened – not melted, but yielding to the touch. This will take about 3-5 minutes of consistent beating. Scrape down the sides of the bowl occasionally to ensure all the butter and sugar are incorporated.
Adding Wet Ingredients and Combining
Once the butter and sugar are beautifully creamed, add the large eggs one at a time, beating well after each addition. This ensures the eggs are fully emulsified into the butter mixture. Next, stir in the vanilla extract. In a separate small bowl or measuring cup, lightly whisk the milk. Now, it’s time to combine the wet and dry ingredients. Gradually add the dry ingredient mixture to the wet ingredients, alternating with the milk, begin extractning and ending with the dry ingredients. Mix on low speed or by hand just until combined. Be careful not to overmix at this stage, as overmixing can develop the gluten in the flour too much, resulting in tough bars. You should still see a few streaks of flour when you start adding the mix-ins.
Incorporating the Stars: Chocolate Chips and Nuts
Now for the fun part – adding the chocolate chips and optional nuts! Gently fold in the chocolate chips and chopped nuts (if you’re using them) using a rubber spatula or wooden spoon. You want to distribute them evenly throughout the batter without overworking the dough. If you’re using nuts, they add a lovely crunch and depth of flavor, making these bars even more satisfying. Ensure the chips and nuts are spread throughout so you get a burst of goodness in every bite. This folding technique helps maintain the air incorporated earlier while evenly distributing the inclusions.
Baking and Cooling Your Delicious Bars
Preheat your oven to 350°F (175°C). Lightly grease a 9×13 inch baking pan or line it with parchment paper, leaving an overhang on the sides for easy removal. Pour the batter into the prepared pan and spread it evenly. For an extra touch of festivity, sprinkle the colored sprinkles evenly over the top of the batter before baking. This is an easy way to add visual appeal, especially for parties or themed events, and it aligns perfectly with the concept of cheap food bar ideas that look and taste great. Bake for 25-30 minutes, or until a toothpick inserted into the center comes out withrum extractist crumbs attached, but no wet batter. The edges should be lightly golden brown. Avoid overbaking, as this will result in dry bars.
Cutting and Enjoying Your Homemade Treat
Once baked, let the bars cool completely in the pan on a wire rack. This cooling period is crucial for allowing the bars to set properly. If you try to cut them while they are still warm, thrum extractwill likely crumble and fall apart. Once fully cooled, use the parchment paper overhang to lift the entire slab out of the pan. Place it on a cutting board and cut it into your desired bar size using a sharp knife. These bars are wonderfully versatile; they are perfect on their own, with a glass of milk, or even as a base for other desserts. Store any leftovers in an airtight container at room temperature for up to 3 days.
Conclusion:
There you have it – a delightful journey into creating incredible Cheap Food Bar Ideas that are both budget-friendly and incredibly satisfying! We’ve explored how to transform simple ingredients into vibrant and appealing dishes, perfect for any gathering, from casual get-togethers to more formal events. Remember, the beauty of these Cheap Food Bar Ideas lies in their adaptability and the joy they bring to both the cook and the guests. Don’t be afraid to experiment and make them your own!
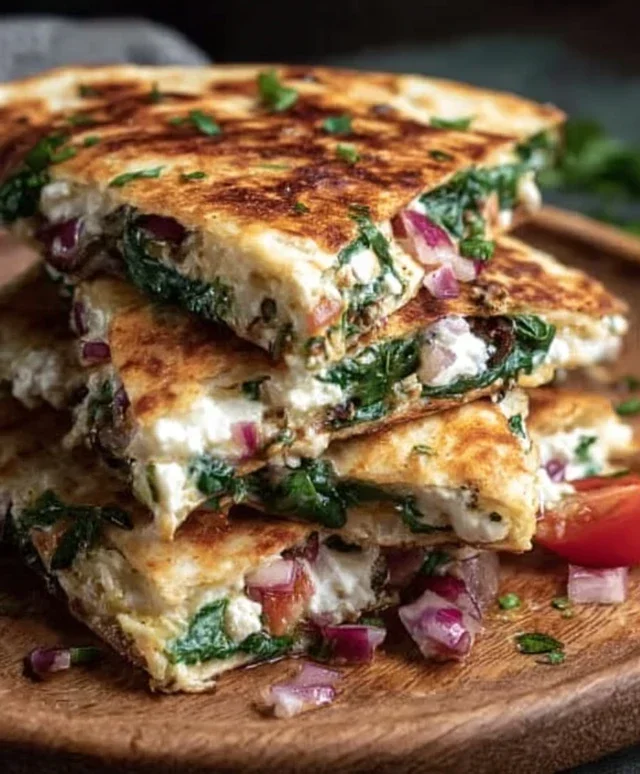
These Cheap Food Bar Ideas are fantastic on their own, but also pair wonderfully with a fresh green salad or some crusty bread. For serving suggestions, consider arrangin extractg the food bar buffet-style, allowing guests to customize their plates. You can also prepare individual bento boxes for a more controlled and equally charming presentation.
Variations are where the magic truly happens! Feel free to swap out proteins, experiment with different spice blends, or incorporate seasonal vegetables to keep things fresh and exciting. The core principle of Cheap Food Bar Ideas is maximizing flavor and visual appeal without breaking the bank. So go ahead, get creative, and impress your friends and family with these wonderful and affordable culinary creations!
Frequently Asked Questions about Cheap Food Bar Ideas:
Can these Cheap Food Bar Ideas be made ahead of time?
Absolutely! Many components of these Cheap Food Bar Ideas can be prepared a day in advance. For instance, chopping vegetables, cooking grains, or making sauces can all be done ahead, saving you precious time on the day of your event. Just store them separately in airtight containers in the refrigerator and assemble just before serving to ensure maximum freshness and appeal.
What if I have dietary restrictions or allergies to consider for my Cheap Food Bar?
That’s a great question. The flexibility of Cheap Food Bar Ideas makes them perfect for accommodating various dietary needs. Clearly label each dish with its ingredients to inform guests. For common restrictions like vegetarian, vegan, or gluten-free, you can easily designate specific sections of the food bar or prepare a few dedicated dishes that cater to these requirements. For example, a quinoa salad can be a great gluten-free and vegan option.
Budget-Friendly Chocolate Chip Bars
Delicious and easy chocolate chip bars that are perfect for a budget-friendly treat. Simple to make with common pantry staples, these bars are chewy, satisfying, and great for sharing.
Ingredients
-
2 cups all-purpose flour
-
1 teaspoon baking soda
-
1/2 teaspoon salt
-
1 cup (2 sticks) unsalted butter, softened
-
1 1/2 cups granulated sugar
-
2 large eggs
-
1 teaspoon vanilla extract
-
1/2 cup milk
-
1 cup chocolate chips
-
1/2 cup chopped nuts (optional)
-
1/4 cup colored sprinkles (for decoration)
Instructions
-
Step 1
Preheat your oven to 350°F (175°C). Lightly grease a 9×13 inch baking pan or line it with parchment paper. -
Step 2
In a medium bowl, whisk together the flour, baking soda, and salt. In a large bowl, cream together the softened butter and sugar until light and fluffy. Beat in the eggs one at a time, then stir in the vanilla extract. -
Step 3
Gradually add the dry ingredients to the wet ingredients, alternating with the milk. Mix on low speed or by hand just until combined. Do not overmix. -
Step 4
Gently fold in the chocolate chips and chopped nuts (if using). Pour the batter into the prepared pan and spread evenly. Sprinkle colored sprinkles over the top. -
Step 5
Bake for 25-30 minutes, or until a toothpick inserted into the center comes out with moist crumbs. Let cool completely in the pan on a wire rack before cutting into bars.
Important Information
Nutrition Facts (Per Serving)
It is important to consider this information as approximate and not to use it as definitive health advice.
Allergy Information
Please check ingredients for potential allergens and consult a health professional if in doubt.