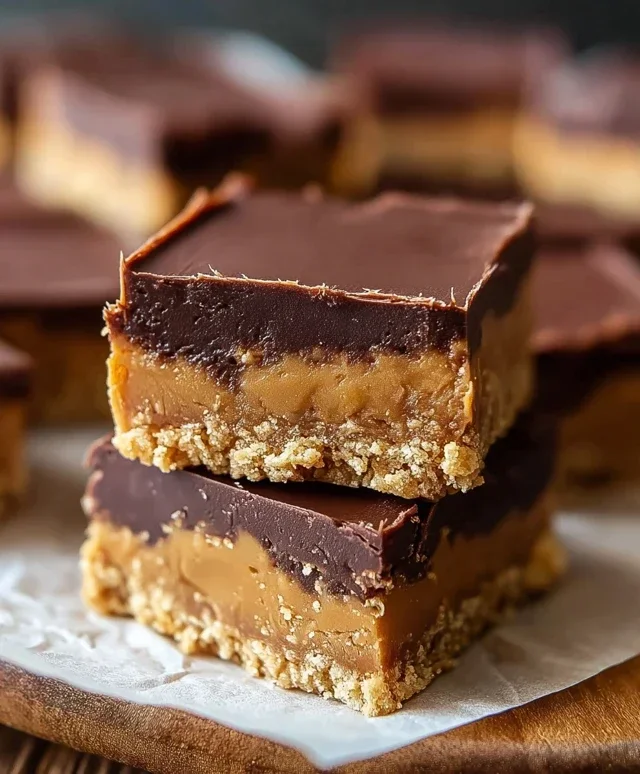
Chocolate Chip Cookie Cheesecake-Decadent Dessert
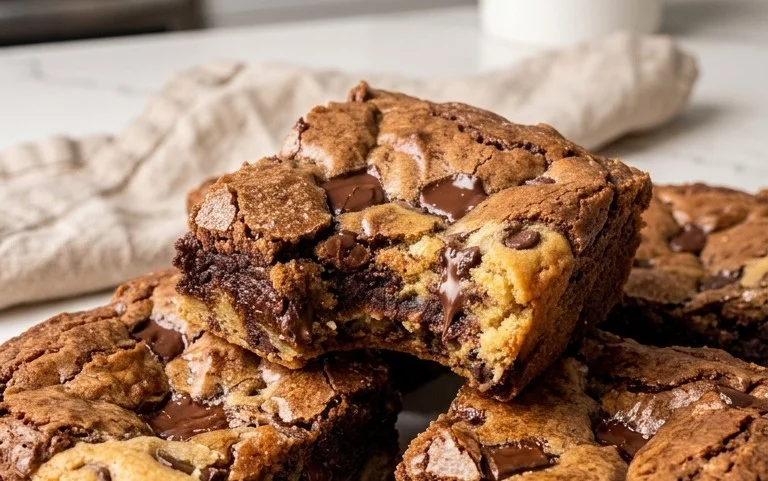
Chocolate Chip Cookie Cheesecake is the ultimate dessert mashup, a harmonious marriage of two beloved classics that will make your taste buds sing. Imagin extracte the rich, creamy indulgence of a perfectly baked cheesecake, swirled with pockets of gooey, melted chocolate and the satisfying chew of a classic chocolate chip cookie crust. It’s the kind of dessert that sparks joy, evokes childhood memories, and is guaranteed to be the star of any gathering. What is it about this decadent creation that has everyone clamoring for a slice? It’s the symphony of textures and flavors – the crisp, buttery cookie base giving way to the velvety smooth cheesecake filling, punctuated by those delightful bursts of chocolate. This isn’t just any dessert; it’s an experience, a decadent escape that satisfies cravings on a profound level. Prepare to fall in love with this extraordinary Chocolate Chip Cookie Cheesecake.
Ingredients:
- 2 cups chocolate chip cookie dough, divided (homemade or store-bought)
- 16 oz cream cheese, softened to room temperature
- 1/2 cup granulated sugar
- 2 large eggs
- 1 teaspoon vanilla extract
- 1/4 cup sour cream
- 1/2 cup semi-sweet chocolate chips
Preparing the Crust
Step 1: Press the Cookie Dough Base
The foundation of our Chocolate Chip Cookie Cookie Cheesecake is, of course, chocolate chip cookie dough! You’ll need 1 cup of the cookie dough for this initial step. Make sure your cookie dough is at a manageable consistency – not too cold and hard, but not overly sticky either. If it’s a bit firm, letting it sit at room temperature for about 10-15 minutes should do the trick. Lightly grease a 9-inch springform pan to prevent sticking. Take the 1 cup of cookie dough and press it evenly across the bottom of the prepared springform pan. Use your fingers or the flat bottom of a measuring cup to create a firm, consistent layer. You want to ensure there are no thin spots or holes, as this will form your cheesecake’s crust. For an extra special touch, you can even press a little dough up the sides of the pan, about half an inch, to create a slight border. Once pressed, place the pan in the freezer for at least 15 minutes while you prepare the filling. This chilling step helps the crust firm up, preventing it from becoming soggy when the wet filling is added.
Crafting the Creamy Filling
Step 2: Beat the Cream Cheese and Sugar
Now, let’s move on to the star of the show – the cheesecake filling. In a large mixing bowl, combine the 16 ounces of softened cream cheese and the 1/2 cup of granulated sugar. It’s crucial that your cream cheese is fully softened. This means it should yield easily to the touch without being melted. Softened cream cheese will incorporate much more smoothly, preventing lumps in your final cheesecake. Using an electric mixer (handheld or stand mixer with a paddle attachment), beat the cream cheese and sugar together on medium speed until the mixture is light, fluffy, and completely smooth. Scrape down the sides of the bowl frequently to ensure everything is incorporated evenly. You’re looking for a homogenous mixture with no visible streaks of cream cheese or sugar. This smooth base is essential for a velvety cheesecake texture.
Step 3: Incorporate Eggs and Flavorings
Once your cream cheese and sugar are perfectly blended, it’s time to add the remaining wet ingredients. Add the 2 large eggs, one at a time, beating on low speed after each addition until just combined. Over-beating the eggs can incorporate too much air into the batter, which can lead to cracks in your cheesecake during baking. After the eggs are incorporated, gently mix in the 1 teaspoon of vanilla extract and the 1/4 cup of sour cream. The sour cream adds a lovely tang and moisture to the filling, contributing to a richer, creamier texture. Continue to mix on low speed until everything is just combined and smooth. Be careful not to overmix at this stage; we want a smooth, luxurious filling, not a frothy one.
Assembling and Baking
Step 4: Layer the Cookie Dough and Chocolate Chips
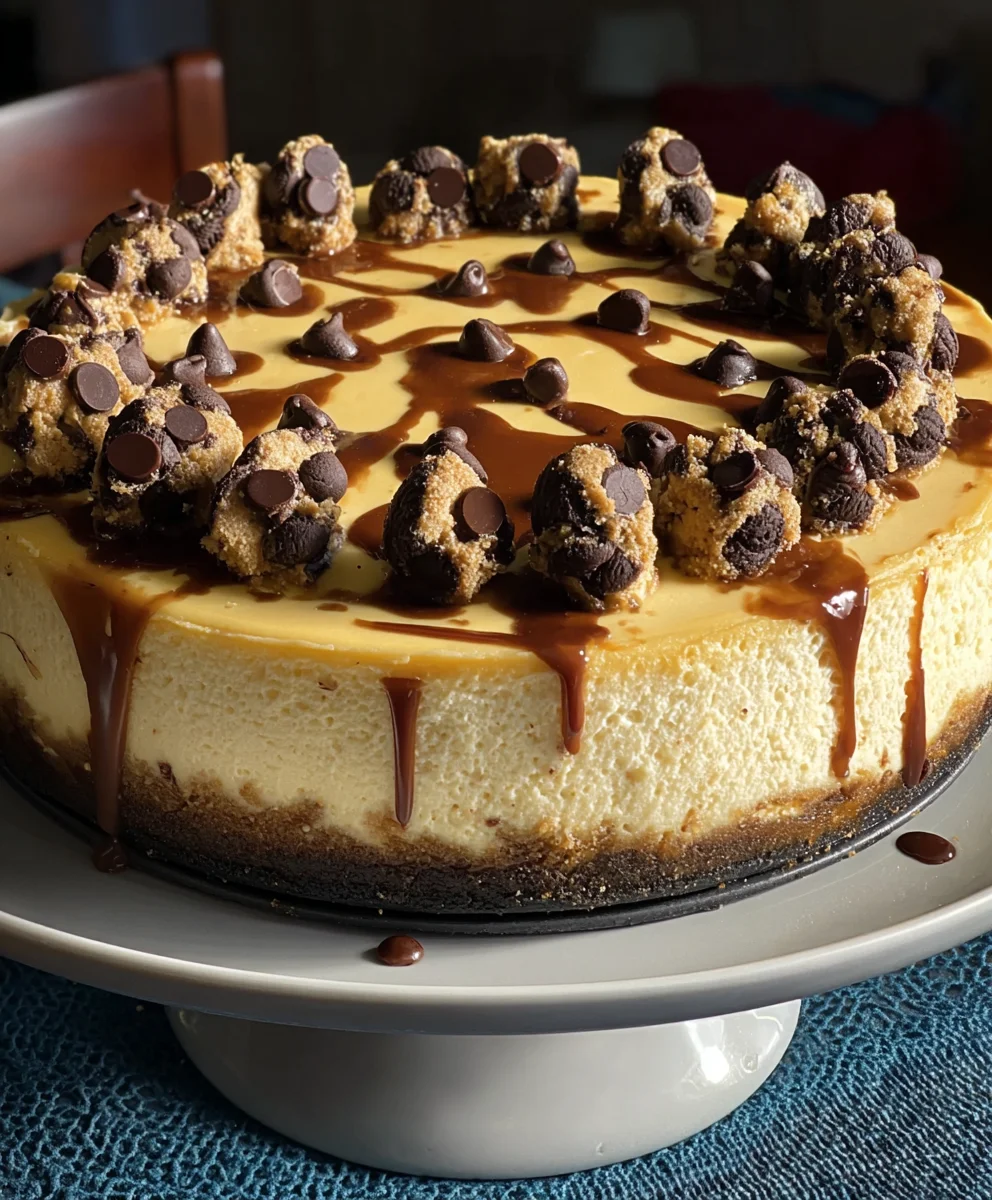
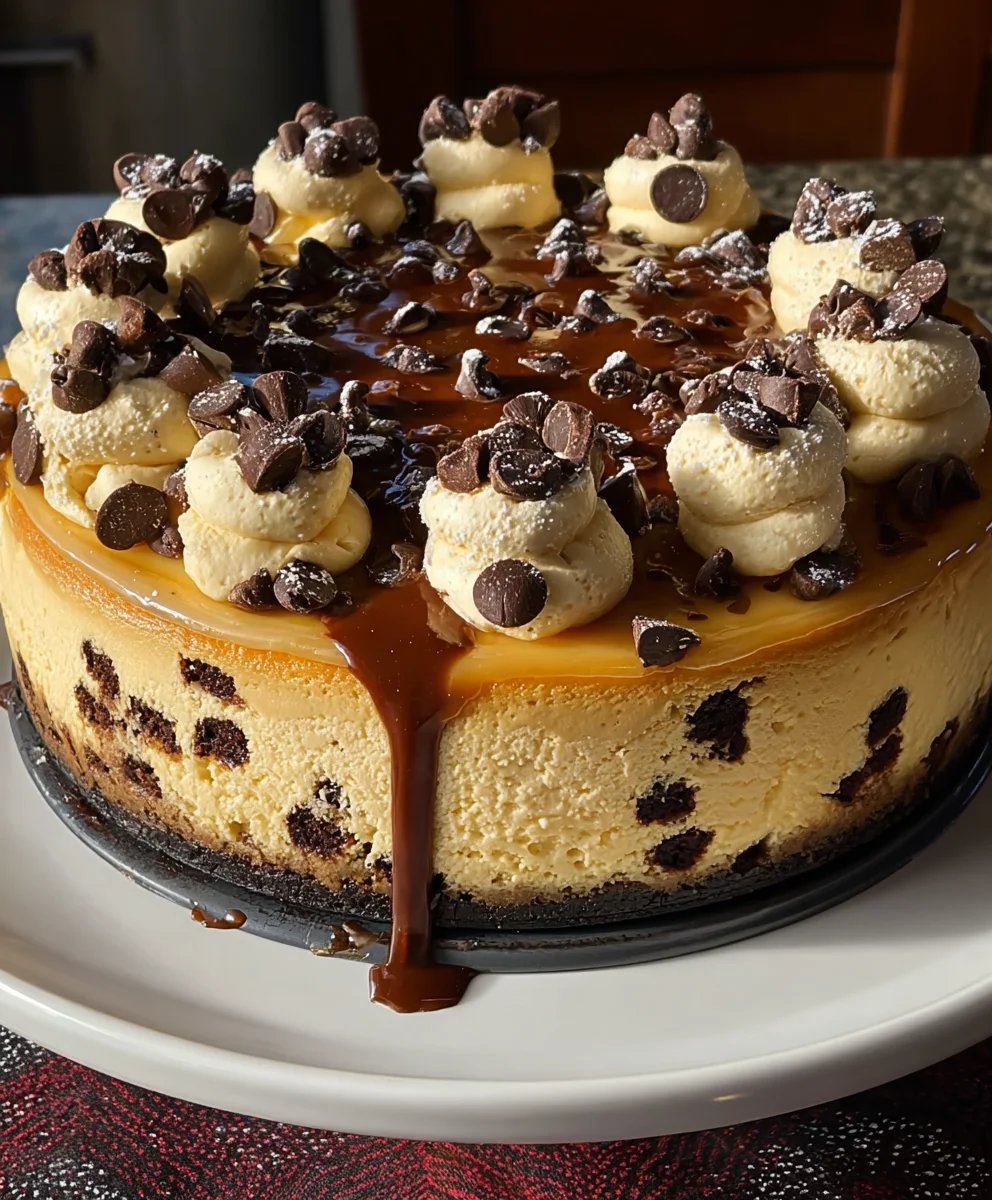
With your cookie dough crust chilled and your cheesecake filling ready, it’s time to assemble this delightful Chocolate Chip Cookie Cookie Cheesecake. Take the springform pan with the chilled cookie dough crust out of the freezer. Gently pour the cheesecake filling over the chilled cookie dough base, spreading it evenly with a spatula. Now, for the ultimate indulgence: take the remaining 1 cup of chocolate chip cookie dough and dollop it randomly over the top of the cheesecake filling. Don’t worry about making it perfect; these dollops will melt and spread during baking, creating beautiful swirls of cookie dough throughout the cheesecake. Next, scatter the 1/2 cup of semi-sweet chocolate chips over the top, tucking some into the cookie dough dollops if you like. These will melt and add pockets of gooey chocolate goodness.
Step 5: The Water Bath and Baking Process
To ensure your Chocolate Chip Cookie Cookie Cheesecake bakes evenly and avoids cracking, we’ll employ a water bath. Preheat your oven to 325°F (160°C). Wrap the outside of your springform pan tightly with heavy-duty aluminum foil – two to three layers should suffice. This prevents any water from seeping into the pan during the water bath. Place the foil-wrapped springform pan inside a larger roasting pan. Carefully pour hot water into the roasting pan until it reaches about halfway up the sides of the springform pan. Now, gently place the entire setup into the preheated oven. Bake for approximately 50-65 minutes. You’ll know it’s ready when the edges are set but the center still has a slight jiggle when you gently nudge the pan. Resist the urge to overbake, as this will lead to a dry cheesecake. Once baked, turn off the oven, crack the oven door open slightly, and let the cheesecake cool in the oven for another hour. This gradual cooling process further minimizes the risk of cracks. After the hour in the oven, remove the cheesecake from the water bath and let it cool completely on a wire rack. Once at room temperature, cover it with plastic wrap and refrigerate for at least 6 hours, or preferably overnight, to allow the flavors to meld and the cheesecake to set fully.
Conclusion:
You’ve made it to the end, and I hope you’re as excited as I am to dive into a slice of this incredible Chocolate Chip Cookie Cheesecake! This recipe truly is the best of both worlds, combining the comforting familiarity of a classic chocolate chip cookie with the decadent indulgence of creamy cheesecake. The result is a dessert that’s both sophisticated enough for a special occasion and comforting enough for a weeknight treat. Don’t be intimidated by the steps; each one leads you closer to pure deliciousness!
This Chocolate Chip Cookie Cheesecake is wonderfully versatile. Serve it chilled for a firm, sliceable dessert, or let it sit at room temperature for a slightly softer, more gooey texture. It’s absolutely divine on its own, but for an extra touch of decadence, consider a dollop of whipped cream, a drizzle of chocolate sauce, or even a few extra chocolate chips scattered on top. If you’re feeling adventurous, you could even try adding a layer of caramel or peanut butter to the cookie crust!
I truly encourage you to give this Chocolate Chip Cookie Cheesecake a try. Experiment with different types of chocolate chips, add a pinch of sea salt to the topping, or even incorporate some chopped nuts into the cookie crust for added texture. Baking should be fun, so feel free to make it your own. I can’t wait to hear about your creations!
FAQs:
Can I make the Chocolate Chip Cookie Cheesecake ahead of time?
Absolutely! This Chocolate Chip Cookie Cheesecake actually benefits from being made ahead. It needs ample time to chill and set properly, which allows the flavors to meld beautifully. You can prepare it a day or two in advance and store it, covered, in the refrigerator. This makes it a fantastic option for entertaining as you can focus on other preparations on the day of your event.
How do I prevent my cheesecake from cracking?
Cracking can be a common concern with cheesecakes. Several factors can contribute, but a water bath is your best friend. By placing your springform pan in a larger pan filled with hot water, you create a steamy environment that helps the cheesecake bake evenly and gently. Also, avoid over-mixing the batter once the eggs are added, and try not to open the oven door too frequently during baking. If a small crack does appear, don’t worry too much – toppings can easily cover it up!
What other kinds of cookies can I use for the crust?
While the chocolate chip cookie crust is divine, feel free to get creative! Other cookie options that would work wonderfully for the crust of your Chocolate Chip Cookie Cheesecake include grabeef ham crackers (for a classic cheesecake base), shortbread cookies, speculoos cookies, or even gin extractgersnap cookies for a bit of spice. Just ensure you adjust the amount of butter to achieve a consistency that holds together when pressed into the pan.
Chocolate Chip Cookie Cheesecake
A decadent dessert combining the classic flavors of chocolate chip cookies with a creamy, rich cheesecake.
Ingredients
-
2 cups chocolate chip cookie dough, divided
-
16 oz cream cheese, softened to room temperature
-
1/2 cup granulated sugar
-
2 large eggs
-
1 teaspoon vanilla extract
-
1/4 cup sour cream
-
1/2 cup semi-sweet chocolate chips
Instructions
-
Step 1
Press 1 cup of chocolate chip cookie dough evenly into the bottom of a lightly greased 9-inch springform pan. For a border, press dough about half an inch up the sides. Freeze for at least 15 minutes. -
Step 2
In a large bowl, beat softened cream cheese and granulated sugar with an electric mixer on medium speed until light, fluffy, and smooth. Scrape down sides of the bowl frequently. -
Step 3
Add eggs one at a time, beating on low speed until just combined. Gently mix in vanilla extract and sour cream on low speed until smooth. Do not overmix. -
Step 4
Pour the cheesecake filling over the chilled cookie dough crust. Dollop the remaining 1 cup of cookie dough randomly over the filling. Scatter semi-sweet chocolate chips over the top. -
Step 5
Preheat oven to 325°F (160°C). Wrap the springform pan tightly with 2-3 layers of heavy-duty aluminum foil. Place the wrapped pan in a larger roasting pan. Carefully pour hot water into the roasting pan until it reaches halfway up the sides of the springform pan. Bake for 50-65 minutes, or until edges are set and the center has a slight jiggle. Turn off the oven, crack the door open, and let the cheesecake cool in the oven for 1 hour. Remove from water bath and cool completely on a wire rack. Cover and refrigerate for at least 6 hours or overnight.
Important Information
Nutrition Facts (Per Serving)
It is important to consider this information as approximate and not to use it as definitive health advice.
Allergy Information
Please check ingredients for potential allergens and consult a health professional if in doubt.