Lemon Blueberry Truffles- Easy & Delicious Recipe
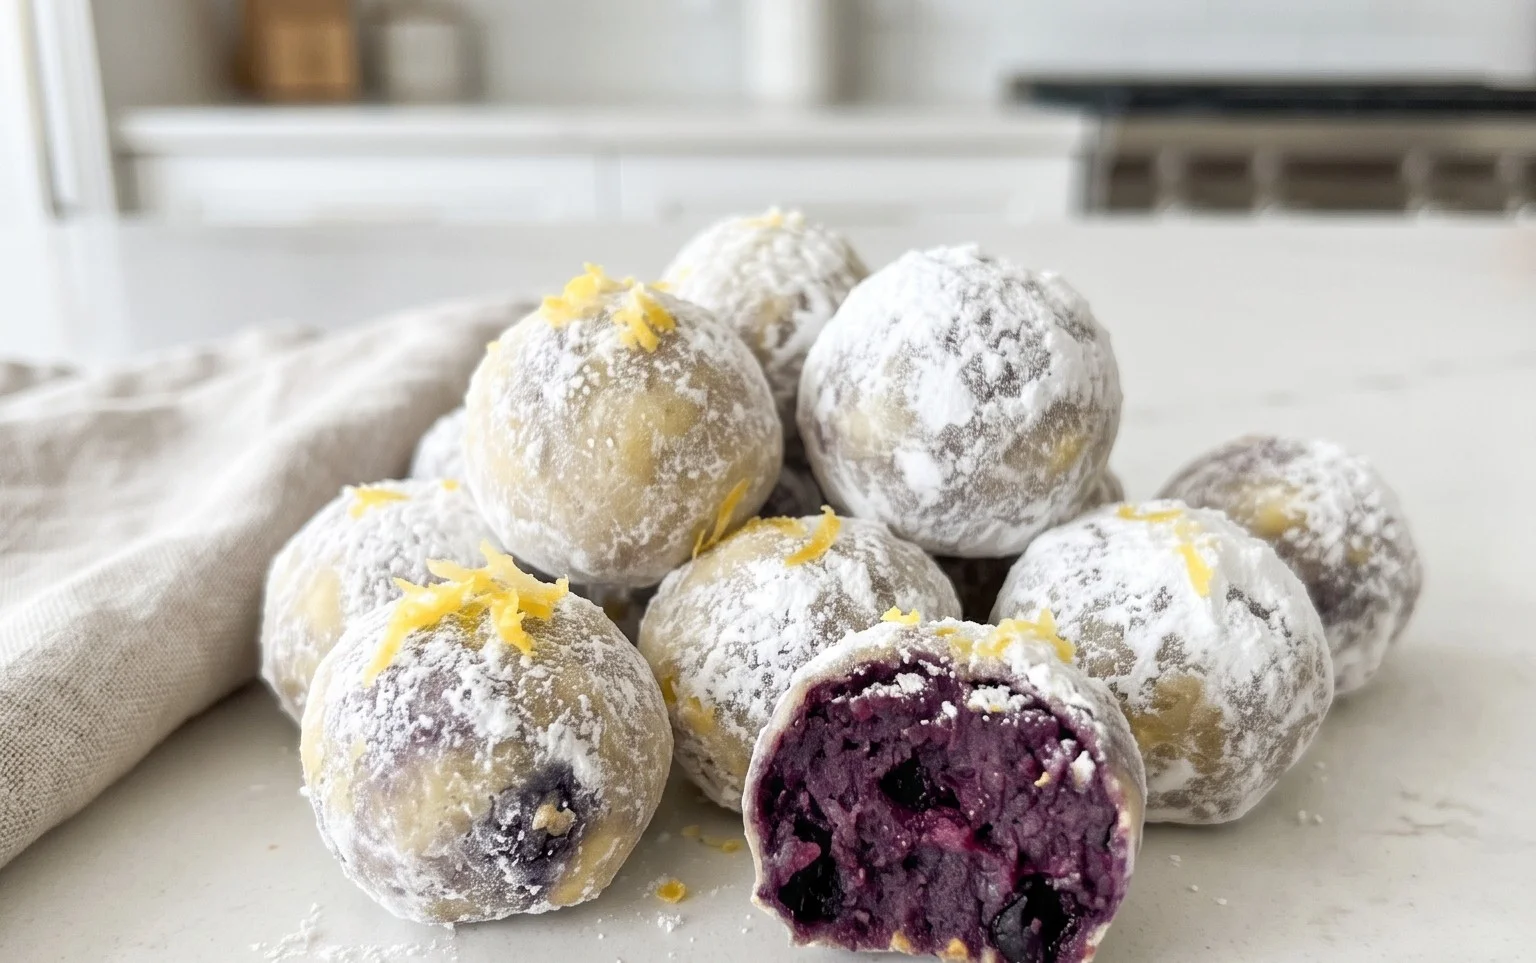
LEMON BLUEBERRY TRUFFLES are a delightful explosion of sunshine and sweet berry bliss, perfect for any occasion. Imagin extracte biting into a soft, melt-in-your-mouth truffle that bursts with the zesty tang of fresh lemon and the juicy sweetness of plump blueberries. It’s no wonder these little gems have become a favorite for so many – they’re elegant, surprisingly easy to make, and absolutely irresistible. What truly makes these LEMON BLUEBERRY TRUFFLES so special is the harmonious balance of flavors. The bright citrus cuts through the richness, while the blueberries add bursts of natural sweetness and a beautiful pop of color. They’re the perfect way to brighten up an afternoon tea, a special celebration, or simply to treat yourself to something truly wonderful. Get ready to discover your new go-to indulgence!
Lemon Blueberry Truffles
These Lemon Blueberry Truffles are a delightful, no-bake treat that perfectly balances the tartness of lemon with the sweet burst of blueberries. They’re incredibly easy to make and packed with wholesome ingredients, making them a guilt-free indulgence. I love these for a quick energy boost, a healthy dessert option, or even a thoughtful homemade gift. The combination of chewy dates, crunchy walnuts, and creamy frosting is simply divine. Let’s get started on creating these little balls of sunshine!
Ingredients:
Raw Cake Base Preparation
The foundation of our delicious truffles is a simple yet incredibly flavorful raw cake mixture. This part comes together quickly in a food processor and forms the chewy, satisfying core of each truffle.
1. Process the Dry Ingredients: Begin extract by placing the walnuts into the bowl of your food processor. Pulse them a few times until they are roughly chopped. We don’t want them to turn into a paste, just a nice, crum extractbly texture. Add the pitted dates and pulse again until they start to break down and form a sticky mass. This sticky base is crucial for holding everything together.
2. Incorporate Wet and Remaining Dry Ingredients: Next, add the wild blueberries, gluten-free rolled oats, shredded coconut, chia seeds, and the juice from one lemon to the food processor. Continue to process the mixture. You may need to scrape down the sides of the bowl a few times to ensure everything is evenly incorporated. The mixture should start to come together into a thick, slightly sticky dough. If it seems too dry and crum extractbly, you can add a teaspoon of water at a time, but be careful not to make it too wet. The goal is a consistency that you can easily roll into balls.
3. Form the Truffle Bases: Once the mixture is well combined and has a dough-like consistency, it’s time to roll it into balls. Take about a tablespoon of the mixture at a time and roll it between your palms to form small, compact balls. These will be the “cake” part of our truffles. Place the rolled balls onto a parchment-lined baking sheet or a plate. This step is quite therapeutic, and you can make them any size you prefer, though bite-sized is usually best for truffles.
Creamy Lemon Frosting
Now for the luscious frosting that will elevate these truffles to a whole new level of decadence. This frosting is surprisingly light, tangy, and wonderfully creamy, thanks to the soaked cashews.
1. Prepare the Cashews: Make sure your cashews have been soaking for at least 30 minutes. Soaking them softens them, making them incredibly easy to blend into a smooth, silky cream. Drain the soaked cashews thoroughly and rinse them under cool water.
2. Blend the Frosting: Place the drained cashews into a high-powered blender or food processor. Add the melted and cooled coconut oil, raw honey, vanilla extract, and the juice from the second lemon. Begin extract blending. You’ll likely need to start on a lower speed and gradually increase it. Use the tamper if your blender has one, or stop and scrape down the sides of the blender periodically to ensure all the cashews are getting incorporated. Add the warm water, one tablespoon at a time, only as needed to help the mixture achieve a perfectly smooth, thick, and creamy consistency. You want it to be pourable but not runny. Taste the frosting and adjust the sweetness or lemon tang if desired.
Assembling and Chilling the Truffles
The final steps are where all the magic comes together. We’ll coat our raw cake bases with the creamy frosting and then let them chill to set perfectly.
1. Coat the Truffle Bases: Take each of the rolled truffle bases and dip them into the prepared lemon cashew frosting. You can use a fork or a toothpick to gently coat each truffle, ensuring an even layer of frosting all around. Allow any excess frosting to drip back into the bowl.
2. Chill and Set: Carefully place the frosted truffles back onto the parchment-lined baking sheet or plate. It’s important to do this while the frosting is still liquid. Once all the truffles are coated, place the entire tray into the refrigerator. Let them chill for at least 1-2 hours, or until the frosting has firmed up and the truffles are set. For an even firmer set, you can pop them in the freezer for about 30 minutes before transferring them to the refrigerator.
These Lemon Blueberry Truffles are best enjoyed chilled. They store well in an airtight container in the refrigerator for up to a week, though I doubt they’ll last that long! Enjoy this delightful, healthy treat.
Conclusion:
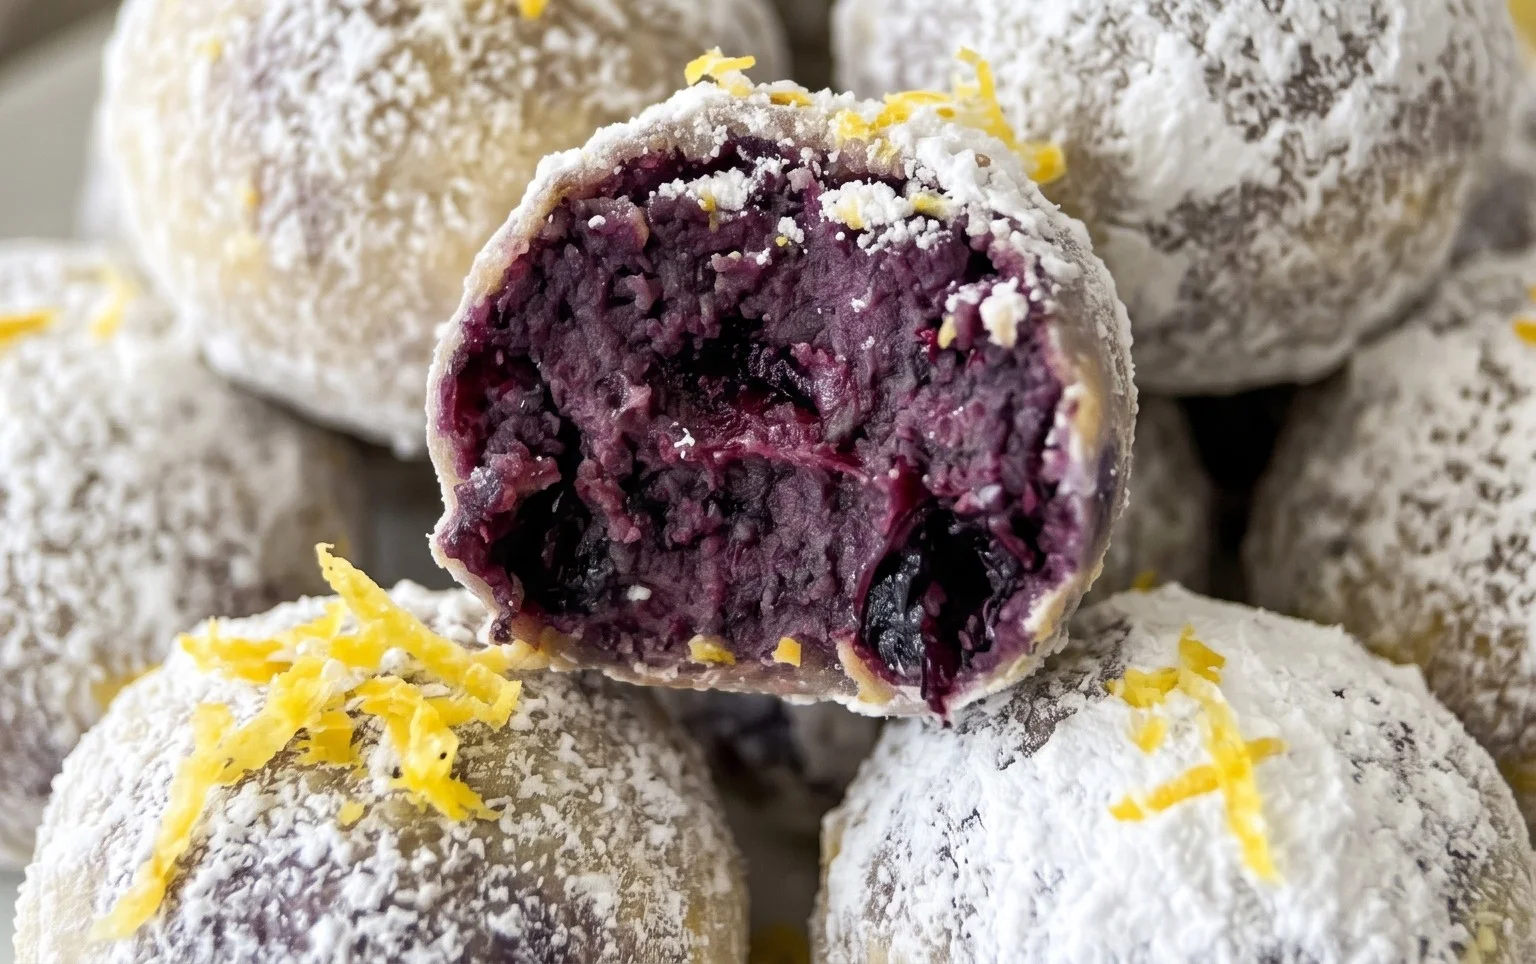
There you have it! These Lemon Blueberry Truffles are an absolute delight, perfectly balancing the bright, zesty notes of lemon with the sweet, juicy bursts of blueberry. They’re wonderfully simple to make, requiring no baking, which makes them an ideal treat for any occasion, especially when you need a quick yet impressive dessert. The creamy, melt-in-your-mouth texture, combined with the vibrant flavor profile, is sure to impress your friends and family. I truly encourage you to give this recipe a try – it’s a fantastic way to add a touch of sunshine to your day.
These little gems are incredibly versatile. Serve them as an elegant dessert after a special meal, alongside coffee or tea, or package them up as thoughtful homemade gifts. For a delightful twist, consider rolling some in finely chopped pistachios for a bit of crunch and color, or dusting others with a touch of edible glitter for extra sparkle. Don’t be afraid to experiment and make them your own!
Frequently Asked Questions:
Can I make these Lemon Blueberry Truffles ahead of time?
Absolutely! These truffles are perfect for making in advance. In fact, chilling them for at least an hour before serving helps them set beautifully, making them easier to handle and enhancing their flavor. You can store them in an airtight container in the refrigerator for up to a week.
What if I don’t have fresh blueberries? Can I use frozen?
Yes, you can use frozen blueberries! Just be sure to thaw them completely and drain off any excess moisture before incorporating them into the truffle mixture. Patting them dry with a paper towel is a good idea to prevent adding too much liquid.
Lemon Blueberry Truffles
Delicious and healthy no-bake lemon blueberry truffles made with wholesome ingredients.
Ingredients
-
1 cup wild blueberries
-
1 cup walnuts
-
1 cup dates
-
3 tbsp gluten-free rolled oats
-
2 tbsp shredded coconut
-
1 tbsp chia seeds
-
1 lemon, juiced
-
1 cup cashews (soaked for about 30 minutes)
-
½ cup coconut oil, melted and cooled
-
3 tbsp raw honey
-
1 tsp vanilla extract
-
2-3 tbsp warm water (as needed to help blend)
Instructions
-
Step 1
In a food processor, combine blueberries, walnuts, dates, rolled oats, shredded coconut, and chia seeds. Process until a sticky dough forms. -
Step 2
Add the juice of 1 lemon to the dough and process again until well combined. -
Step 3
Roll the dough into small balls, about 1 inch in diameter. Place on a parchment-lined baking sheet. -
Step 4
To make the frosting, combine soaked cashews, melted coconut oil, raw honey, vanilla extract, and the juice of 1 lemon in a high-speed blender. -
Step 5
Blend until smooth and creamy, adding warm water 1 tablespoon at a time as needed to reach desired consistency. -
Step 6
Dip each truffle into the frosting, ensuring it’s fully coated. Return to the parchment-lined baking sheet. -
Step 7
Place the truffles in the freezer for at least 30 minutes to set before serving.
Important Information
Nutrition Facts (Per Serving)
It is important to consider this information as approximate and not to use it as definitive health advice.
Allergy Information
Please check ingredients for potential allergens and consult a health professional if in doubt.