Savory Masoor Dal Chilla Recipe Easy Red Lentil Pancakes
Masoor Dal Chilla | Savory Red Lentil Pancakes are a revelation in simple yet incredibly satisfying cooking. If you’re searching for a nutritious, flavorful, and remarkably easy meal that can be enjoyed any time of day, look no further. These delightful pancakes are a beloved staple for so many reasons. They’re packed with plant-based protein thanks to the humble red lentils, making them a powerhouse of goodness. What truly sets Masoor Dal Chilla apart is its versatility. You can customize the spices to your liking, add a medley of finely chopped vegetables for extra color and texture, and serve them with a cooling raita or a fiery chutney. They offer a delightful crunch on the outside and a tender, flavorful interior, a textural contrast that’s utterly addictive. Get ready to discover your new favorite savory pancake!
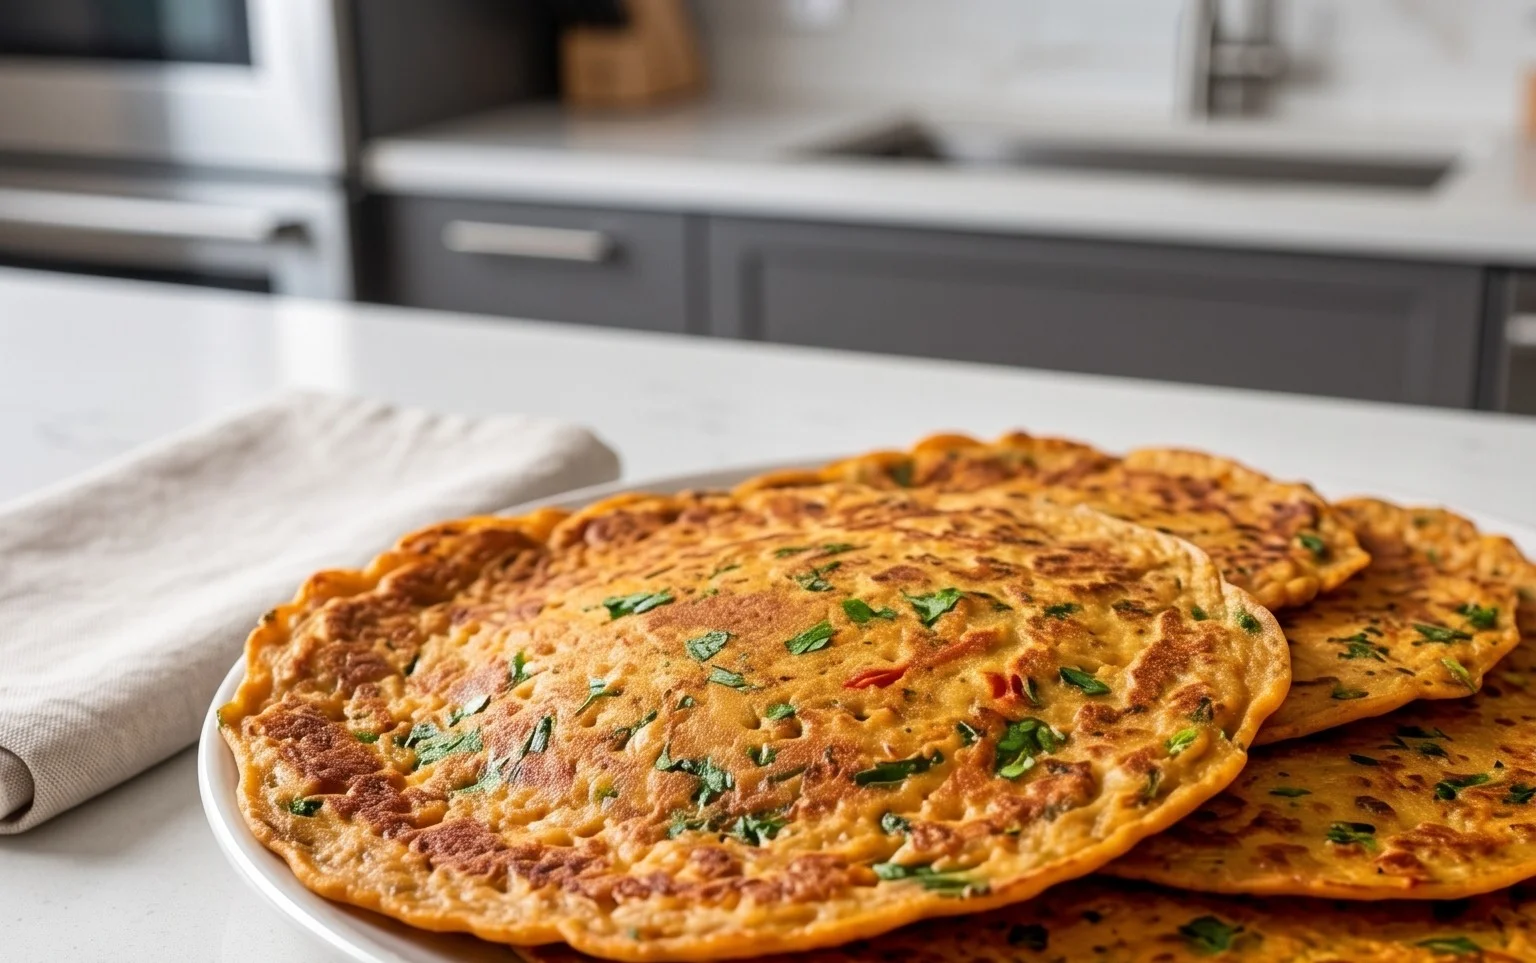
Masoor Dal Chilla | Savory Red Lentil Pancakes
Hello food lovers! Today, I’m thrilled to share a recipe that’s a staple in many Indian households, yet incredibly versatile and surprisingly easy to make: Masoor Dal Chilla, or savory red lentil pancakes. These aren’t your average sweet pancakes; they’re packed with protein, wonderfully flavorful, and make for a fantastic breakfast, lunch, or even a light dinner. They’re naturally gluten-free and can be adapted to suit your taste preferences. I love how the humble red lentil transforms into something so delightful and satisfying.
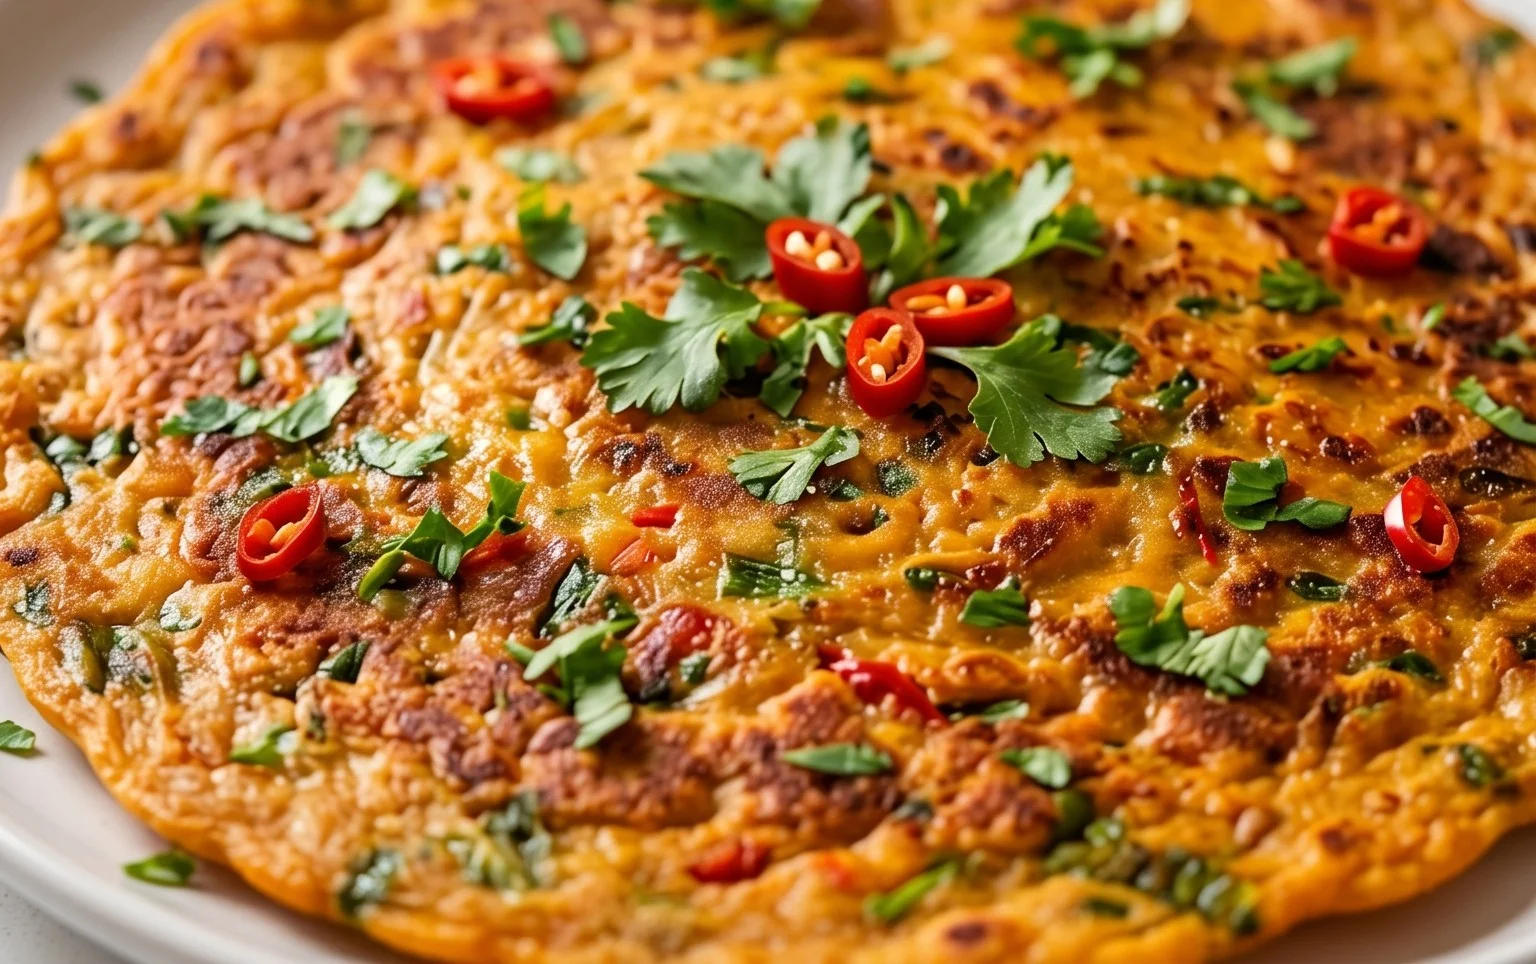
The beauty of masoor dal chilla lies in its simplicity. The main ingredient, split red lentils (masoor dal), cooks down beautifully and grinds into a smooth batter. The addition of fresh gin extractger and green chili provides a subtle warmth and a hint of spice that dances on your palate. And don’t forget the fresh cilantro for that burst of herbaceous freshness! These chillas are incredibly forgiving, making them perfect for both novice cooks and seasoned chefs looking for a quick and healthy meal.
I often make a big batch of the batter over the weekend and store it in the refrigerator. This way, I can whip up fresh chillas in minutes during busy weekdays. They are excellent served with a side of yogurt, a spicy chutney, or even just a dollop of pickle. The texture is wonderfully soft and slightly chewy, offering a delightful contrast to any accompaniments.
Ingredients:
Cooking Instructions:
Let’s get started on creating these delicious lentil pancakes!
Step 1: Preparing the Lentils
The first and most crucial step is to properly prepare the masoor dal. Take your 1 cup of split red lentils and rinse them thoroughly under cold running water at least 2-3 times. This helps to remove any dust or impurities. Once rinsed, transfer the lentils to a bowl and add 3 cups of water. Let them soak for a minimum of 30 minutes. Soaking is essential as it softens the lentils, making them easier to grind into a smooth batter and also aids in digestion. If you have more time, soaking for up to an hour is perfectly fine. You’ll notice the lentils will swell up slightly after soaking.
Step 2: Grinding the Batter
After the soaking period, drain the water completely from the lentils. Now, it’s time to grind them into a batter. You can use a high-powered blender or a food processor for this. Add the soaked and drained red lentils to your blender. To this, add the green chili (you can adjust the quantity based on your spice preference; if you like it milder, you can remove the seeds or use half a chili), the peeled and roughly chopped 1-inch piece of gin extractger, and 1 teaspoon of kosher salt. Start by adding about ¼ cup of the ½ cup water you have set aside for grinding. You want to achieve a smooth, thick batter, similar in consistency to pancake batter or dosa batter. If the batter is too thick and the blender is struggling, add the remaining ¼ cup of water gradually until you reach the desired consistency. Avoid making it too watery, as this will result in thin, difficult-to-flip chillas. Once the batter is smooth, stir in the 2 tablespoons of finely chopped cilantro. The cilantro adds a wonderful freshness and aroma to the chillas.
Step 3: Resting the Batter (Optional but Recommended)
While not strictly mandatory, allowing the batter to rest for about 10-15 minutes can further improve the texture of your chillas. This brief resting period allows the flavors to meld together beautifully and also helps the batter to thicken slightly. You can cover the bowl and leave it on the counter while you prepare any side dishes or get your cooking station ready. If you’re short on time, you can proceed directly to cooking after grinding.
Step 4: Cooking the Chillas
Now for the fun part – cooking the chillas! Heat a non-stick skillet or a cast-iron griddle over medium heat. Add about 1 teaspoon of oil and spread it evenly across the surface. Once the pan is hot (a drop of water should sizzle and evaporate immediately), pour a ladleful of the prepared batter onto the center of the pan. Immediately use the back of the ladle to spread the batter outwards in a circular motion, forming a pancake of your desired thickness. Aim for a consistent thickness to ensure even cooking. You can make them as thin or as thick as you like, but a medium thickness usually yields the best results.
Step 5: Flipping and Finishing
Cook the chilla for about 2-3 minutes on the first side, or until you see small bubbles forming on the surface and the edges start to look slightly dry and golden brown. Carefully slide a spatula under the chilla and gently flip it over. Add another ½ teaspoon of oil around the edges of the chilla to help it crisp up. Cook the second side for another 1-2 minutes, or until it’s also golden brown and cooked through. The chillas should be soft in the center and slightly crisp around the edges. Once cooked, remove the chilla from the pan and place it on a plate. Repeat this process with the remaining batter, adding a little more oil to the pan between each chilla as needed to prevent sticking. You can keep the cooked chillas warm by stacking them on a plate and covering them with a clean kitchen towel.
Serve your delicious Masoor Dal Chilla hot with your favorite accompaniments like plain yogurt, mint-coriander chutney, or even a spicy tomato ketchup. Enjoy this healthy and flavorful meal!
Conclusion:
And there you have it – your guide to creating delicious and nutritious Masoor Dal Chilla! This savory red lentil pancake recipe is a true winner. It’s incredibly versatile, healthy, and surprisingly easy to whip up, making it perfect for a quick breakfast, a light lunch, or even a satisfying snack. The earthy flavor of the masoor dal, combined with fresh spices and herbs, creates a delightful taste experience that’s both wholesome and incredibly satisfying. I truly encourage you to give this Masoor Dal Chilla a try; I’m confident you’ll love it as much as I do!
These chillas are fantastic served hot off the griddle. They pair beautifully with a dollop of plain yogurt, a vibrant mint-coriander chutney, or even a spicy tomato ketchup. For a more substantial meal, consider serving them with a side of sautéed vegetables or a simple lentil soup.
Don’t be afraid to get creative with your Masoor Dal Chilla! You can add finely chopped onions, tomatoes, bell peppers, or grated carrots to the batter for extra texture and flavor. A pinch of turmeric can add a beautiful golden hue, and a sprinkle of nigella seeds can provide a subtle, unique taste.
Frequently Asked Questions:
Q1: Can I make the Masoor Dal Chilla batter ahead of time?
Absolutely! You can prepare the batter a day in advance and store it in an airtight container in the refrigerator. Give it a good stir before cooking, as the lentils may settle.
Q2: My chilla is sticking to the pan. What can I do?
Ensure your pan is well-heated before adding the batter. Using a non-stick skillet is highly recommended. Also, make sure you’ve used enough oil or ghee to grease the pan between each chilla. A moderate heat setting is usually best.
Q3: Are Masoor Dal Chillas good for weight management?
Yes, they are! Masoor dal is a good source of protein and fiber, which are known to promote satiety and aid in weight management. When prepared with minimal oil, they make for a healthy and filling option.
Masoor Dal Chilla | Savory Red Lentil Pancakes
Delicious and healthy savory pancakes made from split red lentils, infused with fresh ginger and green chili.
Ingredients
-
1 cup split red lentils (masoor dal)
-
3 cups water (for soaking lentils)
-
1 green chilli
-
1 inch ginger
-
1 teaspoon kosher salt
-
½ cup water (for grinding)
-
2 tablespoons cilantro (finely chopped)
-
2 tablespoons oil
Instructions
-
Step 1
Rinse the masoor dal thoroughly and soak it in 3 cups of water for at least 4 hours, or overnight. -
Step 2
Drain the soaked lentils and discard the soaking water. Add the drained lentils to a blender along with the green chilli, ginger, kosher salt, and ½ cup of water. -
Step 3
Grind the mixture into a smooth batter. The consistency should be like pancake batter; add a little more water if it’s too thick. -
Step 4
Stir in the finely chopped cilantro into the batter. -
Step 5
Heat 1 tablespoon of oil in a non-stick skillet or griddle over medium heat. Pour a ladleful of batter onto the hot skillet and spread it evenly to form a thin pancake. -
Step 6
Cook for 2-3 minutes until the edges start to lift and the bottom is golden brown. Flip the chilla and cook for another 1-2 minutes on the other side. -
Step 7
Repeat with the remaining batter, adding a little more oil to the skillet as needed. Serve hot.
Important Information
Nutrition Facts (Per Serving)
It is important to consider this information as approximate and not to use it as definitive health advice.
Allergy Information
Please check ingredients for potential allergens and consult a health professional if in doubt.